Travel connectivity guide
Apple iPad Air 5G 64GB Cellular eSIM
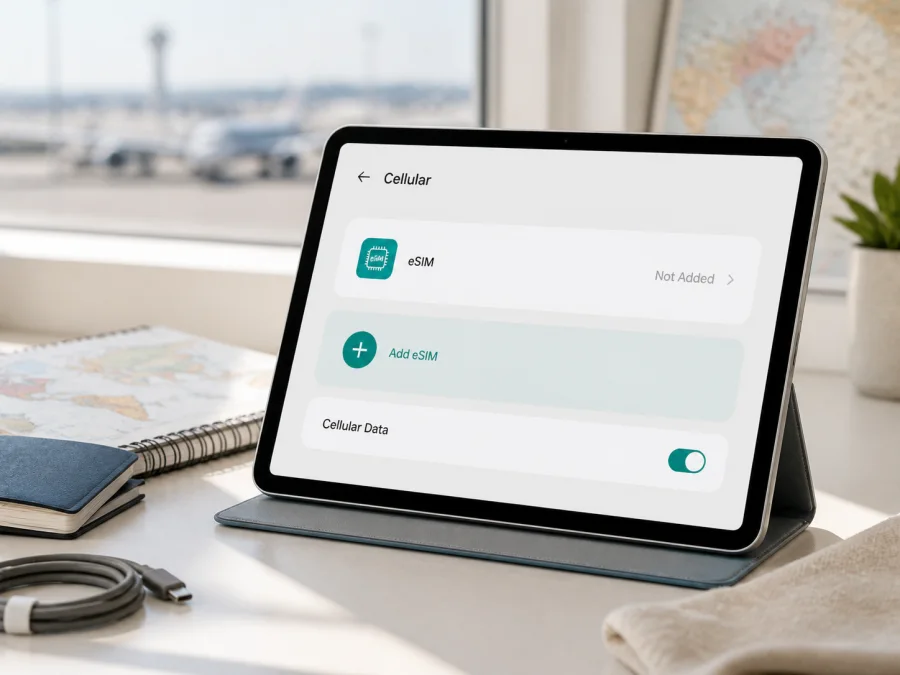
Apple iPad Air 5G 64GB Cellular eSIM: compatibility and setup
Quick answer
The standard Apple iPad Air 5G 64GB Cellular variant supports eSIM when it is the Wi‑Fi + Cellular model, is not restricted by its market or provider, and is paired with a service that supports eSIM activation on iPad. Apple’s fifth-generation specifications list 64 GB storage, 8 GB RAM, 5G cellular connectivity, a nano‑SIM tray and eSIM. Apple’s current iPad guidance includes Wi‑Fi + Cellular iPad Air models from the third through fifth generation among supported eSIM devices.
This is a family-level answer, not a guarantee for every tablet under a similar listing. An imported, refurbished, replacement or region-specific unit can have a different activation path. The provider must issue an iPad-compatible profile, and an operator lock or organisation restriction can still prevent activation. Check the actual tablet in Settings before paying for a travel plan.
The exact variant at a glance
“5G” identifies the cellular networking family, “Cellular” distinguishes the mobile-data model from Wi‑Fi-only, and “64GB” identifies storage. Apple documents 8 GB RAM for the fifth-generation family. Keep the full name when comparing a listing.
| Item | Requested configuration | eSIM relevance |
|---|---|---|
| Device | Apple iPad Air 5G 64GB Cellular | Preserve the complete variant. |
| Family | iPad Air, fifth-generation family | Apple lists it among supported iPad Air eSIM models. |
| Storage | 64 GB | Identifies the configuration; it does not create cellular capability. |
| RAM | 8 GB for the fifth-generation family | Identifies the family, but is not an eSIM setting. |
| Wireless model | 5G Wi‑Fi + Cellular | Required for cellular data; Wi‑Fi-only cannot add an eSIM. |
| SIM features | Nano‑SIM tray and eSIM | A physical tray does not mean eSIM is absent. |
Does Apple iPad Air 5G 64GB Cellular support eSIM?
For the standard fifth-generation Wi‑Fi + Cellular family, yes: eSIM is supported for cellular data. Apple’s technical information lists eSIM under cellular connectivity and SIM features alongside 5G bands and the nano‑SIM tray. Apple’s support guidance lists iPad Air (3rd through 5th generation) Wi‑Fi + Cellular models as eSIM-capable.
Three conditions still matter:
- Hardware: the tablet must actually be Wi‑Fi + Cellular. A Wi‑Fi-only 64 GB unit cannot add cellular service through an app.
- Market: model numbers and activation routes can vary by country or territory. Apple notes special limitations for activating iPad cellular data with eSIM in mainland China, so imported units need an in-person check.
- Service: the provider must support eSIM for iPad in the destination. An operator lock may block activation even when the hardware supports eSIM.
The practical answer is: Apple iPad Air 5G 64GB Cellular should support a travel eSIM if the individual unit is the corresponding unlocked Cellular model and the chosen provider supports iPad eSIM. Confirm the EID or an Add eSIM option before purchase. If neither is visible, pause and ask the seller or provider to identify the exact model and regional restrictions.
What to check before buying
Check the tablet before selecting a plan, not after a QR code has been issued.
- Confirm Cellular. Open Settings and look for Cellular Data or Mobile Data. Wi‑Fi-only iPad models do not show the same controls.
- Find the EID. Go to Settings > General > About and scroll through the identifiers. The EID is different from the serial number, IMEI and Wi‑Fi address; keep it private.
- Find the eSIM action. In Cellular Data or Mobile Data, look for Add eSIM, Add Cellular Plan, Set Up Cellular or similar wording. Labels vary with iPadOS, language and region.
- Record the model number. Compare the number in About with the seller’s description; do not rely on “5G” in an advertisement if cellular settings are absent.
- Check provider eligibility. Ask whether the profile supports iPad eSIM and whether the tablet is unlocked for another provider.
- Check the plan. Confirm destination, traffic allowance, validity, activation timing and data-only terms.
EID and Settings verification
Connect to Wi‑Fi, open Settings > General > About, and scroll down to the EID. Next, open Settings > Cellular Data or Mobile Data and look for Add eSIM or Add Cellular Plan. A missing label can reflect management, offline setup, iPadOS version or regional wording. Restart, reconnect and update. No EID and no cellular-data area suggests a Wi‑Fi-only or misidentified device; an EID with a failed installation points more often to provider, account, plan or lock conditions.
Compatibility checklist
Use this path before committing to a travel plan:
- Identify the unit. Confirm the fifth-generation family, 64 GB storage and Cellular hardware.
- Confirm the embedded-SIM signal. Find the EID and an eSIM or cellular-plan add option.
- Confirm service eligibility. Ask whether the profile supports iPad and the destination country or region.
- Confirm freedom to activate. Check for an operator lock, organisation management or previous-owner restriction.
- Confirm plan conditions. Review destination, traffic, duration, activation timing and data sharing.
- Prepare installation. Have Wi‑Fi, the QR code or activation details and account access ready.
For a quick internal route back to this check, Check your device before choosing a plan. Once the unit passes, Kaspersky eSIM Store can help you choose a destination and review available eSIM-tariff conditions in the app or website. It helps with selecting, arranging and activating an eSIM for mobile internet on a trip; it is not the cellular network or mobile operator.
How to install and activate an eSIM
Installation requires internet access. Keep the iPad on reliable Wi‑Fi until the profile downloads. A QR code normally needs to be scanned by the iPad that will use it. Do not scan it on several devices or delete a profile to retry unless the plan permits reinstallation.
For the wider installation library, see the Android installation instructions and the iOS installation instructions. The steps below focus on iPadOS.
1. Prepare the iPad
Connect the Apple iPad Air 5G 64GB Cellular to Wi‑Fi. Make sure it is unlocked and ready for normal use, and have the QR code or activation details in the Kaspersky eSIM Store profile or delivery message. If the code is on the same iPad, use Add eSIM when offered; otherwise display it on another screen.
2. Open cellular settings
Open Settings, choose Cellular Data or Mobile Data, and tap Add eSIM, Add Cellular Plan or the closest option. During first-time setup, Use QR Code may appear directly.
3. Scan and add the plan
Choose the QR-code method and scan the code supplied for this plan. Follow the prompts and enter a confirmation code if requested. If the provider supports an activation link or its app, use the method supplied for this exact plan. Review the label, tap Continue or Add Cellular Plan, and wait while the profile downloads. This can take a few minutes.
4. Choose the data line
In cellular-data settings, select the new eSIM for mobile data. If another SIM or profile is present, confirm the selected line before turning off Wi‑Fi. Keep the primary line available only if you understand its roaming conditions, and disable automatic switching if it could move data usage to that line.
5. Configure roaming and test
When the plan requires it, enable Data Roaming for the travel eSIM. This can be needed when a travel profile uses a partner network outside its home market. Apply it to the travel profile, not automatically to the primary line. Turn off Wi‑Fi briefly, check for a cellular indicator and open a simple webpage or map. If activation is destination-only, no service at home may be expected.
6. Choose the activation moment
Installing the profile and starting its validity are not necessarily the same event. Some plans begin when the eSIM connects to a supported network. Read the terms before installing far ahead of travel; if you want to use it after landing, install over Wi‑Fi before departure and enable the line when ready. Never assume a plan can be paused or reinstalled.
Using eSIM while travelling
Prepare in two stages: install at home, then select the line after landing. Wi‑Fi gives you time to solve an account or QR-code issue before you need navigation. At the destination, turn on the travel eSIM, select it for cellular data and follow the plan’s roaming instructions.
Arrival and multi-country scenarios
Open Settings > Cellular Data and confirm that the travel eSIM is enabled and selected for mobile data. Turn on Data Roaming for that profile if required, while keeping primary-line roaming off unless you accept its conditions. Use the connection for maps, transport, translation, bookings and messages. A data-only eSIM does not supply an ordinary voice number or SMS service, so internet messaging and calling apps are the relevant option.
For a route through several countries, check that every country is covered. A regional plan may suit the itinerary, but the plan terms decide. After a border crossing, registration can take a moment; if it does not return, toggle the travel line off and on and check destinations and validity.
Common problems and checks
“Add eSIM” is missing
Verify that the tablet is Cellular rather than a Wi‑Fi-only 64 GB model. Check Settings > General > About for an EID and review Cellular Data. Restart, reconnect to Wi‑Fi and update iPadOS if offered. An absent EID may indicate a different regional or hardware variant; an EID with no menu may indicate management or a provider-specific route.
The QR code will not scan
Raise the screen brightness and hold the iPad steady. If the code is in an email or webpage and iPadOS supports it, touch and hold the code and choose Add eSIM. If it is on the same screen, use another screen or open the plan in the Kaspersky eSIM Store profile. Check whether the profile was already downloaded before requesting a replacement.
The profile will not download
Check Wi‑Fi, date and time, storage and the exact QR code. Confirm it has not expired or already been used, and complete any login or confirmation step. An EID proves device capability, not profile eligibility. Contact support with the error, model and plan details, but do not send passwords.
The eSIM installed but there is no data
Select the travel eSIM for mobile data and confirm it is on. Enable Data Roaming when required, turn off Airplane Mode, restart and allow time for registration. A destination-specific plan may not connect at home; check the included country, validity and remaining traffic.
The line fails after arrival
Check destination, validity and roaming. Toggle the travel line off and on, restart and follow the plan’s network-selection guidance. Weak indoor signal or a local outage can matter. If it works elsewhere but not in the destination, contact support with the country and error.
The tablet is locked or managed
An operator lock, organisation profile or incomplete second-hand setup can block activation. eSIM capability does not override those restrictions. Ask the seller or administrator to remove them through the correct process, and do not erase the iPad or delete a working eSIM without understanding the consequences.
FAQ
Does Apple iPad Air 5G 64GB Cellular have eSIM?
Yes, the standard fifth-generation Wi‑Fi + Cellular family supports eSIM for mobile data. Verify the individual unit’s EID and Add eSIM or Add Cellular Plan option because market, software and provider conditions can change the route.
Is 64 GB different from 256 GB for eSIM?
Not by storage alone. The important distinction is Cellular versus Wi‑Fi-only, so verify the actual hardware.
Do I need Data Roaming?
Sometimes. A travel eSIM can require Data Roaming to connect to a supported partner network. Enable it for the travel profile when the plan instructions call for it, and keep primary-line roaming data off if you do not intend to use it.
Why does the menu look different?
Labels vary by iPadOS release, language, region and activation method. Look for Cellular Data or Mobile Data, then Add eSIM, Add Cellular Plan, Set Up Cellular or Use QR Code. If the EID exists but no option appears, ask the provider or seller to confirm the regional route. Do not assume an eSIM can be transferred or reinstalled later; that depends on the plan.
Final device check and eSIM for your trip
Before purchasing, confirm all of the following for the actual Apple iPad Air 5G 64GB Cellular:
- it is the Wi‑Fi + Cellular model, not the 64 GB Wi‑Fi configuration;
- Settings > General > About shows an EID;
- Cellular Data or Mobile Data includes an eSIM or cellular-plan add option;
- the iPad is unlocked, not organisation-managed and ready for your account;
- the provider supports eSIM activation on iPad for the destination;
- country or region, traffic, validity, activation timing and data-only conditions fit the route;
- Wi‑Fi and the QR code or activation details are ready.
If these checks pass, use Kaspersky eSIM Store as the app or website where you can choose a destination, review an available eSIM tariff for mobile internet on the trip, arrange it and follow activation. Install over Wi‑Fi, select the travel eSIM for cellular data after arrival, enable its roaming setting if required and monitor usage. If a model, market or provider detail does not match, stop and verify it before paying. This final compatibility check is the safest last step before choosing an eSIM for your trip.


