Travel connectivity guide
Apple iPad Pro 11-inch 5G 1TB Cellular eSIM
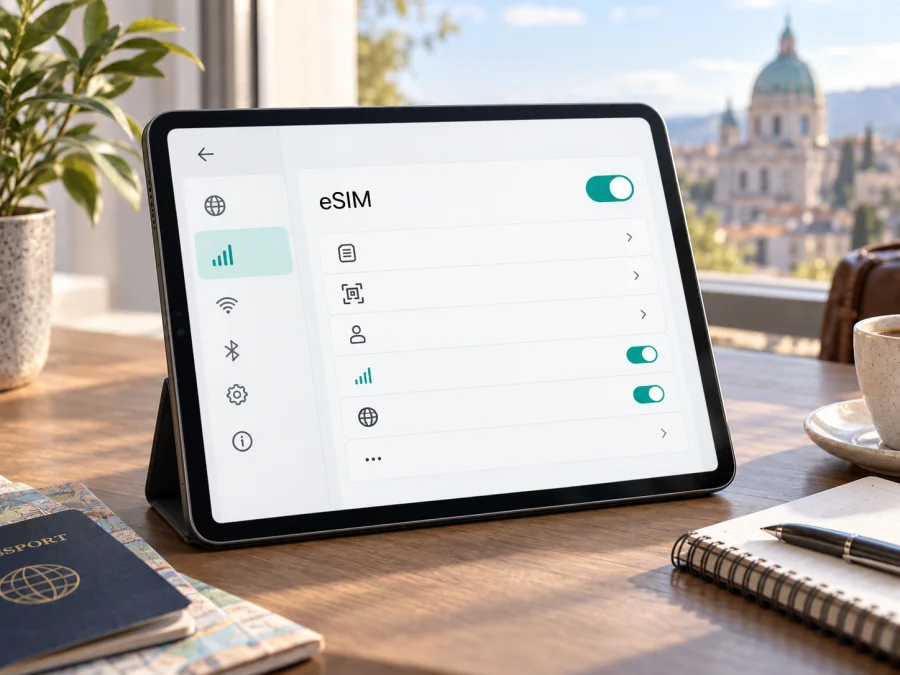
Apple iPad Pro 11-inch 5G 1TB Cellular eSIM compatibility
Short answer: the cellular configuration described as Apple iPad Pro 11-inch 5G 1TB Cellular can support eSIM, but the name alone does not identify its generation, model number or sales region. Apple lists eSIM for supported iPad Pro Wi‑Fi + Cellular models, while availability depends on the particular model, country or region, and carrier. Before choosing a travel plan, confirm the model number and look for an EID and an option to add a cellular plan in Settings. Storage capacity and 5G branding do not by themselves prove that a specific regional unit can add an eSIM.
An eSIM is a digital SIM profile stored in the device and selected for cellular data. On a compatible, unlocked iPad, it can provide data for maps, messaging, email and browsing while travelling. A cellular data plan does not automatically give the tablet a phone number for calls or SMS.
Does Apple iPad Pro 11-inch 5G 1TB Cellular support eSIM?
Apple’s current iPad guidance describes eSIM setup on supported Wi‑Fi + Cellular models and identifies iPad Pro generations that support eSIM. Its current technical specifications also list eSIM for the cellular iPad Pro line. That establishes that this family has eSIM-capable versions; it does not settle every unit sold under a shortened retail title. The title provided here contains no generation or A-number, and more than one 11-inch iPad Pro generation has been offered with 5G, 1TB storage and cellular connectivity.
Treat compatibility as likely for a supported Wi‑Fi + Cellular model, subject to checking the exact regional version and carrier. “1TB” describes storage. “5G” describes supported mobile network technology. “Cellular” distinguishes the cellular configuration from Wi‑Fi only. None of those terms tells you on its own whether the model sold for a particular market can activate the eSIM plan you intend to use. Some recent cellular iPad Pro models use eSIM only; older versions and regional configurations can have different SIM arrangements.
| Detail | What it means for eSIM |
|---|---|
| Apple iPad Pro 11-inch | The 11-inch iPad Pro product family; generation is not stated in the supplied name. |
| 5G | The cellular model can support 5G where its bands, network and plan allow. 5G is not a separate eSIM guarantee. |
| 1TB | Internal storage capacity. It does not change eSIM eligibility. |
| Cellular | This is the mobile-network version, rather than Wi‑Fi only. Confirm that this exact unit has eSIM enabled. |
| eSIM | Available on supported models and through supported carriers and countries or regions. Verify on the iPad itself. |
Region, model and carrier differences
Apple notes that eSIM is not available from every carrier or in every country and region. Mainland China has a specific Apple list of iPads that can activate a local carrier’s eSIM, so a general statement about iPad Pro eSIM support does not guarantee local activation there. A tablet bought in one country may differ from a similarly named model sold elsewhere.
Find the model number in Settings > General > About. Tap the part number if needed to reveal the A-number, then compare it with Apple’s technical specifications and regional eSIM guidance. Ask the seller or carrier whether a carrier restriction or business management policy prevents adding another plan. A physical SIM tray does not rule out eSIM on some older iPads, and a cellular menu alone does not guarantee that every provider will accept the device.
Check compatibility before buying a plan
Check the iPad itself before purchase; a generic listing may describe another regional variant.
- [ ] About identifies an iPad Pro 11-inch Wi‑Fi + Cellular model, not Wi‑Fi only.
- [ ] Its A-number is supported for eSIM in the country or region where it was sold and will be used.
- [ ] Settings > General > About shows an EID, the embedded SIM identifier (distinct from IMEI and serial number).
- [ ] Settings > Cellular Data (sometimes Mobile Data) offers Add a New Plan or an equivalent setup option.
- [ ] No carrier, business or school restriction prevents adding another plan.
- [ ] The provider supports iPad eSIM, your destination, activation method and required network bands.
- [ ] You can use Wi‑Fi during setup and understand when the plan’s validity begins.
Check the exact model number and country-of-sale documentation against Apple’s eSIM information; a retail name may cover more than one hardware configuration. If controls or identifiers are unclear, confirm the exact variant with Apple or the seller; a generic 5G claim is not enough. Then use these on-device identifiers and settings to check your device’s eSIM compatibility.
Find the EID and eSIM controls
Open Settings > General > About and scroll to EID. It is a long identifier for the embedded SIM hardware, not the IMEI or serial number. Share it only through a trusted activation flow when requested. Then open Settings > Cellular Data (or Mobile Data) and look for an existing plan, Add a New Plan, carrier activation or a QR-code option. Labels vary by iPadOS version, region and provider.
If the EID or controls are absent, confirm that this is a cellular model, restart it, update iPadOS over Wi‑Fi and check again. Continued absence is a reason to verify the A-number with Apple or the seller, not to keep scanning codes. EID and menu visibility are useful checks, but also confirm the provider accepts iPads: some plans are phone-only or require an eligible account. Check destination, data allowance, validity and activation method.
Install and activate an eSIM on the iPad
Use the activation method supplied for your plan. Keep the iPad connected to a stable Wi‑Fi network, have the QR code or activation details ready on another screen or printed page, and do not delete an installed profile just to retry. A one-time QR code may not be reusable after installation.
- Prepare the iPad. Connect to Wi‑Fi, install available iPadOS updates, and check that the date and time are set automatically. Confirm that no carrier restriction or management policy prevents a new plan.
- Open cellular settings. Go to Settings > Cellular Data (or Mobile Data) and choose Add a New Plan or the provider’s activation option. Depending on the provider, the plan might be assigned automatically, available through a carrier app, or added with a QR code.
- Scan or enter the details. Choose the QR-code option when offered and point the iPad camera at the code provided for this specific plan. If prompted, enter the confirmation code. If you cannot scan it because the code is displayed on the same iPad, use another screen or follow the provider’s manual-entry instructions. Do not guess activation fields.
- Wait for the profile to download. Keep the Settings screen open and the internet connection stable until iPadOS confirms the plan has been added. A profile may install before it is ready to use on the destination network.
- Label the plan. If iPadOS offers a label, choose a clear name such as “Travel” so it is easy to distinguish from a home plan. Labels help avoid selecting the wrong line later.
- Choose the data plan. Open Cellular Data settings, select the new plan for cellular data, and check that Cellular Data is enabled. For a travel-only data plan, avoid assigning it to other functions unless the plan supports them and you want that behaviour.
- Follow the provider’s activation timing. Some plans become active when installed; others start when the iPad first connects to a supported network or on a stated date. Check the plan terms instead of assuming that installation and validity begin at the same moment.
- Test when appropriate. If the plan should work where you are, turn Wi‑Fi off briefly and load a small webpage. Restore Wi‑Fi afterward if you do not need cellular data. If the plan is intended for a future destination, it may show no service at home and still be installed correctly.
Apple’s installation steps are available in its iPad eSIM instructions for iOS and iPadOS. For general setup guidance on other devices, see the Android eSIM instructions. Follow the activation details supplied with your particular plan if they differ from a generic walkthrough. Do not scan the same QR code on multiple devices unless the provider explicitly says that is supported.
Choosing and using the line during a trip
Decide whether to install at home or after arrival. Reliable Wi‑Fi makes setup easier, but if installation starts the validity period, wait until the appropriate time. Save the provider’s instructions and support details offline.
After landing, open Settings > Cellular Data, choose the travel plan for mobile data, and turn the plan and cellular data on. Some providers require Data Roaming for their eSIM on a partner network; enable it only when the plan instructions say to. Confirm the destination is covered. Connection type and speed depend on local coverage, congestion, radio bands and the provider’s arrangements.
A tablet can provide a larger screen for maps, hotel details, translation, email and work files. For a multi-country trip, compare a regional plan with separate country plans. Estimate use, download maps over Wi‑Fi and limit automatic updates or photo backups to preserve data.
Personal Hotspot is available only when the iPad, carrier and plan allow it, so check before relying on tethering for a laptop. A data plan does not automatically include a standard phone number, voice calls or SMS. Internet calling and messaging apps can work over data; keep another supported way to receive calls or verification texts if needed.
Kaspersky eSIM Store is an app and website where travellers can choose, arrange and activate an eSIM with a mobile-data plan for an international trip. Compare destination, data allowance, validity and activation terms. The service is subject to the plan provider and local network availability.
Common problems and what to check
No EID or add-plan option: Confirm that this is Wi‑Fi + Cellular and check the A-number. Restart, update iPadOS and revisit About and Cellular Data settings. If the controls remain absent, ask Apple or the seller to verify the regional model; restoring the iPad cannot add eSIM hardware support.
QR code will not scan: Raise screen brightness, remove glare, clean the camera and keep the whole code in frame. If it is on the iPad display, use another screen or the provider’s manual method. A used one-time code may need to be reset or reissued; deleting a profile may not make it reusable.
Profile installs but does not activate: Check when validity starts, whether the destination is covered and whether the plan is ready to register there. Keep Wi‑Fi connected during setup, use automatic date and time, and update iPadOS. Contact the plan provider with the exact error if activation is rejected.
No service or no data after arrival: Turn off Airplane Mode, select the travel plan for Cellular Data, and make sure both the plan and data are on. Check destination coverage, remaining data and validity, then move to a better reception area. Enable Data Roaming or select a network manually only if the provider recommends it. Restart once after checking settings.
Carrier or organisation restriction: A carrier, employer or school may limit adding another plan. Ask the carrier or administrator about the restriction; do not erase the iPad or remove management settings without authorisation. Change APN values only when the provider supplies the exact settings.
Frequently asked questions
Does 1TB storage mean eSIM is included?
No. eSIM depends on the exact cellular model, regional configuration, software and carrier. Check the A-number, EID and add-plan controls.
Does “5G Cellular” guarantee service abroad?
No. The eSIM plan and local network must support the model and destination. The iPad may use LTE where 5G is unavailable or not included.
Can I store multiple eSIMs or use a phone plan?
Apple says supported iPads can store multiple eSIM plans, but only one eSIM plan is used at a time. A phone plan or QR code may be device-restricted, so confirm iPad support before purchase and do not transfer a profile unless the provider permits it.
When does the validity period begin? Does the iPad get a phone number?
Timing depends on the plan: installation, first network connection or another stated event may start validity. Check its terms. A cellular iPad plan is commonly data-only and does not inherently provide ordinary calls or SMS.
Before you travel: check the iPad and choose a plan
The name Apple iPad Pro 11-inch 5G 1TB Cellular points to a 5G cellular iPad Pro configuration, but it does not specify the generation, A-number or regional version. Confirm those details, look for an EID in Settings > General > About, and check for an eSIM add-plan option in Settings > Cellular Data. Then verify that the model, country, carrier and activation method are supported before choosing a plan.
Once compatibility is clear, match the plan’s destination coverage, data allowance, validity period and activation timing to your itinerary. Install it over Wi‑Fi using the provider’s instructions, select it for cellular data when needed, and check roaming settings only as directed. Kaspersky eSIM Store’s app and website let you choose, arrange and activate an eSIM with a mobile-data plan for an international trip; the exact service and network availability depend on the plan and its provider. A few checks before purchase can make it easier to use maps, messages and other online services when away from Wi‑Fi.


