Travel connectivity guide
Apple iPad Pro 11-inch cellular 1TB 5G eSIM
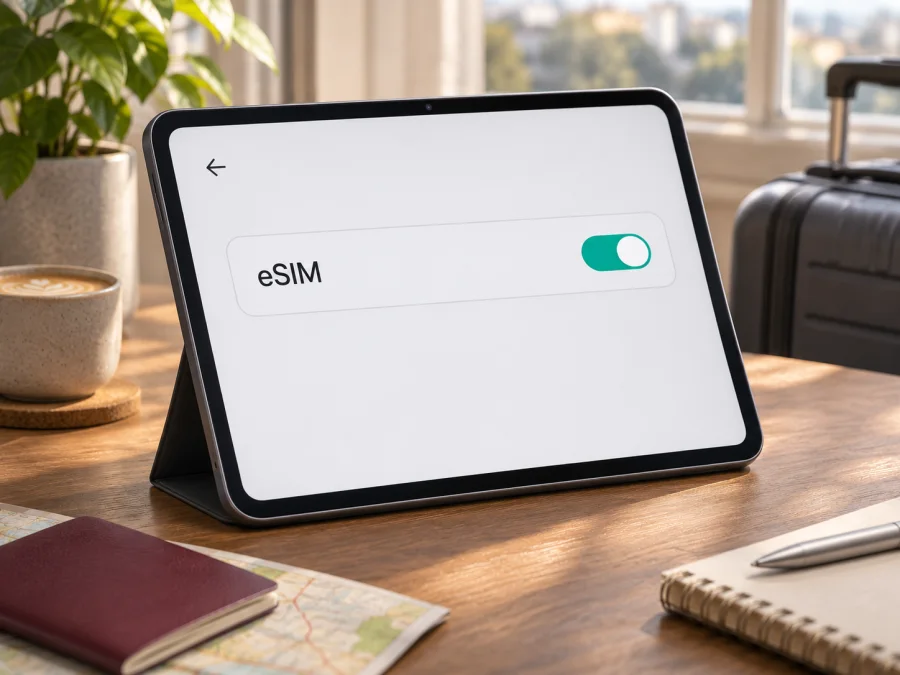
Apple iPad Pro 11-inch cellular 1TB 5G eSIM: compatibility and setup
Short answer: Apple lists Wi-Fi + Cellular versions of the iPad Pro 11-inch as supporting eSIM, including several generations and the newer M-series versions. The exact name “Apple iPad Pro 11-inch cellular 1TB 5G” does not identify a generation, model number, or sales region, however. Check the model number and eSIM menu on the actual tablet before buying a data plan. A 1TB capacity or a 5G label is not, by itself, proof that a particular cellular profile will install or connect.
Does Apple iPad Pro 11-inch cellular 1TB 5G support eSIM?
If this name refers to an authentic Wi-Fi + Cellular iPad Pro 11-inch model listed by Apple, the family supports eSIM. Apple’s current compatibility information includes Wi-Fi + Cellular iPad Pro 11-inch models from the first through fourth generations, as well as M4 and M5 models. These are not all the same hardware revision: their SIM arrangements and network capabilities differ. Apple describes M4 and M5 cellular iPad Pro models as eSIM-only, while earlier cellular generations include a physical nano-SIM tray as well as eSIM support in supported markets.
That family-level answer is useful, but it is not a guarantee for an unidentified tablet, a particular operator, or a travel plan. The wording supplied here does not name an M-series chip or generation. It could describe a listing that combines marketing terms, a reseller title, or details from more than one specification. Confirm that the tablet itself is a genuine cellular model and match its model number against Apple’s information. If it is a Wi-Fi-only version, it cannot use an eSIM for its own cellular data, regardless of its storage capacity.
The 1TB option describes storage. It does not add a cellular modem or determine which SIM format is available. Likewise, 5G describes a mobile-network capability on supported cellular variants; it does not confirm eSIM availability in every country, compatibility with every provider, or access to every 5G band. Actual network access depends on the exact model, local frequency bands, the service provider, the plan, and local availability.
| Detail in the listing | What it tells you | What it does not confirm |
|---|---|---|
| Apple iPad Pro 11-inch | The advertised tablet family and screen size | Its generation, model number, or sales region |
| cellular | The listing claims mobile-network hardware | That the unit is unlocked or can install any provider’s eSIM |
| 1TB | Advertised storage capacity | Cellular or eSIM compatibility |
| 5G | A claimed 5G-capable cellular configuration | Coverage, supported local bands, or eSIM eligibility |
| Wi-Fi + Cellular / model number | The precise Apple configuration can be checked | Whether a chosen plan’s provider supports this device in the destination |
Generation and regional differences matter
Apple’s model-identification guide assigns different model numbers to Wi-Fi-only, Wi-Fi + Cellular, and some China mainland versions. The 2018, 2020, 2021, and 2022 cellular models have a nano-SIM tray and are listed as eSIM-capable. M4 and M5 cellular models have no tray and use eSIM. A tray therefore does not rule out eSIM on earlier versions.
Sales market matters. Apple identifies particular China mainland models, and local operator eligibility is separate from installing a travel profile for another destination. Do not infer support from “China version,” “global version,” or “5G.” Ask for the A-number and confirm with the exact plan provider that the regional model can install its profile.
Check compatibility before choosing a plan
Use these checks before paying for a travel data plan. They help separate device capability from restrictions imposed by a seller, carrier, destination, or plan.
- [ ] Confirm that it is the cellular configuration. On the iPad, open Settings → General → About and read Model Name and Model Number. Tap the part number shown beside Model Number to reveal the A-number. Compare that number with Apple’s identification guide. A Wi-Fi-only model has no cellular service to configure.
- [ ] Look for EID. On a cellular iPad, open Settings → General → About and inspect the identifiers. Depending on the software version and screen, tap the serial-number field to cycle through identifiers. An EID is a strong sign that the device has eSIM hardware. You can also search the About page for EID. If there is no EID, do not buy a profile on the assumption that it will work; confirm the model number with Apple or the seller first.
- [ ] Look for the eSIM control. Open Settings → Cellular Data (the label can vary slightly by iPadOS version). Check for Add eSIM, Add a New Plan, Set Up Cellular Data, or a similar option. The menu wording differs by software and region. An absent control is a reason to pause and verify the model and software, not proof on its own that every eSIM service is unavailable.
- [ ] Check the seller’s region and lock status. Ask whether the tablet is carrier-restricted, managed by an organization, or subject to a local activation restriction. A device that is locked or restricted may reject a profile even if its hardware supports eSIM.
- [ ] Confirm with the plan provider. Verify that it supports eSIM installation on an iPad, your exact regional model, and your destination. Many providers support a phone-focused flow but do not support iPad activation through the same app or QR code.
- [ ] Check the plan conditions. Confirm destination coverage, data allowance, validity period, activation timing, required APN settings if any, and whether data roaming must be enabled for that eSIM.
- [ ] Prepare Wi-Fi and software. Update iPadOS when practical and keep the iPad connected to reliable Wi-Fi during installation. Some providers require an app, confirmation code, or a specific installation method.
Check your device before selecting a plan. If any item is uncertain, ask the seller or provider to confirm the exact model rather than relying on the retail title.
How to identify the actual model
- Open Settings.
- Tap General, then About.
- Note the Model Name and Model Number. Tap the part number beside Model Number to show the A-number.
- Compare that A-number with Apple’s identification information, including any regional designation.
- Check the About page for EID and the Cellular Data settings for an eSIM or plan-adding control.
For a used or imported tablet, request a screenshot of About with serial number, EID, and IMEI hidden. Confirm it matches the seller’s description.
Installing and activating an eSIM
An iPad eSIM is a digital profile that connects the tablet to a supported mobile data service. The provider determines whether setup uses a QR code, a link, an app, direct assignment, or another method. Have the correct instructions and a working Wi-Fi connection ready. Do not scan an activation code repeatedly or delete a profile just because the first connection takes a few minutes; some codes can be used only once, and provider rules vary.
Step-by-step setup with a QR code
- Check the model and plan. Confirm the iPad is Wi-Fi + Cellular, has an EID or eSIM option, is not restricted, and is accepted by the provider for the destination.
- Connect to Wi-Fi. Keep the connection stable while the profile downloads. Use the iPad itself for the setup unless the provider’s instructions specifically require another device.
- Open cellular settings. Go to Settings → Cellular Data. Choose Add eSIM, Add a New Plan, or the closest option shown on your iPadOS version.
- Choose the provider’s QR route. Select the option to scan a QR code, if offered. Point the iPad camera at the provider’s code. Follow the displayed prompts. If the provider gave a confirmation code, enter it when asked.
- Use a manual or link method only if instructed. Some iPadOS versions let you open a provider’s QR code from an email or webpage, or enter activation details manually. Follow the provider’s current instructions; do not copy private activation data into an unrelated form.
- Label the plan. If prompted, choose a clear label such as “Travel data” so you can distinguish it from another stored plan.
- Choose the data line. In Settings → Cellular Data, select the new profile for mobile data when you are ready to use it. If there is another plan installed, verify which line is selected.
- Set roaming only as required. Turn on data roaming for the travel profile only when the plan instructions require it. Check that the home provider’s line is not selected for cellular data if you want to avoid using its roaming allowance.
- Wait for registration. The iPad may need a few minutes to download the profile and register with a supported network. Check the provider’s activation timing and restart the iPad only if its instructions recommend it.
- Test with Wi-Fi off. Once the plan should be active, turn off Wi-Fi briefly and open a simple webpage. Check that the travel profile is selected and that the iPad shows a cellular connection.
For platform-specific steps, see the iOS eSIM installation instructions and the Android eSIM installation instructions. iPad uses iPadOS, so follow the iOS guidance only where it matches the provider’s current iPad steps; if the screens differ, use the instructions supplied for your plan or contact its support team.
Activation timing and profile management
Installation and activation can happen at different times: a profile may download before validity begins, or activate on first connection. Read the plan rules and keep the confirmation details available. A supported iPad can store multiple eSIMs, but model and software affect active profiles. Before deleting or transferring one, ask the provider; a one-time QR code may not permit reinstallation.
Using the iPad for mobile data while travelling
A cellular iPad can be a convenient data device for maps, email, messaging, remote work, and browsing during a trip. It generally provides data connectivity rather than a normal mobile phone line: do not assume that a travel data eSIM includes a telephone number, voice calls, or SMS. Check the terms of the specific plan. Internet-based messaging and calls may work through apps when the iPad has data and the app account is configured.
Before departure, identify the country or countries you will visit, then compare the plan’s coverage area with your route. A country-specific plan may not cover a neighboring country or an airport transit stop. A regional plan may suit a multi-country itinerary, but its included destinations and networks still need checking. Compare the amount of data and validity with your actual use: navigation, video calls, cloud backups, and streaming can consume data at very different rates. Use Wi-Fi for large updates and backups where practical.
You can install the profile before leaving if the plan permits it and you have a reliable connection. Decide when to select it for cellular data based on the plan’s activation rule. On arrival, turn off Wi-Fi briefly, confirm the travel profile is selected, and allow the iPad time to register. If the plan requires roaming for its partner network, enable roaming for that profile as directed. Data roaming on the selected travel eSIM is not the same as choosing your home operator’s line; verify the selected data line to avoid unexpected charges from your regular provider.
Kaspersky eSIM Store is an app and website where travellers can choose, arrange, and activate an eSIM with a mobile data plan for an overseas trip. The available destinations, plan terms, and device requirements can change. Browse destinations and check current plans on the Store homepage; this is a general starting point, not a country-specific tariff or a promise that a particular plan will work with every iPad variant.
A simple travel checklist
Before departure: verify the model and provider support, read coverage, validity and roaming terms, and keep activation details available. On arrival: select the travel eSIM, apply roaming settings as instructed, turn Wi-Fi off briefly, and test a webpage. During the trip, monitor usage and check destination boundaries before crossing into another country.
Common problems and what to check
There is no “Add eSIM” option
Confirm it is Wi-Fi + Cellular and check its A-number and EID in Settings. Check for management or regional restrictions, update iPadOS, and restart. If the option is still absent, ask Apple or the seller to verify the exact model.
The QR code will not scan or the profile will not download
Confirm the code is for this plan, valid, unused, and fully visible. Use stable Wi-Fi. If it is invalid or expired, contact the provider; do not keep retrying a one-time code.
The eSIM appears installed, but there is no service
Confirm the destination is covered and the plan active. Select the eSIM for data, follow provider instructions for roaming and APN, then toggle Airplane Mode and allow network registration. Check local service availability; contact the provider if it still fails.
The iPad connects, but pages do not load
Turn Wi-Fi off and confirm the plan is selected, active, in coverage, and has data remaining. Check any supplied APN details. If only one app fails, check that app separately.
The home plan is using data instead
Select the travel profile for data and review automatic switching. Check the home plan’s roaming settings. Do not remove a profile until you know whether it can be restored.
The plan works in one place but not another
Coverage depends on included countries, local networks, device bands, and signal. Check the exact destination with the provider. A 5G-capable iPad may use LTE where 5G is unavailable; that alone does not indicate an eSIM fault.
Frequently asked questions
Does 1TB storage make this iPad eSIM-compatible?
No. Storage capacity is independent of cellular hardware. Confirm that the exact model is Wi-Fi + Cellular and verify EID or the eSIM control in Settings.
Does 5G mean the travel eSIM will use 5G?
No. 5G depends on the iPad model’s supported bands, the local network, the provider’s agreement, coverage, and the plan. A compatible eSIM may connect over LTE where 5G is unavailable.
Can an iPad use an eSIM even if it has a physical SIM tray?
Apple lists several 11-inch cellular iPad Pro generations with both a nano-SIM tray and eSIM capability. The tray does not rule out eSIM. Check the exact model and the eSIM option in settings.
Can I use the same travel eSIM on my phone and iPad?
Do not assume so. Many eSIM profiles are intended for one device, and provider installation or transfer rules vary. Confirm whether the plan supports the iPad and whether it can be moved before installing it.
Does a travel data plan give the iPad a phone number?
Not necessarily. Travel plans may provide mobile data only. Check the plan terms for calls, SMS, or a number. Internet-based calling and messaging may be available through apps.
Should I enable data roaming?
Only follow the instructions for the selected eSIM plan. Some providers require roaming to connect through a partner network. Confirm that the travel eSIM, rather than your home plan, is selected for mobile data.
Can I delete the eSIM if it does not work and scan the code again?
Check with the provider first. Some activation codes can be used only once, and deleting a profile may not reset or cancel a plan. Ask support for the correct recovery steps.
Final check before your trip
For the exact listing Apple iPad Pro 11-inch cellular 1TB 5G, the safest answer is: the Apple iPad Pro 11-inch Wi-Fi + Cellular family supports eSIM, but the listing does not identify a specific generation or regional model. Verify the A-number, EID, and eSIM menu on the tablet, then confirm that the provider supports that model and your destination. The 1TB and 5G labels do not replace those checks.
Once compatibility is confirmed, compare the plan’s coverage, data allowance, validity, and activation rules with your travel itinerary. Kaspersky eSIM Store’s app and website can help you browse and arrange a suitable eSIM data plan for an overseas trip. Check compatibility first, then browse current destinations and plans and follow the plan’s iPad setup instructions before relying on mobile data abroad.


