Travel connectivity guide
Apple iPad Pro 12.9-inch 5G 512GB Cellular eSIM
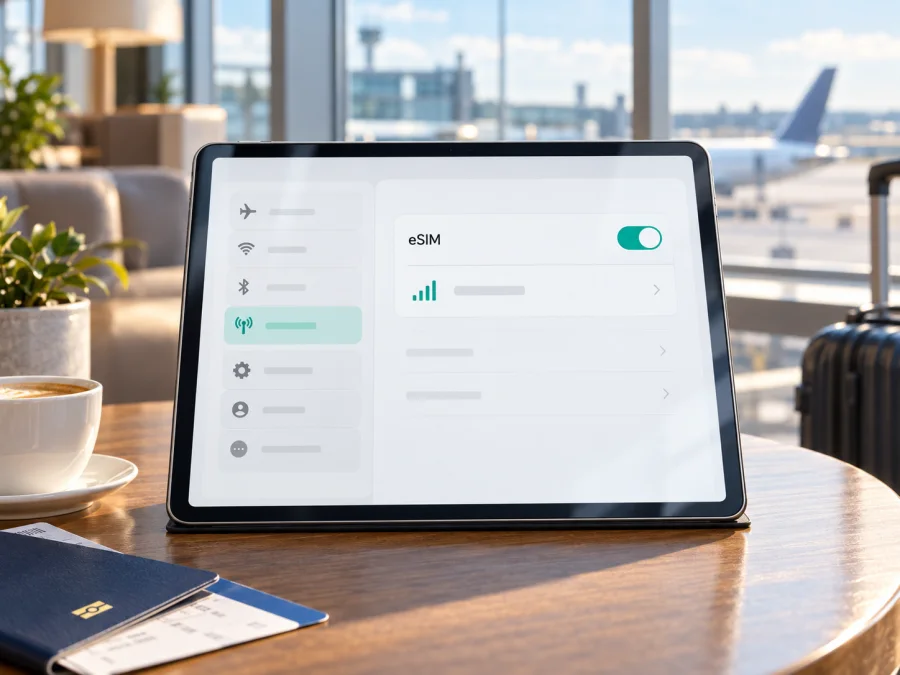
Apple iPad Pro 12.9-inch 5G 512GB Cellular eSIM compatibility
The Apple iPad Pro 12.9-inch 5G 512GB Cellular is an eSIM-capable configuration when it is a supported Wi‑Fi + Cellular model. Apple lists eSIM for cellular iPad Pro 12.9-inch models from the 3rd through 6th generations; the 5th and 6th generations are also the 12.9-inch models associated with 5G. Apple’s technical specifications for these generations include both 512GB capacity options and eSIM. That means the described 5G Cellular configuration should support eSIM, but the storage amount alone does not identify its generation, sales region, or exact model number.
Before relying on that general answer, check the actual iPad. A Wi‑Fi-only iPad does not gain cellular or eSIM capability through software, and regional or carrier restrictions can affect service. Confirm the model number and EID on the device and ask the intended provider whether it supports eSIM data plans for that exact version. This quick check is especially useful before buying a travel plan.
At a glance
| Detail | What it means for this variant |
|---|---|
| Device name supplied | Apple iPad Pro 12.9-inch 5G 512GB Cellular |
| Connectivity class | Cellular-capable configuration; 5G availability also depends on network coverage, bands, and carrier |
| Storage | 512GB is storage capacity, not a cellular or eSIM setting |
| eSIM status | Supported on Apple’s compatible iPad Pro 12.9-inch Wi‑Fi + Cellular generations; verify the exact unit |
| Physical SIM | Some earlier Wi‑Fi + Cellular versions also have a nano-SIM tray; this does not replace the EID check |
| Typical travel use | Mobile data on an eligible eSIM plan, while retaining Wi‑Fi access when available |
What the compatibility answer covers
Apple’s support information identifies iPad Pro 12.9-inch Wi‑Fi + Cellular models in generations 3–6 as models that can set up eSIM. Apple’s technical specification pages for the 5th and 6th generations list 5G on the cellular model and include eSIM among the SIM options. A 512GB capacity is offered within these families, so the wording in the device name is consistent with an eSIM-capable model.
The supplied name omits a generation and model number. “12.9-inch,” “5G,” “512GB,” and “Cellular” are not a complete identity record. For an imported, refurbished, or second-hand iPad, use the identifier in Settings rather than relying on a listing or box label.
A cellular iPad can use eSIM only if the hardware and regional configuration support it. Availability also depends on the country or region, the carrier, the type of plan, and the iPadOS version. A carrier may support eSIM on a phone but not on iPad, or may offer service only to customers who meet its account requirements. The word “Cellular” in a product description confirms the intended connectivity class; it does not guarantee that every eSIM provider can activate service on every regional unit.
Regional availability matters: Apple notes that eSIM service is not available from every carrier or in every country or region. Model configurations and carrier arrangements can vary. If Settings has no EID or cellular-plan option, compare the model number with Apple’s information for that market and ask Apple or the carrier about the exact unit.
A travel data eSIM is generally for internet access, not an ordinary phone number for voice calls or SMS unless the plan explicitly includes them. Internet calling and messaging apps can use data. A physical SIM, if present, is a separate service.
Check the iPad before choosing a plan
Use the device itself to verify compatibility before you pay for a plan. Menu labels can vary slightly by iPadOS version and language.
- Connect to Wi‑Fi, open Settings, then tap General and About.
- Look for EID. An EID is the identifier associated with the embedded SIM hardware. Its presence is a strong device-level indication that eSIM can be configured.
- In About, note the model name and tap Model Number if necessary to reveal the identifier that begins with “A”. Use the full identifier to confirm the generation and regional version.
- Return to Settings and look for Cellular Data (in some locales it may be labelled Mobile Data). A compatible cellular iPad normally offers a control such as Add a New Plan or Add eSIM.
- Confirm that iPadOS is up to date and that the iPad is not restricted by a carrier or organisation profile. A missing menu can be caused by device configuration, restrictions, software, or regional availability; it is not proof by itself that the whole iPad family lacks eSIM.
If you see an EID but no add-plan control, restart the iPad, check for a software update, and inspect Screen Time or mobile-device-management restrictions if applicable. If there is no EID and no cellular-plan menu, verify the exact model number with Apple or the seller before purchasing. An eSIM QR code cannot create an EID or convert a Wi‑Fi-only model into a cellular one.
Use the device compatibility check as a reminder to compare the exact model, not only the product family name. Before choosing a plan, check that its terms support iPad/tablet activation in your destination and that the plan is intended for data use.
Install and activate an eSIM
Prepare a stable Wi‑Fi connection, keep the iPad charged, and have the activation details from the provider ready. Depending on the provider, setup may use a QR code, an activation link, a carrier app, or a manual activation flow. Each QR code or activation credential may be intended for one installation, so follow the provider’s instructions and do not share it.
Add the plan from Settings
- Open Settings and tap Cellular Data or Mobile Data.
- Choose Add a New Plan or Add eSIM. If the wording differs, follow the carrier-provided activation instructions for the iPad.
- Select Use QR Code or Other if that option is offered, then scan the code supplied for your plan. If the code is shown on the iPad itself, use the provider’s supported manual entry or link method; the iPad cannot scan its own display with its camera.
- Enter a confirmation code only if the provider gave you one. Review the plan details shown on screen and confirm that you want to add it.
- Wait for the iPad to finish downloading the profile. Keep Wi‑Fi connected during setup, and avoid deleting the profile if activation is still pending.
- Open Settings > Cellular Data and select the new plan. Turn on the line or plan, then enable Data Roaming only when the plan’s instructions require it. For many travel plans, roaming must be enabled for the partner network to work; follow the plan’s specific terms.
- If the iPad asks which plan should be used for cellular data, choose the travel plan for the trip. If you want to avoid unexpected usage on another plan, turn that plan off or disable its data line as appropriate.
- Allow a few minutes for registration. Check that the status bar shows a cellular signal and open a simple webpage to confirm data access.
Apple also describes activation through a supported carrier app or carrier link. Those options appear only when the carrier offers them for the model and region. Do not repeatedly scan a one-time QR code if the first attempt fails; check the provider’s activation status and contact support if the profile may already have been used.
For a broader Apple-device walkthrough, see the iOS eSIM installation instructions. The Android eSIM installation instructions are useful if you are preparing a separate Android phone or tablet for the same trip; Android menus do not apply to this iPad.
Plan the connection for a trip
A practical travel setup is to install the data eSIM while you still have dependable Wi‑Fi, then decide when to turn it on. Some plans begin their validity period at purchase, while others start at installation, first connection, or another event described in the plan terms. Check that detail before installing early. Also check the covered destination, data allowance, validity period, supported network, hotspot rules, and any fair-use conditions.
After arriving, open Settings > Cellular Data, make the travel plan the selected data line, and check the provider’s roaming guidance. If your home plan remains active, choose carefully which line supplies data. Disable automatic data switching if you do not want the iPad to switch to another line unexpectedly. A cellular iPad can use Wi‑Fi whenever it is available; using Wi‑Fi for large downloads may help preserve the travel allowance.
For a multi-country itinerary, verify every destination in the plan terms. Coverage and speeds depend on local networks, location, supported bands, and congestion. A 5G-capable iPad may use LTE or another available technology when 5G is unavailable; the plan name does not guarantee a specific network or speed.
Kaspersky eSIM Store is an app and website where travellers can choose, arrange, and activate an eSIM with a mobile-data plan for an international trip. It helps you review a destination and plan details in advance; the service and network are provided under the plan’s terms by the relevant mobile operator or partner. Before selecting a plan, verify that your exact iPad variant supports eSIM and that the plan permits tablet activation. Explore eSIM options for your trip with Kaspersky eSIM Store.
Troubleshooting common setup issues
There is no “Add eSIM” or “Add a New Plan” option. Check that this is a Wi‑Fi + Cellular model, confirm the EID in Settings > General > About, and verify the A-number model identifier. Update iPadOS and check whether an organisation profile or parental restriction hides cellular settings. If the EID is absent, ask Apple or the seller to confirm the regional model before proceeding.
The QR code will not scan. Increase screen brightness, clean the camera lens, and hold the code steady within the frame. If the code is displayed on the iPad, use a supported activation link or manual method instead. Make sure the QR code is for an iPad eSIM plan and has not already been used. Ask the provider for a replacement if the code is invalid or expired.
The profile is installed but there is no signal. Confirm that the travel plan is turned on and selected for cellular data. Check whether you are in a covered location, whether the plan’s start condition has been met, and whether Data Roaming is required. Toggle Airplane Mode off and on or restart once, then allow the iPad to register. If the status remains “No Service,” ask the provider whether the plan is active and whether a supported network is available there.
The iPad has signal but apps cannot connect. Check that the correct line is selected for data, that the data allowance has not been exhausted, and that the plan is within its validity period. Turn off Wi‑Fi briefly to test cellular data, then confirm any APN instructions supplied by the provider. If a VPN, content filter, or managed profile is configured, temporarily check whether it affects connectivity without changing settings you do not control.
Frequently asked questions
Does the 512GB version have eSIM?
Capacity does not determine eSIM support. Apple’s 12.9-inch Wi‑Fi + Cellular iPad Pro models in generations 3–6 support eSIM; the 5th and 6th generations are the 5G 12.9-inch families. The name supplied here does not specify the generation, so confirm the actual model and EID before purchasing.
Can I tell the generation from “5G 512GB Cellular”?
Not reliably. Those terms describe connectivity and storage, but the generation and regional model number are still needed for an exact identification. Find the model number under Settings > General > About, then compare it with Apple’s model information.
Will a travel eSIM give the iPad a phone number?
Usually a data-only travel plan is for internet access and does not include ordinary voice service or SMS. Check the specific plan description. Internet-based messaging and calling apps can use data where supported.
What if I bought the iPad in another country?
Use its model number and EID, and ask the carrier or plan provider about the exact regional version. Apple’s general eSIM list does not guarantee that every carrier, country, or market configuration can activate every plan. If the device is managed by an organisation or remains carrier-restricted, those settings may also affect setup.
Before you travel: verify, then choose
For the Apple iPad Pro 12.9-inch 5G 512GB Cellular, Apple’s published information supports eSIM on the cellular 12.9-inch generations that match the 5G family, including 5th and 6th generation technical specifications. Because the supplied device name does not state generation or market, treat that as a strong compatibility indication, then verify the actual unit: check its EID, model number, and Cellular Data settings. Confirm with the plan provider that the exact variant and destination are supported before you pay.
When those checks are complete, choose a travel plan by destination, validity, data allowance, and any restrictions that matter to your itinerary. Install it over Wi‑Fi using the provider’s supported method, select it for data when appropriate, and keep the activation details available until service is working. That sequence helps avoid confusing a plan issue with a device limitation and gives you a clear way to prepare the iPad for mobile data abroad.


