Travel connectivity guide
Apple iPhone 17 256GB eSIM: compatibility
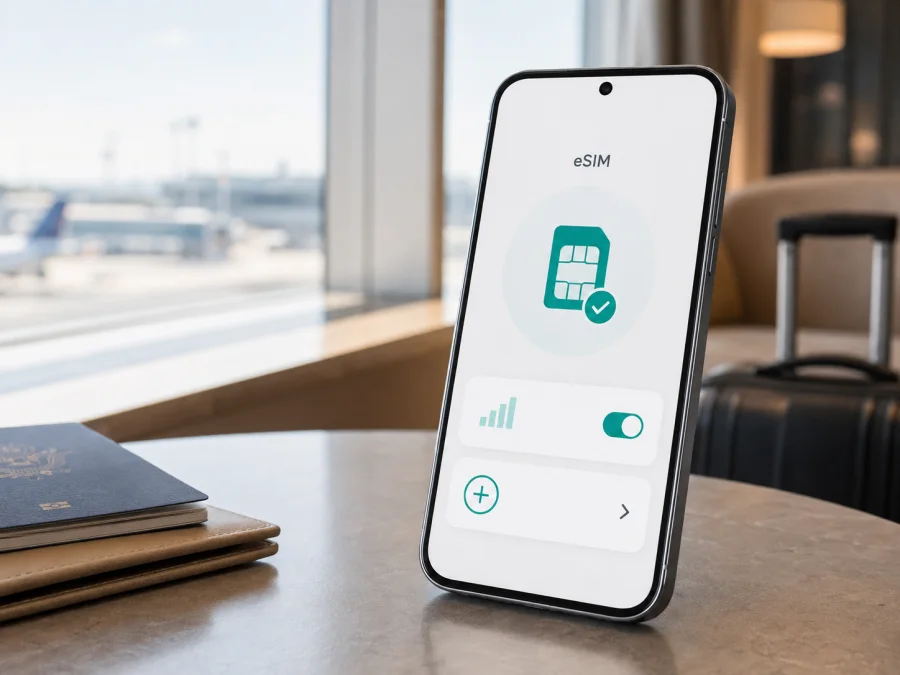
Apple iPhone 17 256GB eSIM: compatibility and setup
Apple iPhone 17 256GB supports eSIM. Apple’s current technical specifications list a 256GB capacity and describe the iPhone 17 as using advanced eSIM technology. In the United States and several other markets, this version is eSIM-only and does not accept a physical SIM card. In many other markets, the same device family supports both eSIM and a nano-SIM. The storage capacity does not by itself decide whether eSIM works: the country of sale, the regional hardware version, the carrier and the device’s lock status matter.
For a trip, the practical answer is therefore: Apple iPhone 17 256GB can be a suitable device for a travel eSIM when the exact handset has an eSIM option in Settings, shows an EID and is unlocked for another provider. Those checks should come before plan selection. A plan for mobile data can then be installed before departure or after arrival, provided you have Wi-Fi or another internet connection for the initial download.
Quick answer
Apple also states that the iPhone 17 models sold in the United States, United States Virgin Islands, Canada, Mexico, Japan, Guam, the United Arab Emirates, Saudi Arabia, Bahrain, Kuwait, Qatar and Oman are activated exclusively with eSIM and are not compatible with physical SIM cards. Models sold outside that group are generally listed with eSIM and nano-SIM. Mainland China needs separate caution: Apple’s current support information says that only iPhone 17e and iPhone Air support eSIM there, so a regular iPhone 17 purchased for that market should not be assumed to support it.
Apple iPhone 17 256GB: relevant specifications
| Item | What it means for eSIM use |
|---|---|
| Device variant | Apple iPhone 17 256GB; this exact capacity identifies the requested storage variant. |
| eSIM | Supported by the iPhone 17 platform according to Apple’s current technical specifications. |
| Active eSIM lines | Up to two eSIMs can be active at once on the listed configuration. |
| Stored profiles | Apple states that eight or more eSIMs can be stored; the number shown on a particular phone can vary with settings and carrier profiles. |
| Physical SIM | eSIM-only in some listed markets; eSIM plus nano-SIM in many other markets. |
| Cellular connection | 4G/LTE and 5G support are part of the iPhone 17 cellular platform, but a travel plan uses the networks and bands available under its own conditions. |
| Storage | 256GB is the requested storage variant. It does not replace or guarantee eSIM capability. |
| Unlock status | The phone must allow activation with the provider of the travel eSIM. |
What regional versions change
Apple’s regional design is why phones with the same product name can behave differently. An eSIM-only version has no physical SIM fallback, while a nano-SIM version can use either format. Both still need the eSIM menu and an unlocked status for a separate travel provider.
Imported or refurbished phones can have different SIM behavior or management restrictions. Ask for the sales region and confirmation that the phone is unlocked. The selected provider must still issue a compatible profile for the destination and activation method.
Compatibility check before purchase
Use the handset itself as the final authority. The most useful signals are an EID and an option to add a cellular plan or eSIM. Menus can have slightly different wording after an iOS update, but an iPhone that supports eSIM normally exposes these details in Settings.
<a id="kesim-device-compatibility"></a>
1. Find the EID
Open Settings → General → About and scroll through the identifiers. Look for EID, a long digital identifier associated with the embedded SIM. Do not confuse it with the serial number, IMEI or an ICCID for a physical or existing SIM. If the EID is visible, that is strong evidence that the phone has an eSIM component. It is not, by itself, proof that a particular plan or carrier will accept the phone.
2. Look for the add-eSIM control
Open Settings → Cellular or Settings → Mobile Data, depending on the language and region of iOS. Look for Add eSIM, Set Up Cellular or a similar option. Tapping it should offer a way to transfer from another iPhone, scan a QR code, use a provider app or enter details manually, depending on the available activation methods. You do not need to complete the installation just to confirm that the menu exists.
3. Check the carrier lock
In Settings → General → About, find Carrier Lock. For a phone intended to use a separate travel provider, the desirable status is No SIM restrictions. If the field shows a restriction, contact the original carrier before buying a plan. An eSIM-capable phone can still refuse a profile because it is locked to another carrier.
4. Confirm the region and ownership history
Compare the model information and purchase region with the seller’s description. Check whether the phone is company-managed, activation-locked or still associated with another owner. A device can display eSIM controls yet remain unusable for a new profile when it has an account or management restriction. Finish setup with your own Apple Account and install current iOS updates when possible.
5. Use this short checklist
- [ ] The phone is exactly Apple iPhone 17 256GB, not a different iPhone 17 family model.
- [ ] An EID appears under Settings → General → About.
- [ ] Add eSIM or an equivalent cellular-plan control appears in Settings.
- [ ] Carrier Lock says No SIM restrictions.
- [ ] The market of purchase is known and is not being treated as interchangeable with every other region.
- [ ] The destination and plan support the activation method you intend to use.
- [ ] You have Wi-Fi or another internet connection for downloading the profile.
- [ ] You understand whether the plan covers data only and what its validity conditions are.
For a quick route back to these checks, use Check your device before you choose a travel plan. If any item is unclear, pause the purchase and confirm the point with the seller or the plan’s support team. This small delay is safer than trying to solve a regional or carrier restriction after the eSIM has been issued.
Choosing a travel eSIM for Apple iPhone 17 256GB
Once the phone passes the checklist, select the destination or region and compare data allowance, validity, activation rules and fair-use limits. For a multi-country route, verify coverage for every country.
Kaspersky eSIM Store is an app and website where you can choose, arrange and activate an eSIM with a suitable mobile-data plan for an overseas trip. It helps you prepare the profile and review the selected travel conditions. It is not a mobile operator, network owner or provider of mobile internet. Coverage, speed, activation and the underlying network remain subject to the selected plan and local operators’ conditions.
Travel eSIM plans commonly focus on mobile data and may not include a phone number, calls or SMS. Keep the primary line for those services or use internet messaging and calling apps; check the individual plan terms.
Installing eSIM on iPhone
Before you begin, have an unlocked Apple iPhone 17 256GB, a charged battery, stable Wi-Fi and the QR code or activation details supplied after you arrange the eSIM. Keep the QR code on another screen when needed, and do not delete an existing profile while troubleshooting unless the provider tells you to.
1. Open cellular settings
Unlock the iPhone. Open Settings. Tap Cellular or Mobile Data. Choose Add eSIM or Set Up Cellular. If the button is absent, stop and return to the compatibility checks rather than searching for an unrelated menu.
2. Choose the activation method
Select Use QR Code when supplied, point the camera at the code and wait for iOS to recognize it. If the plan uses an app or activation link instead, follow that plan’s on-screen method.
3. Add the cellular plan
Review the label and destination shown by iOS, then tap to add or continue. Label the profile Travel data. Enter manual activation values only when the plan supplies them and iOS requests them.
4. Decide which line handles each service
When iOS asks about defaults, keep the primary line for calls and messages if needed. Set the travel eSIM as Cellular Data and turn off Allow Cellular Data Switching to avoid accidental fallback usage.
5. Enable data roaming only when required
Open the travel line’s settings and check Data Roaming. Enable it only if the plan requires it, and confirm that the travel profile—not the home line—is selected.
6. Test the connection
Turn off Wi-Fi briefly and open a simple webpage. Confirm that the cellular indicator and expected data line appear; first registration may take a few minutes. A home-country test confirms installation, not destination coverage.
For a longer step-by-step reference, see the iOS eSIM installation instructions. If you are preparing a second device for a companion, the Android eSIM installation instructions cover the different menu flow; they do not change the compatibility result for Apple iPhone 17 256GB.
Activation timing and a trip scenario
Install before departure when you want time to test the profile on reliable Wi-Fi, or after arrival if the plan starts validity on first use and dependable internet is available. Read the activation rule first. On a seven-day trip, keep the home line for verification messages, label the new profile Travel data, select it for cellular data, enable roaming only for that line if required, check every country on the route and switch data back to the primary line after returning.
Common problems and fixes
“Add eSIM” is missing
Recheck the EID under Settings → General → About, restart the iPhone and install available iOS updates. If both EID and the add-eSIM control are absent, suspect a regional version without eSIM; confirm the sales region with the seller or provider instead of trying to force a QR-code installation.
The QR code will not scan
Increase the source-screen brightness, clean the camera and display the complete code on another screen. Check whether it was already used; do not delete and reinstall a possibly single-use profile without provider guidance.
The eSIM is installed but there is no data
In Settings → Cellular, turn on the travel profile and select it under Cellular Data. Check whether its Data Roaming setting is required, toggle airplane mode and wait several minutes. Review the allowance and edit APN only when the plan gives exact instructions.
Data uses the wrong line
Select the travel profile under Cellular Data and review Allow Cellular Data Switching. If the home line remains active for calls or SMS, check the selection again after restarting or crossing a border.
Service works slowly or stops in one place
A compatible profile does not guarantee equal speed everywhere. Move to a clearer-signal location, toggle airplane mode and verify destination coverage, allowance and fair-use conditions. Use manual network selection only when the provider recommends it.
The phone is locked or account-restricted
An eSIM cannot bypass a carrier lock, activation lock or organizational management. Ask the original carrier or seller to resolve the restriction through the legitimate owner; do not share passwords or EID details publicly.
FAQ
Does Apple iPhone 17 256GB support eSIM?
Yes, the iPhone 17 platform supports eSIM, and Apple lists the 256GB capacity. The final result for a particular Apple iPhone 17 256GB depends on its market version, the presence of an EID, the eSIM menu in Settings and the carrier-lock status.
Is the US version different?
Yes. Apple lists iPhone 17 models sold in the United States and several other named markets as eSIM-only. Many models sold outside that group support both eSIM and nano-SIM. Check the actual market and handset rather than assuming that a US configuration behaves like an imported version.
Can the mainland China version use a travel eSIM?
Do not assume so. Apple’s current regional guidance says that only iPhone 17e and iPhone Air support eSIM in mainland China. Check for an EID and Add eSIM on the exact phone; if they are missing, choose another compatible device for the trip.
Conclusion
Apple iPhone 17 256GB suits travel eSIM use when its region, EID, unlock status and plan match.
Final device check and travel eSIM
Before choosing an eSIM for your trip, return to the exact device in your hand and complete this final sequence:
- Confirm that the label is Apple iPhone 17 256GB and that you know its original sales region.
- Confirm that EID is visible in Settings → General → About.
- Confirm that Add eSIM appears in Settings → Cellular or Mobile Data.
- Confirm Carrier Lock: No SIM restrictions.
- Confirm that the selected eSIM plan covers every destination and uses an activation method available to you.
- Confirm which line will carry mobile data and whether data roaming is required for that line.
- Keep the activation details, support information and a Wi-Fi fallback available until the connection is tested.
If all checks pass, use Kaspersky eSIM Store’s app or website to choose and arrange an eSIM with a suitable mobile-data plan for the overseas trip, then activate it on the compatible phone. The service helps you prepare the eSIM and manage the travel plan; it is not the operator or the network. Recheck the device before every new purchase, because an imported or replaced handset can have different regional or carrier conditions even when its name still appears to be Apple iPhone 17 256GB.


