Travel connectivity guide
Apple iPhone 17 Air 128GB eSIM compatibility
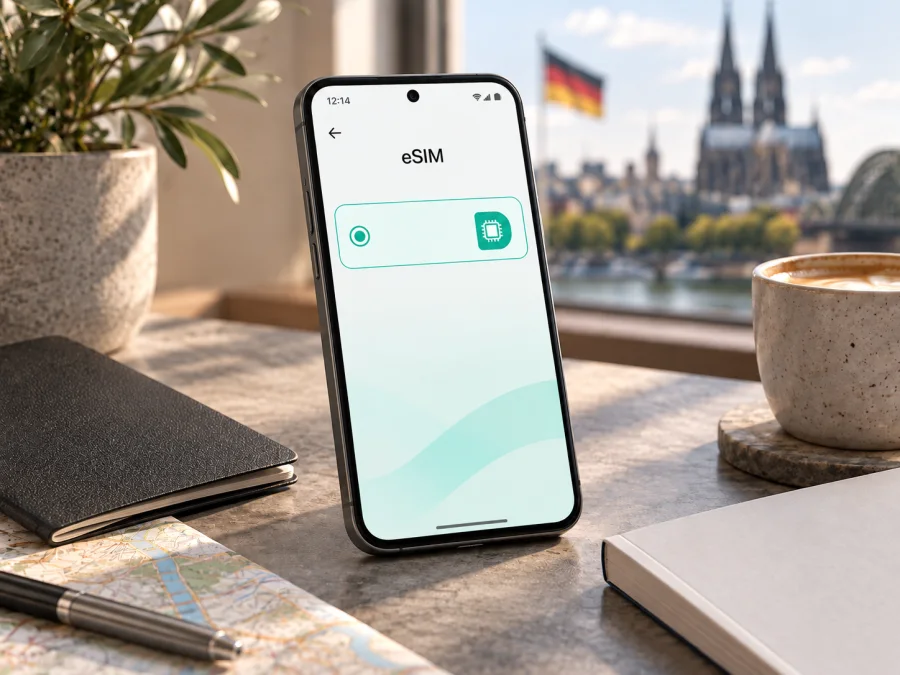
Apple iPhone 17 Air 128GB eSIM compatibility and setup guide
Apple’s iPhone Air supports eSIM and has no physical SIM tray. For the exact requested variant, Apple iPhone 17 Air 128GB, note that Apple calls the model “iPhone Air” and currently lists 256GB, 512GB and 1TB, not 128GB. Apple therefore does not document a 128GB configuration. The eSIM guidance below applies to an authentic iPhone Air; verify the actual model and capacity before relying on a seller’s listing.
At a glance
| Item | What to know about Apple iPhone 17 Air 128GB |
|---|---|
| Exact variant supplied | Apple iPhone 17 Air 128GB |
| Apple’s official model name | iPhone Air; Apple’s current specifications do not call it “iPhone 17 Air” |
| Requested capacity | 128GB is not listed in Apple’s current iPhone Air capacity options |
| eSIM | Supported on iPhone Air; Apple describes it as eSIM-only |
| Physical SIM | Not supported on iPhone Air; there is no physical SIM card tray |
| SIM setup | eSIM transfer, carrier activation, QR code, carrier app or manual details, depending on provider |
| Before a travel plan | Confirm the actual model, carrier unlock status, destination and plan conditions |
Apple’s current iPhone Air technical specifications identify the SIM setup as Dual eSIM, with two eSIMs active at once and eight or more stored, and explicitly state that physical SIM cards are not compatible. Apple’s support information also says that eSIM setup requires a provider that supports eSIM and, in most cases, Wi-Fi or a hotspot. These are statements about the iPhone Air product family, not confirmation that a 128GB retail configuration exists. Apple’s documentation checked on 25 September 2026 lists 256GB, 512GB and 1TB capacities.
What the 128GB wording means
A shop listing can combine terms that Apple does not use as the official name. “Apple iPhone 17 Air 128GB” may be a marketplace title or an error, so check Settings → General → About and compare model name, model number and capacity with the original packaging and seller records. Tap the part number to reveal the model number. If these details conflict, ask the seller or Apple to resolve the discrepancy before purchase. Storage does not itself determine eSIM support.
Regional rules also matter. Apple identifies a specific iPhone Air model, A3518, for eSIM activation in China mainland through supported local carriers and required procedures. Apple says other iPhone models cannot install profiles from mainland Chinese providers. A mainland-purchased supported iPhone Air may use a local eSIM outside mainland China, subject to setup conditions; a non-mainland iPhone cannot install a mainland Chinese carrier eSIM. Verify regional eligibility with the provider. Apple’s current regional guidance and specifications were checked on 25 September 2026.
Check compatibility before choosing a plan
General eSIM support does not guarantee that a particular plan can be added. Confirm that the handset is an iPhone Air with eSIM available, is not carrier-locked, and is accepted by the provider. Then check destination coverage, data allowance, validity, activation timing, tethering and fair-use conditions. Apple’s Dual eSIM specification describes device capability; it does not guarantee every provider or regional feature.
- [ ] In Settings → General → About, verify model name, model number and capacity. Resolve any 128GB listing mismatch.
- [ ] Find the EID in About. It identifies embedded SIM hardware; share it only when a provider needs it.
- [ ] In Settings → Cellular, look for Add eSIM or Set Up Cellular. Labels vary by iOS and language.
- [ ] Check the carrier-lock field in About. If restricted, ask that carrier about unlocking.
- [ ] Confirm the provider accepts the exact model and activation method.
- [ ] Confirm destination, data, validity, start time and plan restrictions.
A missing menu is a reason to pause and verify, not proof that the storage version changes the phone’s capabilities. Conversely, seeing an EID does not confirm the travel profile has been issued or that it can register on a network abroad. The iPhone’s settings establish what the hardware reports; the provider confirms plan eligibility and activation, while the carrier-lock status determines whether another provider can be used. Check these separately so a seller’s capacity label does not substitute for a compatibility check.
If you are comparing used phones, verify those details on the handset itself rather than relying on a reset welcome screen or a seller-provided image. Keep the model number available when you contact support, since the product name alone may not distinguish regional requirements.
Check your device before buying a travel eSIM. An EID or Add eSIM option is useful evidence, not a guarantee that a provider accepts the phone. If either is missing, update iOS, restart and check the model and region with Apple or the carrier before purchase.
Find the EID and eSIM controls
Go to Settings → General → About and note the model name, model number and EID. EID identifies the embedded SIM hardware; it is not the IMEI, serial number or phone number. Keep it private and share it only with a provider that needs it for activation. Then check Settings → Cellular → Add eSIM (the wording may differ by iOS version and language). Available options can include QR setup, carrier activation, a carrier app, manual entry or transfer from a nearby iPhone.
If Add eSIM is missing, finish initial setup, connect to Wi-Fi, update iOS and restart. If it remains absent, check the exact model and sales region with Apple Support. Also look in About for a carrier-lock status such as No SIM restrictions. Only the carrier that locked a phone can confirm whether it is eligible for unlocking; an update, reset or travel plan cannot remove a lock.
Install and activate an eSIM
Before you begin, connect to a reliable Wi-Fi network, keep the activation details accessible on another screen or printed page, and check the provider’s instructions. Some activation codes are single-use, and some profiles begin their validity period as soon as they are installed or first connect. If the QR code is displayed on the iPhone itself, you may need to use the manual entry option or open the provider’s app instead of trying to scan the same screen.
- Prepare the phone. Install the latest iOS update available for your device, make sure Airplane Mode is off, and connect to Wi-Fi. Confirm the iPhone is unlocked if you intend to use a provider other than the one that sold it.
- Open eSIM setup. Go to Settings → Cellular → Add eSIM. Menu names may differ slightly by iOS release or language.
- Choose the provider’s method. Scan its QR code, follow a carrier activation notification, open the provider’s app, transfer an eligible plan from a nearby iPhone, or choose manual entry if the provider supplied activation details. Use the method specified for that plan.
- Review the line. When iOS asks, give the new line a clear label such as “Travel data.” Keep the home line labelled separately so it is easy to select later.
- Choose what each line does. For a data-only travel plan, keep the home line available for calls or messages if you want those services, and set the travel eSIM as the cellular data line when you reach the destination. Turn off data switching if you do not want the iPhone to use the other line for data automatically.
- Finish activation as instructed. Some plans connect only after arrival; others require installation or activation before departure. Follow the provider’s stated timing and do not delete a profile just because it has not connected yet.
- Verify service. At the intended time and location, turn on the travel line and Cellular Data, disable Airplane Mode, and allow the phone to register. If the plan requires data roaming on its own line, enable it for that line only.
Apple’s iPhone instructions are available in Set up eSIM on iPhone. For Android devices, see Set up eSIM on Android; those Android steps do not apply to iPhone Air, but may help someone preparing another device. For the exact sequence and activation timing, follow the directions supplied with the selected plan.
Use Apple iPhone 17 Air 128GB for mobile data on a trip
Since iPhone Air has no physical SIM tray, a travel eSIM can be added without removing a card. If allowed, install the profile over dependable Wi-Fi before departure. Check when validity begins: at installation, first connection in a supported destination, or after a separate activation step. Save the provider’s instructions offline, and confirm coverage for every country on the itinerary, including stopovers.
Before travel, decide whether to keep the home line active for calls or text messages. Ask the home carrier about roaming charges and Wi-Fi Calling. A travel eSIM is often data-only; it does not replace a regular number, voice or SMS unless its terms say so. Internet messaging and voice apps still require a connection and their own account settings.
On arrival, open Settings → Cellular, turn on the travel line, and select it under Cellular Data. Follow the provider’s directions for data roaming; if you keep the home line active, consider disabling roaming for that line to avoid unintended charges. iPhone Air supports two active eSIMs according to Apple, but provider rules and regional requirements may limit a particular combination.
For a short visit, estimate data for maps, messaging, bookings and browsing. For video calls or hotspot use, check the allowance and tethering terms. Coverage and speed depend on local networks and plan conditions; device compatibility does not guarantee service at every location.
Kaspersky eSIM Store is an app and website where travellers can choose, arrange and activate an eSIM with a mobile-data plan for an overseas trip. Mobile service depends on the plan and local network. After confirming eligibility, you can choose a travel eSIM plan for your itinerary and review its allowance, validity and activation terms.
If setup or data does not work
The QR code will not scan. Clean the lens, increase brightness and check that the code is valid and unused. If it is displayed on this iPhone, use the provider’s app or manual setup option. Do not share the code; it may activate the profile.
“Unable to add eSIM” or activation fails. Check Wi-Fi, restart, update iOS, and verify model, EID, carrier lock and provider instructions. A failed attempt may require a replacement code. Ask the provider before deleting an installed profile, since some codes cannot be reused.
The profile is installed, but there is no signal. Confirm you are in a covered destination, the travel line is on and Airplane Mode is off. Check provider instructions for roaming, APN and network selection; start with automatic selection unless told otherwise. Allow registration time, then restart.
There is signal but no data. Select the travel eSIM under Cellular Data and confirm mobile data is on. Check whether the plan has started, whether roaming is required, and whether data or validity has run out. Temporarily turn off Wi-Fi to test the cellular connection.
Unexpected home-line charges. Check which line supplies data and whether data switching is enabled. Ask the home carrier about roaming before travel; a separate travel eSIM does not automatically prevent charges on another active line.
Frequently asked questions
Does Apple iPhone 17 Air 128GB support eSIM?
Apple confirms eSIM-only operation for iPhone Air, but its published capacities are 256GB, 512GB and 1TB, and its official name is “iPhone Air.” The exact 128GB configuration is not documented by Apple. Verify the model number and capacity on the actual phone.
Can I use a physical SIM, and how many eSIMs can be active?
No physical SIM is supported. Apple lists two active eSIMs and storage for eight or more profiles; provider and regional rules can still affect activation.
Is an EID enough to confirm that a travel plan works?
No. Check Add eSIM, carrier-lock status, exact model, provider eligibility and destination coverage. EID only helps identify eSIM hardware.
Do all regional versions work with every eSIM?
No. Apple documents region-specific rules, including special China mainland activation procedures. Check the exact model with the relevant provider.
Does a travel eSIM include calls and SMS?
Only when the plan explicitly says so. Many are data-only; internet calling and messaging apps need an active data connection.
Before you travel: check the phone, then choose the plan
For Apple iPhone 17 Air 128GB, first resolve the product-description mismatch: Apple’s published iPhone Air capacities start at 256GB, and its official name is iPhone Air. On the actual phone, verify Settings → General → About, note the model number and EID, and make sure Settings → Cellular → Add eSIM is available. Confirm the device is unlocked and that the provider accepts its regional model. Apple’s specifications confirm eSIM-only operation for iPhone Air, while local activation rules and plan eligibility can still vary.
Once the handset and provider are confirmed, match the travel eSIM to your itinerary. Check destination coverage, data amount, validity, start time, roaming instructions and hotspot conditions before purchase. Install and activate according to the provider’s steps, then verify which line supplies data after arrival. These checks help you choose a suitable eSIM plan for a trip without assuming that the storage label or model name in a shop listing guarantees compatibility.


