Travel connectivity guide
Apple iPhone 17 Air eSIM: Compatibility & Setup
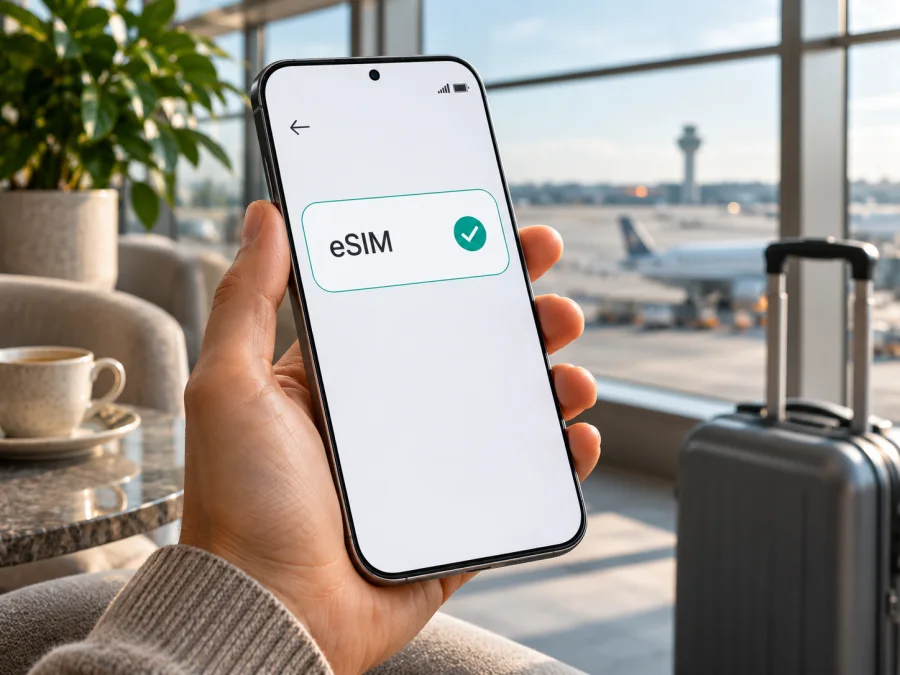
Apple iPhone 17 Air eSIM: compatibility, setup, and travel use
If you are checking whether Apple iPhone 17 Air can use an eSIM, first note that Apple’s current pages identify a device called iPhone Air; they do not establish “iPhone 17 Air” as an official model name. Apple says iPhone Air supports eSIM and is not compatible with physical SIM cards. This confirms support for the documented iPhone Air, but does not prove that every retailer listing called “Apple iPhone 17 Air” is the same device. Check its model name and number in Settings before buying a plan.
If your phone is Apple’s documented iPhone Air, eSIM is its only SIM format. Apple lists Dual eSIM, with two active eSIMs and storage for eight or more profiles. A compatible service plan and an unlocked phone are still required to add another provider’s eSIM. Regional availability and the provider’s network support also matter, so confirm the specific handset and destination before checkout.
Quick compatibility answer
| Question | What can be confirmed |
|---|---|
| Does Apple iPhone 17 Air support eSIM? | Apple documents iPhone Air, not “iPhone 17 Air.” The documented iPhone Air supports Dual eSIM and has no physical SIM compatibility. |
| Can a physical SIM be used instead? | Not on the documented iPhone Air. Apple describes it as eSIM-only. |
| Can two eSIM lines be active? | Apple’s specifications say two active eSIMs are supported. Availability of service on each line depends on the providers and settings. |
| Is every regional or carrier version identical? | Do not assume so. Confirm the exact model number, sales region, carrier lock status, and local eSIM service requirements. |
| Will a travel eSIM work automatically? | Only if the phone can add the profile, is unlocked where required, the plan covers the destination, and its settings allow that line to connect. |
“eSIM-only” describes the documented iPhone Air’s SIM hardware; a particular plan still depends on carrier eligibility, unlock status, and destination coverage.
What the model name means
Apple’s product page and technical specifications call the documented device iPhone Air and do not verify the longer “iPhone 17 Air” label. Treat that phrase on a retailer page or used listing as unverified until the phone’s model information confirms its identity.
Ask the seller for the precise model number, then compare it with Settings → General → About. Tap the model number if needed to see the regulatory model number. Do not rely on a listing title alone.
For documented iPhone Air, eSIM is the only SIM format. There is no physical-SIM fallback if a provider cannot activate service, so confirm eligibility before relying on it for travel.
Regional versions and carrier conditions
Apple says iPhone Air is eSIM-only; its U.S. listing names the United States and Puerto Rico, and Apple’s mainland China support information also identifies iPhone Air as eSIM-only. Other iPhone models may have different SIM arrangements by region. Apple has not published a separate “iPhone 17 Air” variant table.
Separate three questions when checking a phone:
- Does this handset support eSIM? Check its model name and number, EID, and Add eSIM control.
- Is it unlocked? A carrier lock may prevent adding a travel line. Confirm with the seller or carrier; do not infer unlock status from appearance.
- Will the plan work there? Confirm device eligibility and destination coverage with the provider. Local rules and network compatibility may also affect service.
Sales region, model number, and activation country are different details. For a used or imported phone, ask where it was sold, whether it is unlocked, and whether eSIM has been tested. An employer or school may also restrict adding plans to a managed phone.
Check eSIM support on the phone
Use both the EID and Settings menu as practical checks. They indicate that iOS has an eSIM setup path, but do not guarantee that a specific plan will activate.
Find the EID
- Open Settings → General → About.
- Scroll to EID. If a provider needs it for a compatibility check, share it only through that provider’s support channel.
Look for Add eSIM
- Open Settings → Cellular (also called Mobile Service or Mobile Data in some locales).
- Look for Add eSIM or Set Up Cellular. Wording can vary by iOS version and region.
If EID or Add eSIM is missing, verify the model, update iOS, restart, and check again. Ask Apple or the seller to identify the device if its About screen does not match the “Apple iPhone 17 Air” listing.
Before you choose a plan
Check compatibility before payment, while you can still contact the seller or provider if something does not match. Confirm that the name and model number belong to the phone you will carry, the EID and Add eSIM option are present, and the device is not restricted by its original carrier or an organization profile. If a seller cannot confirm the exact model behind “Apple iPhone 17 Air,” treat the eSIM claim as unverified.
Next compare the plan with the trip rather than choosing by the device name alone. Confirm every country or region on your route, the amount of data and validity period, and the event that starts the plan. Check whether the plan requires a QR scan, app installation, or manual setup and whether it can be installed ahead of travel. Keep access to Wi-Fi during setup and retain the activation details until the eSIM connects. A compatible phone cannot make an unsupported destination or expired plan work.
Check whether your device is compatible before selecting a travel plan. Compatibility, carrier unlock status, and coverage for your destination are separate checks.
Install and activate an eSIM
Before installation, connect to Wi-Fi, update iOS if needed, and have the provider’s QR code or app instructions ready. Use the method supplied for your plan; activation codes may be single-use.
Add the plan on iPhone
- Open Settings → Cellular → Add eSIM (or Set Up Cellular).
- Choose the supplied method, such as Use QR Code or the provider app. For QR setup, display the code on another screen and scan it.
- Follow the prompts and keep Wi-Fi connected while iOS adds the profile.
- Label the line Travel or another name you recognize.
- Check the plan’s terms to learn when validity starts. Install early only if permitted; you can leave the line off until arrival.
- At your destination, turn on the travel line and select it for Cellular Data. Enable its Data Roaming only if the provider requires it.
- Wait for network registration and test a webpage. If it fails, troubleshoot before deleting the profile.
An installed profile does not necessarily mean the plan is active. Keep the plan details available until service is confirmed.
For additional guidance, see the iOS eSIM installation instructions and the Android eSIM installation instructions. Kaspersky eSIM Store is an app and website where you can choose, arrange, and activate an eSIM plan for mobile data on an international trip; it is not a mobile operator or network owner.
Use a travel eSIM without losing track of your home line
Before departure, compare the plan’s destination, data allowance, validity, and activation conditions with your itinerary. A single-country plan may not cover stopovers. Check when validity begins and keep setup instructions accessible while online.
After landing, turn on the travel eSIM and select it for data. If you keep your home line active, check its roaming settings and Allow Cellular Data Switching to avoid unintended charges. Apple lists two active eSIMs for iPhone Air, but only one line is selected for cellular data at a time.
Many travel plans are data-only and do not include a phone number, voice calls, or SMS unless stated in their terms. Messaging and calling apps can use the data connection. Keep your home line if you need it for account verification.
Kaspersky eSIM Store’s app and website help you choose and activate an eSIM plan for mobile internet on an international trip. Review the current price, data, validity, and destinations, and compare them with your carrier’s roaming terms.
Practical travel scenarios
One-country holiday. Confirm destination coverage, install with a stable connection, and select the travel line for data on arrival. Enable roaming on that line only if required.
Several countries. Check every destination in the plan terms. After a border crossing, allow time for the phone to register on a new network.
Keep your usual number. Ask your carrier about calls, SMS, and roaming charges. Set the travel line as the data line and review data switching.
Limited Wi-Fi on arrival. Check compatibility and prepare the installation while you have a reliable connection, following the plan’s activation timing.
Troubleshooting checklist
If the eSIM is installed but there is no service, work through these checks in order:
- Enable the line in Settings → Cellular.
- Select it for data under Cellular Data and review data switching.
- Check roaming for the travel line if its provider requires it.
- Confirm plan status: destination coverage, validity start, and remaining data.
- Refresh service: toggle Airplane Mode, then restart if needed.
- Update iOS and carrier settings under Settings → General → About.
- Check lock or restrictions with the carrier or device administrator.
- Do not delete the profile yet. Contact the provider first; a QR code may be single-use.
If no eSIM appears under Cellular, verify the model name and number, EID, Add eSIM option, and iOS version. Ask Apple or the seller to identify the phone if it was sold as “Apple iPhone 17 Air.”
If the line is visible but data does not work, check that the travel profile is switched on and selected for cellular data, then verify the plan’s destination and remaining allowance. If the phone shows No Service or SOS, refresh the connection and allow time for network registration; a plan may not include the place you are in. If QR scanning fails, increase the display brightness on the other device, clean the camera lens, and check that the code belongs to this plan. Do not repeatedly scan or remove a profile when the provider says the code can be used once. Save any exact error message for support.
Frequently asked questions
Does Apple iPhone 17 Air support eSIM?
Apple documents iPhone Air, not “iPhone 17 Air.” The documented iPhone Air is eSIM-only with Dual eSIM. The longer listing name remains unverified until the phone’s model information confirms its identity.
Can I use a physical SIM card in it?
Apple says iPhone Air is not compatible with physical SIM cards. Verify the model if an “Apple iPhone 17 Air” listing claims to have a SIM tray.
How many eSIMs can it store or use at once?
Apple lists storage for eight or more eSIMs and two active eSIMs. Stored profiles are not all active at once.
Can I install a travel eSIM before my trip?
Often, yes. Check the plan terms: installing a profile and starting its validity may be separate events.
Does a travel eSIM replace my phone number?
Usually a travel data plan does not include a phone number or SMS unless its terms say so. Check home carrier conditions if you keep that line active.
Why is Add eSIM missing?
Check the model, update iOS, and look for the EID under Settings → General → About. A carrier or organization may restrict adding plans; ask Apple or the seller to identify an unmatched listing.
Does eSIM support guarantee coverage abroad?
No. The plan must cover the destination and support activation on an eligible, unlocked device. Coverage varies by provider and location.
Final checks before your trip
Confirm the handset identity first: Apple documents iPhone Air, while Apple iPhone 17 Air is not confirmed as an official name. Check model number, EID, Add eSIM, and unlock status. Apple lists iPhone Air as eSIM-only with two active eSIMs.
Then check destination, data allowance, validity, activation timing, and roaming requirements. If compatible, choose a suitable plan in the Kaspersky eSIM Store app or website and select its line for data when ready. Keep the instructions available during your trip.


