Travel connectivity guide
Apple iPhone SE 2nd generation eSIM compatibility
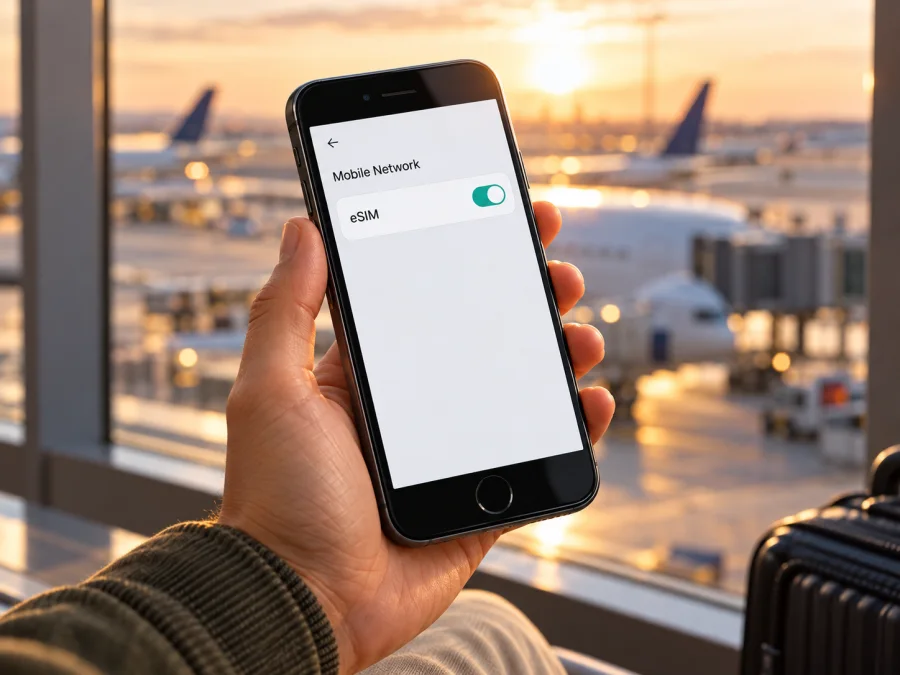
Does Apple iPhone SE 2nd generation support eSIM?
Yes. Apple iPhone SE 2nd generation supports one eSIM profile alongside one physical nano-SIM, so you can keep a regular line available while using a travel eSIM for mobile data. Apple’s current technical specifications list Dual SIM (nano-SIM and eSIM), and its deployment guidance classifies this model as supporting a single eSIM. Apple also cautions that eSIM is not supported in all regions and that some carriers may disable the feature on devices they sell. This means the model family is compatible, but the particular handset, its software, the carrier and the operator market still matter. Apple’s support information was checked on 17 October 2026.
If you have this iPhone and are planning a trip, check the actual phone before choosing a plan. An eSIM-capable model name is a useful first signal; the EID, the Add eSIM option and the device’s carrier-lock status are practical checks for your specific unit. The steps below explain how to do those checks, install a travel profile and select it for mobile data.
At a glance
| Item | Apple iPhone SE 2nd generation |
|---|---|
| eSIM support | Yes, one eSIM; Apple lists one physical nano-SIM alongside it |
| SIM arrangement | Dual SIM with nano-SIM and eSIM, where available |
| 5G | This model uses LTE; do not expect 5G service from it |
| Main qualification | eSIM may be unavailable in some regions or disabled by some carriers |
| What to verify on your phone | EID, Add eSIM / Add Cellular Plan, carrier lock and iOS version |
| Typical travel use | Keep your usual line for calls or messages and select the travel eSIM for data |
This answer applies to Apple iPhone SE 2nd generation as a model family. It does not guarantee that every regional or carrier unit has eSIM enabled, or that every plan works in every destination. Verify a used or imported handset itself.
What the eSIM does on this iPhone
This iPhone can use a physical nano-SIM and an eSIM together. Keep your everyday number on the physical SIM and select the travel profile for data if desired. Two lines do not necessarily include the same services: a data-focused travel plan may not include a phone number, voice calls or SMS. Check its terms; messaging and internet calls can use data, while ordinary calls and texts follow the selected line’s terms.
Apple’s device guidance lists this model as Single eSIM. In everyday use, this means the phone supports an eSIM profile, but you should not assume that it can keep multiple eSIM profiles active simultaneously or behave like newer Dual eSIM models. Settings may let you store more than one profile depending on iOS and carrier support, but the practical active-line arrangement should be confirmed on the phone and with the plan provider. For a simple trip setup, install the one travel eSIM you intend to use and select it for data.
This model supports LTE rather than 5G. An eSIM does not change the radio hardware, and speed and signal depend on local LTE coverage, plan terms and the handset’s radio configuration.
Compatibility checks before you buy
Use this checklist on the exact phone that will travel with you:
- [ ] Confirm the model in Settings → General → About. The device should be Apple iPhone SE 2nd generation, not another iPhone SE generation.
- [ ] Find the EID in Settings → General → About. An EID is the identifier associated with the eSIM hardware. If it is present, that is a strong indication that the phone has eSIM capability.
- [ ] Open Settings → Cellular (called Mobile Data in some regions) and look for Add eSIM, Add Cellular Plan or similar wording. Names can differ by iOS version and language.
- [ ] Check Carrier Lock in Settings → General → About. For use with a different provider, the iPhone generally needs to be unlocked. Apple says Dual SIM use with two different carriers requires an unlocked iPhone.
- [ ] Check that iOS is up to date enough for the activation method your provider uses. The QR-code route and carrier activation flow may have slightly different requirements.
- [ ] Ask whether the specific operator and destination support the eSIM service and whether the plan is compatible with this device. Hardware support alone cannot confirm service availability.
- [ ] Make sure you can connect to Wi-Fi or another working internet connection during installation, unless the provider’s instructions explicitly state otherwise.
For a step-by-step device check, check whether your device is compatible. If EID and Add eSIM are both missing, pause before buying a plan and ask Apple or the original carrier to verify the handset. A regional configuration, carrier restriction or device management setting can block activation.
Why regional and carrier versions need a closer look
Apple identifies the model family as eSIM-capable but states that eSIM is not supported in every region. In addition, Apple’s specifications warn that eSIM may be disabled when a phone is purchased from some carriers. There is therefore no single conclusion based only on the words “iPhone SE 2nd generation” for every second-hand, imported or carrier-issued unit around the world.
When checking a used phone, verify the model in Settings → General → About rather than relying on the name in an online listing. If you cannot inspect it before buying, ask the seller to confirm the EID and Add eSIM control after setup and to state whether the phone is carrier-unlocked. These checks help distinguish the model’s built-in capability from restrictions on one particular device.
Separate model capability from handset availability and destination service: Apple lists eSIM for the model family, but the actual phone’s EID, settings, original market and carrier configuration determine whether you can add a profile. The plan and operator market determine whether it connects at your destination. Confirm all three before purchase.
Once your phone passes these checks, Kaspersky eSIM Store’s app and website let you choose, arrange and activate an eSIM with a mobile data plan for an international trip. Explore eSIM options for your trip and review the selected plan’s destination and conditions before proceeding.
How to install an eSIM on Apple iPhone SE 2nd generation
Before starting, make sure the phone is connected to Wi-Fi, has enough battery, and is not in Airplane Mode. Keep the eSIM QR code or activation instructions available on another screen or printed page. A QR code displayed on the same phone cannot normally be scanned by that phone’s camera; use the provider’s in-app installation option or manual details if offered. Do not share an activation QR code publicly: it can contain information that allows the profile to be installed.
Menu names can vary by iOS version and region. Follow the plan’s supplied method. See the iOS eSIM installation instructions or Android eSIM installation instructions.
QR code installation
- Check compatibility first. Confirm the EID or Add eSIM option, unlock status and plan compatibility before purchase. Check that the plan is intended for the country or region you will visit.
- Open the eSIM section. Go to Settings → Cellular (or Mobile Data) → Add eSIM / Add Cellular Plan. If asked, choose the option to use a QR code.
- Scan the provider’s code. Point the camera at the QR code while the iPhone is connected to the internet. If it does not scan, adjust the screen brightness on the other device, move the code closer or farther away, and make sure the code has not expired or already been used.
- Review the plan information. iOS may show that a cellular plan is ready to be added. Confirm that this is the plan you intend to install and continue through the on-screen prompts.
- Label the lines. Choose a clear label such as “Personal” for your usual SIM and “Travel” for the new eSIM. Labels help you identify lines later; they do not change the plan itself.
- Choose default settings carefully. You may be asked which line to use for calls, messages and cellular data. Keep your usual line selected for calls if that is what you want, and select the travel eSIM for data when appropriate. You can change these choices later in Settings.
- Wait for confirmation. The profile may take a short time to download and activate. Keep the phone online and do not delete the eSIM while the process is underway. If the screen says activation is pending, follow the plan instructions and allow the profile time to register.
Validity may start at installation, first connection or another time stated in the plan. Read its terms before installing; switching the line off does not necessarily pause validity.
Manual entry or app-based installation
If the provider gives an SM-DP+ address and activation code, open Settings → Cellular → Add eSIM / Add Cellular Plan and choose manual entry if available. Enter the supplied details carefully. If using an app install button, keep the app open and follow its prompts.
Select the eSIM for mobile data on arrival
After installation, go to Settings → Cellular and tap the travel eSIM. Turn on Turn On This Line, then return to Cellular Data and select that eSIM for data. If the plan provider requires data roaming for its profile to register on a partner network, turn on Data Roaming for that eSIM only and follow the provider’s instructions. Avoid enabling roaming on your everyday line unless you intend to use it and understand its charges.
Turn off data switching if you want data to stay on the travel line. The everyday line may still incur call, message or data charges when active abroad. For cost control, disable roaming on that line and verify the travel eSIM is selected before using apps.
Using the phone during a trip
A practical arrival sequence
- Turn off Airplane Mode and wait briefly for the phone to find a network.
- In Settings → Cellular, make sure the travel line is on and selected for cellular data.
- Enable data roaming for the travel line only if the provider’s instructions require it.
- Check that the phone shows a network name or signal indicator and that a simple webpage loads with Wi-Fi turned off.
- If data does not connect, use the troubleshooting sequence below before deleting the profile.
Troubleshooting: checks to make first
The Add eSIM option is missing. Reopen Settings → General → About and check for an EID. Restart the phone and install any available iOS update over Wi-Fi. Confirm the model and ask the original carrier whether eSIM was disabled or the device is managed by an organisation. If there is no EID and no Add eSIM option, stop before buying a travel plan and ask Apple or the carrier to verify the hardware and configuration.
The phone says the plan cannot be added. Make sure you have a stable internet connection and that the QR code or activation details belong to this plan and have not expired or been used. Check for typing errors in manually entered details. Verify that the provider supports this iPhone and the country where you are installing it. If the activation attempt has already started, do not repeatedly scan the same code or delete the plan; contact the plan provider with the error message.
The profile is installed but there is no signal. Confirm that the travel line is turned on and that you are in a destination covered by the plan. Toggle Airplane Mode on for a few seconds and off again, then restart the phone if needed. Check that the iPhone is not locked to another carrier. If the plan requires data roaming, enable it for the travel eSIM. Allow some time for registration, especially just after landing or crossing a border.
There is a signal but no mobile data. In Settings → Cellular → Cellular Data, select the travel eSIM. Verify that cellular data is enabled, and check the plan’s activation status, remaining data and validity. If the provider supplied APN settings, use only those exact values and instructions; do not copy settings from a different service. Turn off Wi-Fi briefly to confirm that the test is using cellular data rather than a saved wireless network.
The usual SIM is using data or incurs roaming charges. Recheck the Cellular Data selection and the data switching setting. Turn off roaming for your everyday line if you do not want it used abroad, and review call and message settings separately. Keep in mind that selecting the travel eSIM for data does not automatically prevent charges from calls, SMS or voicemail on the other line.
The connection is slow or intermittent. Move to an open area, wait and retry; indoor reception and network congestion can affect LTE performance. Make sure the plan is active and that the phone has not selected a line with no service. A restart can refresh the connection. If service remains poor, ask the provider whether there is a local network issue or a supported manual network selection method. Do not expect 5G from this model.
A QR code is not recognized. Increase the brightness of the screen displaying it, clean the iPhone camera lens, and adjust the distance and angle. Check that the entire code is visible and not clipped. If the code is shown on the iPhone itself, display it on another device or use manual entry if your provider supports that option. Ask for a replacement code if the original is damaged or no longer valid.
You are considering removing the eSIM. Treat removal as a consequential step. A profile may not be reusable after deletion, depending on the provider’s rules. First ask whether the plan can be reinstalled and whether a new activation code is required. If you are troubleshooting, use the provider’s recommended checks before removing the profile. Do not erase the phone or reset network settings without understanding what information and installed profiles may be affected.
Frequently asked questions
Can I use the travel eSIM with my physical SIM?
Yes, Apple lists one nano-SIM plus one eSIM. Choose the line for data in Settings and review roaming settings for both lines.
Does every unit have eSIM enabled?
No guarantee for every individual handset. Apple notes regional availability and possible carrier disabling. Check EID, Add eSIM and Carrier Lock on your phone.
Can I use two eSIMs at once?
Apple lists this model as supporting a single eSIM. Plan on one travel eSIM alongside the nano-SIM where available; confirm the settings on your device.
Will an eSIM provide 5G?
No. Apple iPhone SE 2nd generation supports LTE, not 5G. An eSIM does not change the radio hardware.
Does a travel eSIM include calls or SMS?
Not necessarily. Check the plan terms; data-focused plans may provide neither a regular number nor voice or text service. Internet calling and messaging apps can use data.
Can I install it before departure?
Often yes over Wi-Fi, but check when the plan’s validity begins. It may start at installation, first network connection or another time in the terms.
Before choosing a travel eSIM
Apple iPhone SE 2nd generation is eSIM-capable according to Apple’s current specifications, with one eSIM used alongside a nano-SIM where the feature is available. Before you pay for a plan, verify the EID or Add eSIM setting on your own phone, check for a carrier lock, and confirm that the specific plan supports your destination and intended use. For imported and used devices, verify the handset rather than relying on its listing or model name alone.
Once compatibility is confirmed, choose a destination or route and compare the current plan details: data allowance, validity period, supported countries, activation timing and any restrictions that matter to you. Kaspersky eSIM Store is an app and website where you can choose, arrange and activate an eSIM with a mobile data plan for an international trip. The service is intended to help you prepare mobile internet for travel; network availability and plan conditions depend on the relevant local operators and the selected plan.
Before departure, install the profile using its instructions, label the line clearly and decide which SIM should handle cellular data. At your destination, turn on the travel line and check its connection with Wi-Fi switched off. A few checks before purchase and a clear line selection in Settings can make it easier to get online while keeping control of how your regular SIM is used.


