Travel connectivity guide
El Nido eSIM: Mobile Internet in Palawan
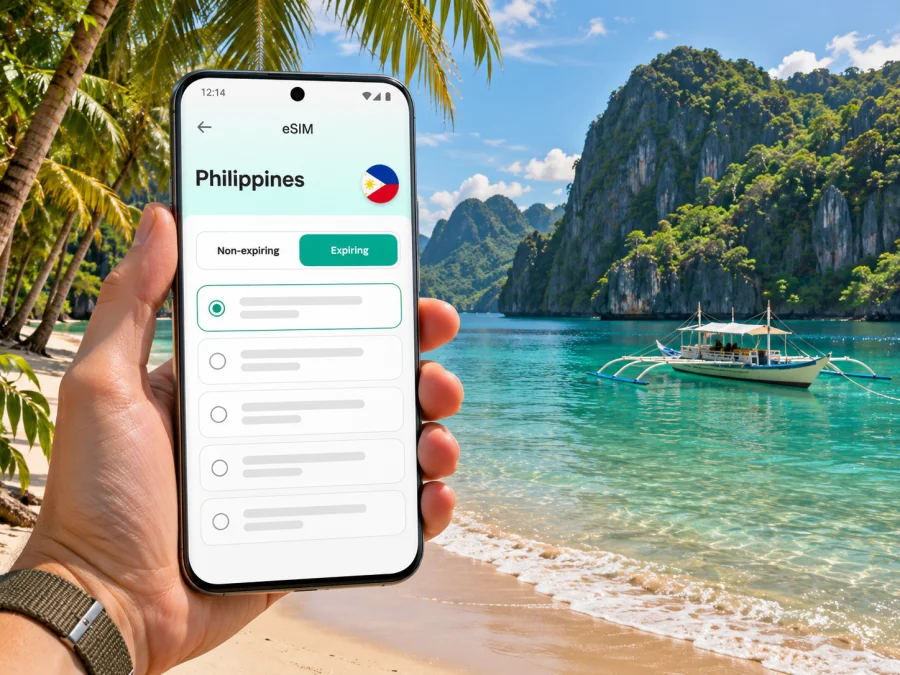
El Nido eSIM: Mobile Connection and Internet in Palawan
El Nido is a municipality on the northern end of Palawan, known for the limestone scenery and islands of Bacuit Bay. A visit often combines a flight or a long land transfer, a stay in town or near the coast, and boat trips where your surroundings change from one cove to the next. Mobile internet can help you coordinate arrival, check a booking, message your accommodation, and navigate on land. It is useful to plan for places where a signal may be weak or unavailable, especially offshore.
An eSIM lets you add a digital mobile-data profile to a compatible, unlocked device without replacing its physical SIM. For a trip to El Nido, the key is to choose a plan whose stated destination and validity cover your itinerary in the Philippines, then check how it activates and which network it uses. An eSIM is a data connection, not automatically a local phone number: calls and SMS are included only if the specific plan says so. Keep your usual line available for calls or verification messages if you need it, and use messaging apps over data when appropriate.
What to expect from mobile internet in El Nido
El Nido is not a single dense urban coverage area. The municipality includes the town, coastal settlements, beaches, and islands across Bacuit Bay. A working data connection in one place does not guarantee the same experience on another beach or boat route. Signal depends on the local operator, its coverage, terrain, distance from infrastructure, device, weather, and network load. Limestone formations and open water can make a connection less predictable than it feels in a city center.
Use mobile data as an aid, not the only way to find your hotel, meet a driver, or follow a tour. Download maps and essential documents in advance, save your accommodation’s address offline, and agree on a meeting point. Offshore, service may drop; do not depend on live navigation or an urgent message.
| Part of the trip | Where data may help | Sensible backup |
|---|---|---|
| Arrival at Lio Airport | Confirming a pickup, checking a booking, contacting your accommodation | Save pickup instructions, the property name, and a phone number before landing |
| El Nido town | Finding a café, checking directions, coordinating meals or activities | Keep an offline map and a written or saved address |
| Transfer from Puerto Princesa | Sharing your estimated arrival time and checking the route | Download the route and tell your accommodation when you expect to arrive |
| Beaches and inland trips | Looking up directions, weather updates, or return arrangements | Carry enough battery, save the return point, and confirm transport before setting out |
| Boat trips around Bacuit Bay | Sending a message before departure or after return | Expect gaps offshore; follow your boat operator’s instructions and keep plans agreed in advance |
Use the table for planning, not as a coverage map. Check current plan details and ask locally about a specific route.
Arrival: Lio Airport or the overland route
Lio Airport, also called El Nido Airport, is identified by the code ENI and sits close to El Nido town. Direct services and onward connections can change by season, airline, and operating schedule, so check the itinerary with the airline rather than assuming a route is available on your dates. International visitors commonly connect through a larger Philippine gateway before continuing to El Nido. Allow enough time between separately booked flights, and review baggage conditions for each leg.
If you fly into Puerto Princesa instead, the journey north is a substantial road transfer. The Philippine tourism travel app describes travel by land from Puerto Princesa to El Nido as roughly five to eight hours depending on the option; actual timing can change with stops, road conditions, weather, and departure point. Confirm the pickup location and arrival time directly with the transport provider. For a late arrival, make sure your lodging knows when to expect you and whether check-in remains available.
Before travelling, save your flight, transfer, and accommodation confirmations; keep the exact property address and pickup details available offline; download a map; and carry a charging cable or power bank subject to airline rules. Confirm late check-in and the transport provider’s meeting point in advance.
At the airport, an active travel eSIM may help coordinate a pickup if a supported network is available. Installing a profile and connecting are separate steps. Review destination, allowance, validity, and the activation trigger before turning it on.
Moving around the town and nearby coast
El Nido’s town area is compact compared with a major Philippine city, but your plans may include places outside the central streets. Visitors commonly use local tricycles, arranged transfers, hired vehicles, or walking for short distances. Availability and fares can vary, so agree on the destination and cost before setting off when a fare is not metered or shown in advance. For a hotel pickup, confirm the exact entrance or landmark: a map pin can lead to a nearby road rather than the property’s reception.
Mobile data is most useful when it supports a clear plan. Check your route before leaving, share the destination with the driver, and download an offline map for the area. If the road forks or a beach access point is not obvious, ask locally instead of following a stale pin through private land. Do not use your phone while riding or walking in a way that distracts you from traffic, uneven ground, or the shoreline.
For beaches farther from town, ask your accommodation about road condition, travel time, and the return ride. Nacpan and Duli are examples of destinations beyond the central town area; the practical route and conditions depend on your starting point and the day. Do not assume a rideshare service, a particular vehicle, or continuous data service will be available. Arrange the return before you leave, especially if you are travelling late or visiting with a group.
Choosing an eSIM plan for an El Nido itinerary
A city name can be helpful for planning, but a mobile-data plan usually applies to a country or region rather than a particular municipality. For El Nido, check that the plan explicitly covers the Philippines and that its network arrangements suit your intended stops. Do not infer coverage from the plan name, the availability of a tariff, or another traveller’s experience. Coverage and performance belong to the local network and may differ between the town, road corridors, beaches, and islands.
Estimate your data needs from your habits and trip length. Messaging, maps, ride coordination, and occasional email generally use less data than frequent video calls, cloud photo uploads, or streaming. If you work remotely, test your expected tasks before relying on the connection and make a backup plan for calls or large uploads. Ask your accommodation whether Wi-Fi is available and what it can realistically support; do not assume it will be suitable for every meeting.
Before selecting, compare the plan’s written terms:
- Destination: The Philippines must be listed as a covered country. For a multi-country trip, verify every destination rather than assuming one plan covers the whole route.
- Validity: Check the length of the active period and when that period starts. Match it to the days you expect to use data, including arrival and departure days.
- Data allowance: Consider your own usage. Check what happens when the allowance is used up and whether a top-up is available under the terms.
- Network details: Review any named local network, supported technology, or other limitations shown for the selected plan. The same plan can perform differently across locations.
- Hotspot use: If you intend to connect a laptop or another device, verify whether tethering is allowed and whether it changes the plan’s use.
- Calls and texts: Treat the plan as data-only unless voice, SMS, or a phone number is specifically included in its terms.
- Refunds and transfer rules: Read the conditions before installation. An eSIM profile may not be transferable after activation, and refund eligibility depends on the applicable purchase terms.
If you have confirmed the destination and want to review the current options, you can choose an eSIM plan for a trip to the Philippines. Check the plan details shown at the time of selection; a country page does not guarantee service at every point in El Nido or on every island route.
Estimate data from your habits: maps and messaging use less than frequent video calls, photo uploads, or streaming. Pause large automatic backups over mobile data to keep usage predictable.
Device compatibility and preparation
Before choosing a plan, confirm that your device supports eSIM and is not locked to a mobile operator in a way that prevents adding another profile. Device support can vary by exact model and regional version, even when product names look similar. Check the device maker’s information and the settings on your own phone. Check whether your device supports eSIM before purchase.
Also check that:
- Your operating system is up to date enough for the device’s eSIM features.
- You can connect to Wi-Fi or another working internet connection during setup if required.
- You know whether the eSIM will be installed by QR code, in-app flow, or manual details.
- You have access to the account or email where installation instructions will be delivered.
- You can keep your original SIM active if you need its number for calls or one-time codes.
- You understand which line is selected for mobile data and whether data roaming must be enabled for that eSIM.
Avoid deleting an installed eSIM profile to troubleshoot unless the plan instructions or support team tell you to do so. Some profiles cannot be installed again after removal. Keep the QR code or installation details private, because they are intended for adding your profile to a device.
Installing and using your eSIM
Install the profile before travel if convenient and if the plan’s activation rules allow it. Some plans begin validity at installation; others start at first connection. Read the terms before deciding when to install. If you plan to set it up after arrival, keep the instructions accessible and know how you will connect to Wi-Fi.
- Check the plan and device: Confirm destination, validity, allowance, eSIM support, and operator lock status.
- Open the instructions: Follow the Android eSIM installation guide or the iOS eSIM installation guide.
- Add and label the profile: Use the supplied setup method, then give the travel line a clear name such as “Philippines data.”
- Select mobile data: Choose the travel eSIM when you are ready to use it. Keep your regular line configured for calls or texts if needed.
- Check roaming settings: Enable data roaming on that line only if the plan instructions require it.
- Confirm connection: Allow time for registration. If it fails, check the selected data line, plan status, and setup instructions.
A data-only plan does not automatically include ordinary calls, SMS, or a local number. Your regular SIM may handle those under its own conditions, while messaging apps can use mobile data when service is available.
Staying prepared on boats and day trips
Bacuit Bay’s islands and lagoons are a highlight of El Nido, but do not plan around continuous service offshore. Before boarding, save your booking, meeting time, operator contact, pier location, and any tour instructions. Ask how schedule changes are communicated and agree on a meeting point with your group.
Keep your phone in a dry pouch and secure it against splashes. Follow the guide’s instructions around boats, swimming, and wet rocks. Carry a charged power bank in a dry bag, and do not depend on a live location or urgent message reaching someone at sea. Routes, access rules, fees, and sea conditions can change, so confirm current arrangements with the local operator or municipal tourism office.
Remote work and longer stays
A holiday data connection is not guaranteed work connectivity. Ask your accommodation about Wi-Fi before booking, test it before an important call, and arrange a backup. Video calls use more data and can be affected by signal changes. For a multi-stop trip, verify coverage and validity for each destination; a Philippines plan may not cover the next island or country. Leave a buffer between separately booked flights, especially after the several-hour road transfer from Puerto Princesa.
Troubleshooting if data does not work
Check that the eSIM profile is installed and enabled, selected for mobile data, and within its validity period. Follow the plan’s instructions for data roaming and network selection. Restart the phone or briefly toggle airplane mode, then wait for registration. If it still does not connect, try again in an open area and contact support through your account. Avoid deleting the eSIM profile or resetting network settings as a first step; some profiles cannot be installed again after removal. Save error details, but keep QR codes and account information private.
Quick planning checklist
Before departure, confirm the transfer and check-in, verify device support and plan terms, and save maps and travel documents offline. On arrival, choose the travel eSIM for data when ready and confirm pickup details. Before a boat or beach trip, save the booking, agree on the return plan, and prepare for gaps in service.
Frequently asked questions
Is El Nido a city?
El Nido is a municipality in northern Palawan. The name is also used for its town center and surrounding coastal and island destinations, where signal conditions can vary.
Will an eSIM work everywhere in El Nido?
No plan should be assumed to work everywhere. Service depends on the local network, plan arrangements, location, device, and current conditions. Check the plan’s network details and keep essential information offline.
Does a Philippines eSIM include a local phone number?
Not necessarily. Many travel eSIMs are data-only. Voice, SMS, and a local number are included only when the selected plan explicitly lists them.
When should I install the eSIM?
Read when validity begins. It may start on installation or first connection, depending on the plan. Install on stable internet when the timing suits those terms.
Is data reliable during island hopping?
Do not count on continuous service offshore. Save tickets and directions before boarding and agree on meeting arrangements with your group and operator.
What if there is no connection after landing?
Check that the profile is enabled and selected for data, then review plan status and settings. Follow roaming instructions and contact support if needed. Do not delete the profile as a first troubleshooting step.
Prepare your El Nido connection
A little preparation makes it easier to use your phone for the parts of the trip that benefit from it while staying ready for offline stretches. Confirm device support, read the plan terms, save your arrival details and maps, and keep island-trip arrangements available without a signal. Kaspersky eSIM Store is an app and website where you can select, purchase, and activate an eSIM with a plan for mobile data on an international trip. Review the current Philippines options and choose an eSIM plan for your El Nido trip when you are ready.


