Travel connectivity guide
Google Pixel 10 256GB eSIM: Setup Guide
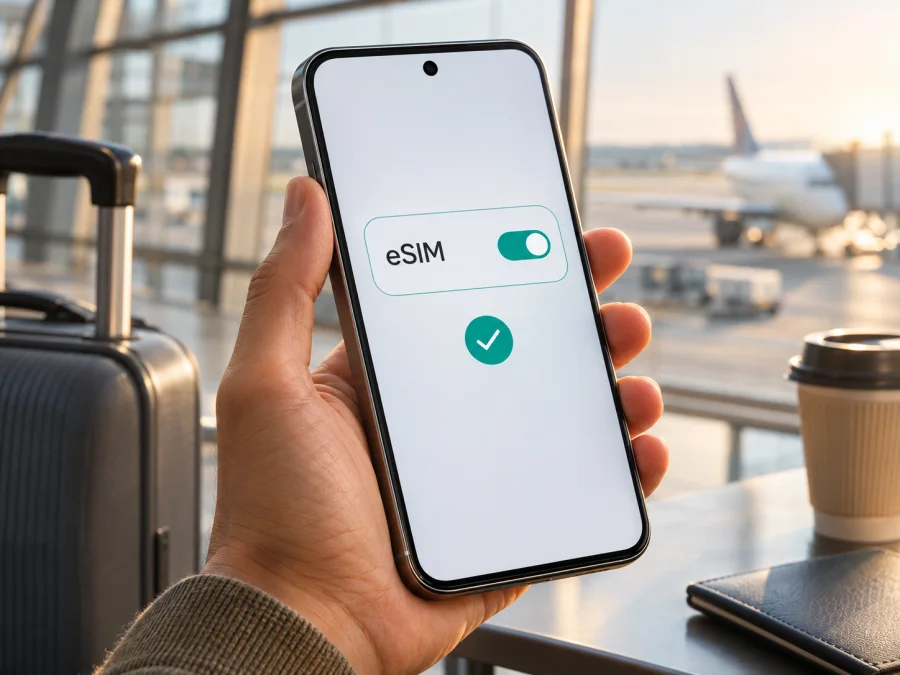
Google Pixel 10 256GB eSIM: compatibility and setup guide
Short answer: Google lists eSIM support for Pixel 10, and the 256GB storage option does not change that capability. Google’s US product specifications describe dual eSIM, with two eSIMs usable at once and at least eight profiles stored. Google also notes that Pixel 10 phones sold in the United States are eSIM-only, with no physical SIM slot. The exact SIM configuration depends on the market and device model, and the mobile operator or travel eSIM provider must support the device and its network profile. So the practical answer for a specific Google Pixel 10 256GB is “yes, if the regional variant is eSIM-enabled, it is unlocked as needed, and the provider accepts it.” Check the handset itself before relying on eSIM for a trip.
The storage size does not identify whether a phone is a US, European, Japanese, or other regional model. A retailer listing may omit its model number or SIM configuration. Google’s specifications list storage and SIM details separately. Official Google product and Help Center pages cited below were checked on 2 November 2026.
Google Pixel 10 256GB eSIM at a glance
| Item | What to know |
|---|---|
| Device variant | Google Pixel 10 256GB; storage capacity is part of the exact model name in this guide. |
| eSIM support | Google’s current Pixel 10 specifications include eSIM. Google US specifications list two active eSIMs and storage for eight or more profiles. |
| Physical SIM | Google says US Pixel 10 phones are eSIM-only. Other markets may have a different SIM configuration; confirm the exact model and tray before purchase. |
| Storage | 256GB is an available Pixel 10 storage option. It does not itself determine eSIM eligibility. |
| Network service | eSIM installation does not guarantee that a specific operator, country, or plan will work. Provider acceptance, device unlock status, radio bands, and local availability also matter. |
| Useful identifiers | EID identifies the embedded SIM component. IMEI may be requested by a provider to check or provision service. |
Google’s “Google Pixel 10 Specs & Hardware” page lists 128GB and 256GB storage options, and identifies the US SIM arrangement as dual eSIM. Google’s Pixel Phone Help article “Learn more about eSIMs” says US Pixel 10, Pixel 10 Pro, and Pixel 10 Pro XL phones do not use physical SIMs. Google’s separate setup guidance says that operator procedures can vary and advises checking eSIM support with the provider. These statements refer to the listed product and market conditions, not every phone sold under the Pixel 10 name in every country.
Does the 256GB version support eSIM?
Google’s published Pixel 10 specifications confirm that the Pixel 10 family supports eSIM. The 256GB configuration is a storage choice, rather than a separate radio or SIM edition in the specification. In Google’s US specifications, Pixel 10 supports dual eSIM: two eSIM profiles can be active at the same time, and the phone can store eight or more profiles. This does not mean every carrier allows two active lines, and stored profiles are not necessarily active simultaneously.
The regional qualifier matters. Google’s Help Center labels the US Pixel 10 as eSIM-only. That means a US unit has no physical SIM fallback. Other market versions may offer a physical nano-SIM tray alongside eSIM, but do not assume this from a marketplace title or from a photograph of another regional version. Nor should you infer the precise configuration solely from the 256GB capacity. Ask the seller for the full model number and sales region, then check the SIM tray, Settings, and EID on the actual device.
Technical capability does not guarantee service. A carrier may require an eligible account, an unlocked phone, an approved IMEI, or a particular plan. A travel plan may also depend on supported network bands and local availability. Dual eSIM operation is subject to operator support.
How to tell which regional version you have
- Ask for the complete model code. Request the code from the device label, box, or Settings rather than relying on “256GB” alone. Compare that code with Google’s market-specific specifications or ask Google support which SIM configuration it represents.
- Check where it was sold. A US version is eSIM-only according to Google’s Pixel eSIM guidance. A device imported from another market can have a different SIM arrangement, warranty, or supported network bands.
- Inspect the phone. Look for a SIM tray, then check whether Android offers a control to add or download a SIM. A tray indicates physical SIM capability, not whether eSIM is enabled; an absent tray can be normal for a US unit.
- Check with the intended provider. Give the provider the exact model and, if requested, EID or IMEI. Ask about eSIM eligibility and the specific service in the country where you will use it.
- Check unlock status. If the phone is carrier-locked, the owner’s current operator may restrict other profiles. Ask the original seller or carrier to confirm the restriction has been removed before travelling.
Check eSIM on the phone before buying a plan
The fastest check is to look for an EID and the Android eSIM setup option. Google’s Pixel Phone Help page “Find your IMEI and other Pixel phone ID numbers” describes the EID as a number needed for eSIM use and gives these routes:
- Open Settings → About phone → SIM status and look for EID. Depending on the Android version or regional software, the wording may vary slightly.
- Open Settings → Network & internet. Beside Mobile network, look for Add, Add SIM, or Set up an eSIM. The exact label can change with software updates.
- If the phone has a box, check its label as well. Google says the EID may be printed there.
- To view an EID QR code, Google’s instructions use Settings → Network & internet → Add → Download a SIM instead? → Next → Activating in a store? Availability and labels can vary.
An EID is a strong sign of embedded SIM hardware, but it does not prove a carrier will activate its plan. If neither the EID nor “Add eSIM” appears, update Android, restart, and confirm the regional model with Google or the seller. Do not rely only on storage capacity or a generic compatibility claim.
Compatibility checklist
- [ ] The device is a Google Pixel 10 with 256GB storage, and its exact model code and sales region are known.
- [ ] EID appears under SIM status, or Android offers Set up an eSIM.
- [ ] The phone is unlocked, or the relevant carrier confirms that another eSIM can be added.
- [ ] The provider confirms eSIM support for this exact handset and accepts its IMEI or EID when required.
- [ ] The selected plan covers the destination and the phone supports the required local network bands.
- [ ] You have reliable Wi-Fi or another internet connection during installation, plus the QR code or app-based setup details.
- [ ] You understand when the plan’s validity begins, how mobile data is selected, and whether data roaming must be enabled for that eSIM.
For another quick device check, check whether your device is compatible. Complete this check before purchasing a data plan; installation codes are often single-use, and removing a profile may not make it reusable.
Installing and activating an eSIM
An eSIM profile is downloaded to the phone. Installing the profile and starting the plan are related but distinct steps: the profile may be added before travel, while data use or validity may begin according to the plan’s own terms or when it connects to a supported network. Read the provider’s activation instructions before scanning a code. Google’s “Set up a new eSIM” guide says Pixel setup can be started during onboarding or later from Settings and that carrier processes can differ.
Before you start
- Connect the Pixel to stable Wi-Fi. Keep the phone charged and nearby.
- Confirm the plan is for your destination and supports data on this exact model. Check the amount of data, validity period, activation conditions, and whether it is data-only.
- Have the setup method ready: an activation button in the provider’s app, a QR code displayed on another screen, or manual details supplied by the provider. A QR code shown on the Pixel itself cannot usually be scanned by that same camera; use the app flow or enter details as instructed.
- Do not delete a working profile just to troubleshoot until the provider confirms that it can be installed again. Some activation codes can only be used once.
Add the profile from Android Settings
- Open Settings → Network & internet → SIMs (or Mobile network) and choose Add SIM or Set up an eSIM. On some versions, Download a SIM appears during initial phone setup.
- Follow the on-screen prompts. If offered, scan the provider’s QR code. Keep the QR code private and do not share it publicly.
- Wait for Android to download and add the profile. The screen may show a progress message; do not leave Wi-Fi or close the provider flow until it completes.
- Give the profile a clear label such as “Travel data” so you can distinguish it from your home line. Labels are for your own reference.
- Choose whether to enable it now or leave it off until arrival, based on the plan’s activation instructions. If asked to confirm an activation step, check its effect on validity before proceeding.
- Under Settings → Network & internet → SIMs, choose the eSIM as the mobile-data SIM when you are ready to use it. Keep your home SIM selected for calls or texts if you need those services and the regional configuration supports both lines.
- At the destination, enable the eSIM and mobile data. Turn on data roaming for that eSIM only if the plan’s instructions require it. Wait for network registration, then test a simple web page or messaging app.
Google’s official instructions for adding an eSIM are available in its Android setup guide. The steps above describe common Pixel menus; wording and provider activation flows can differ by Android version, market, and plan.
If you are moving a profile from an iPhone, check the iOS eSIM instructions alongside the provider’s transfer guidance. Transfer support depends on the provider and profile.
Use a travel eSIM for mobile data
Before departure, confirm compatibility and destination coverage, and install over Wi-Fi if advance setup is supported. Keep the activation details accessible. Check whether validity starts at purchase, installation, first connection, or a scheduled time; these are different events.
After landing, select the travel eSIM for mobile data and leave the home line configured according to your needs. If you want to reduce the chance of home-carrier roaming charges, verify that mobile data uses the travel profile and disable data switching between SIMs if that setting is present. Calls and SMS may continue over the home line where available and may still incur that carrier’s charges. A data-only travel profile usually does not provide a conventional phone number or cellular voice service; internet calling and messaging apps can work over its data connection.
Kaspersky eSIM Store is an app and website where you can choose, arrange, and activate an eSIM with a mobile-data plan for an overseas trip. Review the displayed destination, data allowance, validity, and activation terms before proceeding. You can browse current travel eSIM options; this is the general store homepage, not a country-specific tariff page.
Multiple stored profiles are not necessarily active at once. Select the data line in SIM settings and check whether the other line remains available. For multi-country travel, verify each destination is included in the chosen plan.
Common travel situations
Install at home, use on arrival. If advance installation is supported, add the profile over Wi-Fi and follow the plan’s instructions for when to enable it. Confirm whether validity starts at installation or first use.
Install after landing. Use airport Wi-Fi or another trusted connection to open the provider app or scan its QR code. Avoid deleting an installed profile or repeatedly scanning a one-time code if setup stalls.
Keep the home number available. If your regional phone and operators support dual SIM, keep the home line for calls or texts and select the travel eSIM for data. Check home-carrier roaming terms.
Travel through several countries. Confirm each destination appears in the plan’s included-country list and review any fair-use or network limitations.
Troubleshooting: what to check first
There is no option to add an eSIM. Check About phone → SIM status for EID, restart the device, and install available system updates. Confirm the phone is a Pixel 10 variant intended for a market where eSIM is supported. If the setting remains absent, ask the seller or Google support to check the exact model; do not infer compatibility from “256GB.”
The QR code does not scan or setup fails. Ensure the code belongs to this order and is still valid, display it on a second device, increase screen brightness, and keep the Pixel connected to Wi-Fi. If the provider offers in-app installation, use that route. Do not repeatedly scan a one-time code; contact the provider to confirm whether the profile was already issued or whether a replacement is needed.
The plan installs but shows no signal. Confirm the eSIM is switched on, the destination is included, and the plan is active under its terms. Toggle airplane mode off and on, then restart if needed. Check whether the provider requires network selection or data roaming. If manual network selection is recommended, use only a network named in the provider’s instructions.
Signal appears but mobile data does not work. Verify the travel eSIM is selected under Mobile data, mobile data is enabled, and the correct profile is active. Check the APN only if the provider has supplied specific APN settings. Turn off Wi-Fi briefly for a real mobile-data test, then reload a lightweight page. If the home line is selected for data or automatic data switching is enabled, change that setting and test again.
The home SIM stops working as expected. Review the preferred SIM for calls, texts, and mobile data separately. Some combinations are restricted by the operator or model, and two active eSIMs require operator support. Ask the home carrier whether the line can remain active alongside the travel profile and check its roaming terms.
The provider says the device is not eligible. Send the exact model code and the EID or IMEI requested through the provider’s secure support channel. Confirm the handset is carrier-unlocked and that the plan is offered for the destination. A supported phone can still be refused by a particular operator or plan.
The profile disappeared or you changed phones. Do not assume a removed profile can be transferred or reissued. Contact the provider before resetting the phone or using the same code elsewhere.
When troubleshooting, change one setting at a time and note the result. Keep the order reference and model code available for support. Do not post the EID or QR code publicly.
Frequently asked questions
Does Google Pixel 10 256GB have eSIM?
Yes, Google’s Pixel 10 specification lists eSIM support; Google’s US specifications describe dual eSIM. The 256GB storage capacity does not remove that feature. Verify the exact market version, EID, and provider acceptance on your own phone.
Is every Google Pixel 10 256GB eSIM-only?
No such conclusion follows from the name or storage size. Google says US Pixel 10 phones are eSIM-only. Other market versions can have a different SIM arrangement. Check the model code and the physical phone rather than applying the US description to every region.
Can two eSIMs be active at the same time?
Google’s US Pixel 10 specifications list two active eSIMs and storage for eight or more profiles. Google Help also says two eSIM profiles may be used at once on Pixel 7 or later when the operator allows it. The phone’s capability does not override carrier restrictions.
Where do I find the EID?
On the phone, look under Settings → About phone → SIM status → EID. Google also says it may be printed on the phone’s box. Menu names can differ slightly by software version.
Will eSIM work while travelling in every country?
No single device specification guarantees service everywhere. Check that the chosen plan includes the destination, the local network supports the phone’s bands, the provider accepts the model, and the plan’s activation and roaming settings are followed.
Does a travel eSIM replace my regular number?
Usually, a travel data plan is for internet access and does not include a regular phone number, calls, or SMS unless the specific plan says otherwise. Keep your home line if you need its number, and check its roaming charges and dual-SIM behavior.
Final checks before your trip
For Google Pixel 10 256GB, eSIM support is confirmed at the Pixel 10 product level, but storage capacity is not a regional identifier. Confirm your handset’s full model code, EID, SIM menu, unlock status, and the provider’s acceptance before paying for a plan. Then check destination coverage as defined by the plan, its data allowance and validity, and the moment activation or data use begins.
Once those checks are complete, choose a suitable travel eSIM and follow its installation instructions over a stable connection. Select the Pixel’s mobile-data SIM when you arrive, and use data roaming only as directed for that profile.


