Travel connectivity guide
Google Pixel 10 Pro eSIM Compatibility & Setup
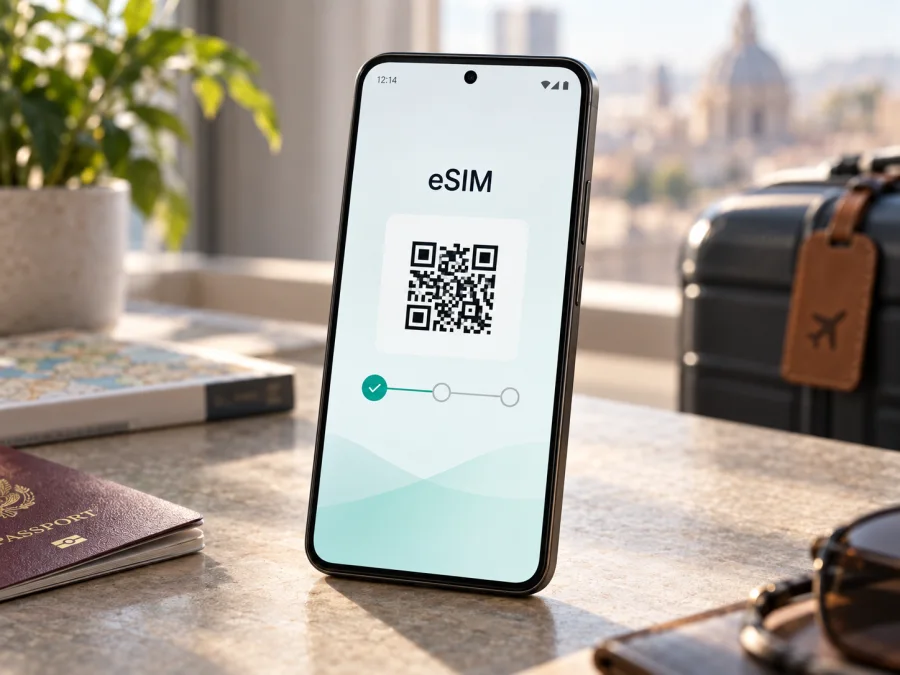
Google Pixel 10 Pro eSIM: compatibility, setup, and travel use
Google Pixel 10 Pro supports eSIM. That is the short answer for anyone checking whether this phone can use a digital SIM profile for mobile data while travelling. The important qualification is that the SIM hardware configuration depends on the market: Google says US Pixel 10 Pro phones are eSIM-only, while specifications for other markets list dual SIM with nano-SIM and eSIM. Carrier support, device lock status, software, and the exact regional variant still matter, so the model name alone is not a substitute for checking the individual phone.
An eSIM is a digital SIM profile stored by the phone. It can be installed without inserting a plastic card, usually by downloading the profile from a carrier or scanning an activation QR code. For a trip, that makes it possible to prepare a mobile data line in advance and keep a home number available where the hardware and carrier allow. The plan’s destination, data allowance, validity, activation rules, and supported networks determine how it works.
Google Pixel 10 Pro eSIM compatibility at a glance
<a id="kesim-device-compatibility"></a>
| Item | What to expect |
|---|---|
| eSIM support | Yes. Google’s Pixel support documentation explains eSIM setup and use for current Pixel phones, including travel use. |
| U.S. configuration | Pixel 10 Pro models sold for the US market do not use a physical SIM; Google identifies them as eSIM-only. |
| Other regional configurations | Google’s specifications for markets outside the US list dual SIM using nano-SIM and eSIM. Confirm the exact product and market before relying on a tray being present. |
| Carrier requirements | The carrier or eSIM plan must support the device, and a carrier-locked phone may reject another provider’s profile. |
| Data use | One SIM is selected as the default for mobile data. Two active eSIM profiles may be possible on eligible configurations when the carrier supports it. |
| Best confirmation | Check the phone’s EID and eSIM setup option, then verify the device is unlocked and accepted by the plan provider. |
The useful distinction is between eSIM capability and a particular line’s ability to connect. The built-in eSIM component can be present while an eSIM profile fails to download because of a carrier restriction, a locked device, an unsupported plan, or a temporary setup problem. Likewise, seeing an EID confirms that the phone has an eSIM identifier, but it does not guarantee that every provider or destination plan will accept it.
Regional and carrier versions
Google’s support guidance states that Pixel 10 Pro phones sold in the US are eSIM-only and have no physical SIM support. Google’s specifications for other markets list dual SIM with nano-SIM and eSIM. The market matters if you plan to keep a home line active alongside a travel profile: a US model has no physical SIM fallback, while a tray on another version does not by itself guarantee that a specific carrier will activate eSIM.
Imported or carrier-sold phones may have different SIM provisioning or a network lock. Ask the seller or carrier to confirm the market and unlock status.
Profile storage and simultaneous service are separate questions. Google says Pixel 7 and later can use two eSIM profiles at once when the carrier supports it. The available combination depends on the phone and network; only one SIM is selected as the default for mobile data. A travel profile may be data-only and may not include a normal phone number, voice service, or SMS. Confirm the behavior you need with both carriers.
The reliable general answer is that Google Pixel 10 Pro supports eSIM, with regional differences in SIM hardware. The model name alone cannot confirm a used or imported phone’s lock state or eligibility, so check the handset itself and the intended provider before purchasing a plan.
How to check a particular phone before buying a plan
Settings can vary slightly by Android version and carrier software. On the actual phone, use these checks rather than relying only on a retailer listing.
- Find the EID. Open Settings → About phone → SIM status and look for EID. Search Settings for “EID” if needed. It identifies the eSIM component; share it only with a provider that needs it for activation.
- Find the setup option. Open Settings → Network & internet → SIMs → Add SIM. A compatible phone should offer Set up an eSIM or similar wording. Viewing the option does not install a profile.
- Confirm unlock status. Ask the selling or current carrier whether the phone has a network lock. A locked phone can reject another provider’s profile despite having eSIM hardware.
- Confirm provider eligibility. Check that the eSIM provider accepts Google Pixel 10 Pro in the phone’s market, and ask whether it needs the EID or IMEI. Activation requirements vary.
- Check the lines you need. Confirm the market’s SIM configuration and whether your home carrier supports using the home and travel lines as planned. Verify which line will handle data.
Use this device compatibility check before selecting or paying for a travel plan. This is especially useful for imported, carrier-sold, or refurbished phones.
Compatibility checklist
- [ ] The handset is the exact Google Pixel 10 Pro intended for the trip.
- [ ] Its EID is visible or Settings offers eSIM setup.
- [ ] It is unlocked for the intended provider.
- [ ] The provider confirms eSIM support for this device and market.
- [ ] The plan covers every destination and fits the trip’s data and validity needs.
- [ ] Installation and activation timing are understood.
If any item is uncertain, ask the seller, carrier, or provider before payment. Device compatibility does not guarantee coverage in every location; check the plan’s coverage details separately.
Installing and activating an eSIM
Google’s Pixel setup path is in Android Settings. A provider may offer a QR code, app-based installation, or manual details; use the method supplied with the plan. Activation timing also varies: validity may begin at installation, on a date, or when the profile first connects. Read the plan’s conditions before installing early.
- Prepare: connect to reliable Wi‑Fi, charge the phone, and keep the provider’s instructions available. If the QR code is displayed on the phone, open it on another screen. Do not delete an existing profile as preparation.
- Open setup: go to Settings → Network & internet → SIMs → Add SIM → Set up an eSIM. The option may also appear during initial Android setup.
- Add the profile: scan the provider’s QR code, use its supported app, or enter manual details only if supplied. QR codes may be single-use, so keep them private and do not scan repeatedly after an error.
- Finish installation: maintain Wi‑Fi until download completes. The profile should appear in the SIM list. Give it a clear label such as “Travel” for your own reference.
- Select data: when ready to use the plan, enable the travel line and choose it for mobile data under Settings → Network & internet → SIMs. Follow the provider’s instructions about data roaming on that line. Keep home-line roaming settings as intended.
- Test: turn Wi‑Fi off briefly and load a simple webpage. If the phone does not connect, follow the checks below before removing the profile.
Guides: Android eSIM installation instructions and iOS eSIM installation instructions. Pixel 10 Pro runs Android; the iOS guide is for a companion’s iPhone.
Kaspersky eSIM Store is an app and website where travellers can choose, arrange, and activate an eSIM with a mobile-data plan for an international trip. Review the destination, data allowance, and validity before preparing a profile. The plan’s network service follows its stated provider and terms. Travel data eSIMs generally do not replace a primary number for calls or SMS unless the plan says so; internet messaging and calls can use data.
Using Pixel 10 Pro eSIM on a trip
Before departure, decide which line should handle data and whether the home line needs to remain available for calls or verification messages. Check home-carrier roaming charges and the travel plan’s conditions. Keeping a home line enabled does not require using it for data, but verify the selected data SIM.
One-country holiday: choose a plan whose destination and validity cover the stay. Install over Wi‑Fi if the plan allows it, then enable the travel line at the stated activation point. Check whether validity starts at installation or first network connection and whether data roaming must be enabled.
Multi-country route: verify each country and territory on the plan’s coverage details. Regional labels do not necessarily include every stop, and network availability can change across borders. A brief interruption while the phone registers on another network does not automatically mean the profile is damaged.
Work trip with a home line: where the model and carriers support the needed combination, keep the home line available and select the travel eSIM for mobile data. Calls, messages, and roaming charges may still follow the home carrier’s rules. A data-only plan does not take over your number.
Arrival and longer stays: download tickets and maps in advance in case airport Wi‑Fi requires sign-in. For limited data, review hotspot use, video, photo backups, and background updates. A profile can remain installed after its allowance or validity ends; check renewal terms before deleting it.
Troubleshooting: when eSIM will not connect
Check eligibility, profile state, and data selection before assuming the phone has a hardware problem. Avoid erasing a working profile until the provider explains how to restore it.
No eSIM option: restart and update Android, then search Settings for “EID,” “Add SIM,” or “eSIM.” Confirm market and carrier history. If both the EID and setup option are missing, ask Google support or the seller to check the exact model variant.
QR code or download error: check that the code matches the plan and has not already been used. Retry on reliable Wi‑Fi through the provider’s supported method. If the code reports an installation limit, ask the provider to reset or reissue it instead of repeatedly scanning.
Profile installed, no service: make sure the line is enabled and selected for mobile data. Turn on roaming for that eSIM only if the plan requires it. Toggle airplane mode, wait for registration, and restart if needed. Follow the provider’s network-selection advice.
Signal but no internet: confirm mobile data is on, the travel profile is the data default, and the plan is active, in validity, and has data remaining. Check destination coverage and any provider-specified APN. Test with Wi‑Fi off; do not guess APN values.
Unexpected home-line use or carrier rejection: verify the data default and turn off home-line roaming if it is not needed. Disable automatic data switching if traffic must stay on one line. If activation is rejected, ask the selling carrier about network lock and contact the eSIM provider with the requested EID or IMEI. Keep identifiers private.
Service stopped: check plan expiry, data balance, signal, and whether the phone moved to another network. Ask the provider to verify the profile before deleting it; removal can require a new activation code.
Frequently asked questions
Does Google Pixel 10 Pro support eSIM?
Yes. Google documents eSIM setup and travel use on Pixel phones. US models are eSIM-only; specifications for other markets list nano-SIM and eSIM. Check the actual handset’s EID, setup menu, lock status, and provider eligibility.
Can I use a physical SIM and eSIM together?
It depends on the market version. US Pixel 10 Pro phones have no physical SIM; other market specifications list nano-SIM plus eSIM. Carrier support and settings affect how both lines work.
Can two eSIMs be active at once?
Google says Pixel 7 and later can use two eSIM profiles simultaneously when the carrier allows it. Check the specific carriers and configuration; only one line is selected for mobile data.
Does installation start the plan?
Not always. Validity can start on installation, a stated date, or first connection. Follow the plan’s own activation terms.
Does a travel eSIM include a phone number?
Many are mobile-data-only and do not include ordinary calls or SMS. Check the plan details; internet messaging and calls can use data.
What if I cannot find an EID?
Search Settings, then review About phone and SIM status, and look for Network & internet → SIMs → Add SIM. If both are missing, have Google support or the seller verify the exact variant before buying a plan.
Key points
Google Pixel 10 Pro supports eSIM. The US configuration is eSIM-only, while other market specifications include nano-SIM and eSIM. Market version, carrier lock, and provider eligibility affect setup and line use. Verify the phone’s EID or eSIM menu, confirm it is unlocked, and check destination, allowance, validity, and activation rules before purchasing. On the trip, select the correct data line and follow the plan’s roaming instructions.
Check your device, then choose a trip eSIM
Confirm the Google Pixel 10 Pro variant’s EID, unlock status, and provider compatibility before choosing a plan. Compare destination coverage, data, validity, and activation rules with your itinerary. Kaspersky eSIM Store is an app and website where you can choose, arrange, and activate an eSIM plan for mobile data on an international trip. Install over a reliable connection and select the travel eSIM for data when its service should begin.


