Travel connectivity guide
Google Pixel 9 Pro 128GB eSIM compatibility
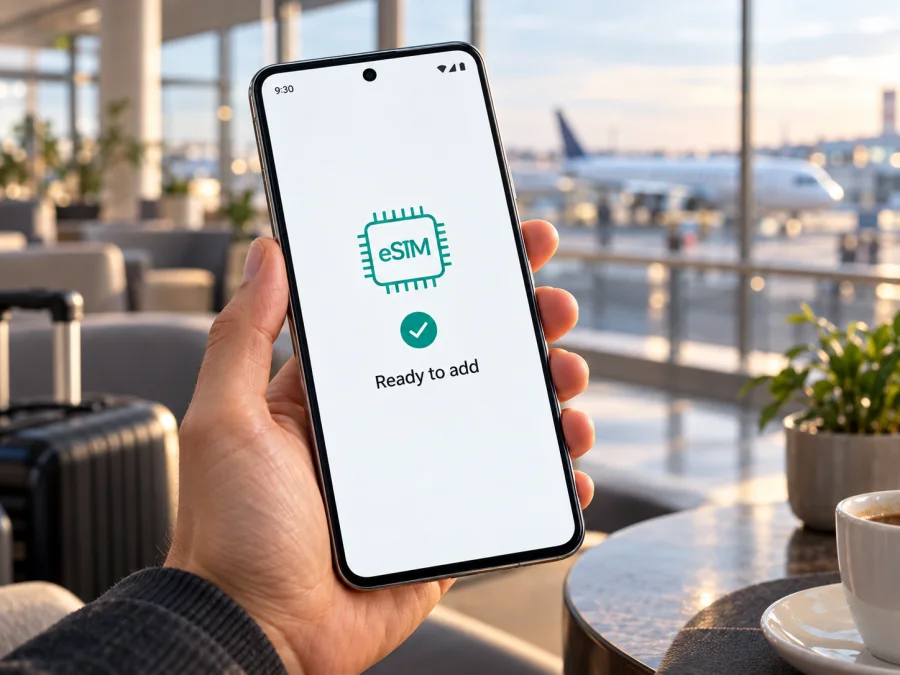
Google Pixel 9 Pro 128GB eSIM: compatibility and setup guide
Short answer: Yes. Google lists Pixel 4 and later phones as supporting eSIM, and its Pixel 9 Pro specifications list Dual SIM with one nano-SIM and one eSIM. The 128GB storage configuration does not change that capability. You can add an eSIM profile on a Google Pixel 9 Pro 128GB, provided that the particular handset has eSIM enabled, is not restricted by a carrier lock, and the service you plan to use supports eSIM for that device and market.
The practical qualification matters: “Google Pixel 9 Pro 128GB” identifies the model and storage size, but it does not identify where the phone was sold, its exact hardware model code, its software state, or whether a seller or carrier has imposed a SIM restriction. Check the actual phone before choosing a plan. The guide below explains how to do that, install an eSIM, select it for mobile data, and troubleshoot common problems.
Google Pixel 9 Pro 128GB eSIM at a glance
| Item | What to expect |
|---|---|
| eSIM support | Supported on Pixel 9 Pro models according to Google’s Pixel support information |
| SIM arrangement in Google’s listed specification | Dual SIM: one nano-SIM and one eSIM |
| Storage variant covered here | 128GB; storage size does not determine eSIM availability |
| EID | The phone should have an EID if its eSIM hardware and software are available; check the handset itself |
| Multiple eSIM profiles | Pixel 7 and later can use two eSIM profiles at once when the carrier permits it; the number of stored profiles and the number active at once are different things |
| Network availability | Depends on the eSIM provider, destination, local network, device bands, and any carrier restrictions |
| Voice and SMS | A travel data plan may provide data only; check the plan’s stated inclusions before relying on calls or texts |
Google’s published specification describes the Pixel 9 Pro’s SIM configuration as “Dual SIM (Single Nano SIM and eSIM).” Google also says its Pixel 4 and later phones work with eSIM. Those statements support a positive answer for this model, but do not establish that every used, imported, refurbished, or carrier-sold handset is ready for every eSIM service. The phone’s status and the plan’s compatibility both need checking.
Does Google Pixel 9 Pro 128GB support eSIM?
Yes. Google’s current Pixel guidance says Pixel 4 and later phones support eSIM, and its Pixel 9 Pro specification lists one nano-SIM plus one eSIM. The 128GB capacity is a storage choice; it does not change the SIM feature. This is a model-level confirmation, not a guarantee for every second-hand, imported, or carrier-sold handset.
Before relying on the feature, check that the actual phone shows an EID and Set up an eSIM in Settings, is SIM-unlocked, and is accepted by the provider for the plan and destination. Network registration also depends on the local operator and the bands enabled for the phone’s hardware variant. An eSIM-compatible device does not guarantee a particular network, coverage, 4G/5G service, or plan eligibility.
Regional version, carrier version, and destination network
Keep three questions separate: where the hardware was intended for sale, whether a carrier has locked or provisioned the phone, and which operator market the eSIM plan uses. The country where you are physically using the phone does not change its model variant or unlock status. Google’s specs list region-specific network details and model codes; carrier support and local bands affect service. Ask the seller for the model code and sales market, then ask the intended provider whether it accepts that exact handset for the destination. A Pixel bought through a carrier is not necessarily locked, but confirm its status rather than assuming it is unlocked.
Check compatibility before choosing a plan
Use this checklist before you buy or install an eSIM. The checks cover both the phone and the intended service, because compatibility is a match between them.
- [ ] Identify the exact phone. Confirm that it is Google Pixel 9 Pro, not Pixel 9, Pixel 9 Pro XL, or another model. Confirm the storage variant is 128GB if that is what you are buying; storage does not itself change eSIM support.
- [ ] Look for the EID. Open Settings → About phone → SIM status and look for EID. Depending on Android version and region, labels or menu placement may vary. You can also check the phone’s original box. Do not publish or send an EID publicly; share it only with the relevant service when needed for activation.
- [ ] Look for the eSIM setup control. Open Settings → Network & internet → SIMs → Add SIM. If Set up an eSIM is available, the phone exposes the setup flow. Menu names can vary slightly with Android updates.
- [ ] Confirm the phone is SIM-unlocked. Ask the retailer or original carrier. If the device is locked, an eSIM from a different provider may not work until the lock is removed. A visible EID does not prove the phone is unlocked.
- [ ] Ask the provider about the specific model and market. Give the provider the exact model code if requested. Check whether its eSIM service accepts the Pixel 9 Pro and whether the plan covers the country or region on your itinerary.
- [ ] Check data terms. Confirm the data allowance, validity period, activation conditions, hotspot rules, and whether the plan includes data only. Do not assume it supplies a local phone number, conventional calls, or SMS.
- [ ] Keep a connection available for installation. Wi-Fi is useful for downloading the profile, especially before departure. Keep the activation instructions or QR code accessible on another screen or printed page if you need to scan it.
- [ ] Update and restart if needed. Install available Android updates before travel, then restart the phone if the eSIM menu or mobile network is not behaving as expected.
For a quick cross-check, check whether your device is compatible before choosing a travel plan. If you are buying the phone, ask the seller to confirm the EID and unlock status in writing. If you already own it, use the on-device checks above and ask the intended eSIM provider to confirm its own requirements. A model-level support statement is useful, but the EID, the setup menu, the lock status, and provider acceptance are stronger evidence for your particular handset and use case.
How to find the EID and confirm the eSIM menu
Find the EID at Settings → About phone → SIM status; it may also be printed on the box. The IMEI is a separate identifier, so provide the one the provider requests and share it only through its official activation or support channel. To inspect eSIM setup, open Settings → Network & internet → SIMs → Add SIM and look for Set up an eSIM. Menu wording can vary by Android version. If the EID or option is missing, restart, update Android, and ask the seller or carrier about the handset’s model code and restrictions before buying a plan. An EID or menu is a useful device check, but neither guarantees provider acceptance or coverage.
Prepare the phone for a trip
A travel eSIM can provide mobile data after landing without a physical SIM purchase. Before departure, choose the destination or route and read the plan’s coverage list, data allowance, validity, activation timing, and any hotspot or fair-use conditions. Check whether the eSIM is data-only; do not assume that it includes a local phone number, ordinary calls, or SMS.
If the plan permits advance installation, add it over Wi-Fi and label it clearly, such as “Travel data.” Some plans start validity when installed; others start at first connection in a covered destination, so follow the stated activation rules. When ready to use it, select the travel eSIM for mobile data. Enable data roaming on that profile only if the provider requires it; keep roaming off for your home line if you want to avoid unexpected charges.
Kaspersky eSIM Store is an app and website where you can choose, arrange, and activate an eSIM with a suitable mobile-data plan for an international trip. Review destination, allowance, and validity before proceeding; for example, view eSIM plans for Germany if Germany is on your itinerary. Plan availability and conditions can change.
How to install and activate an eSIM on Google Pixel 9 Pro 128GB
Before you begin, make sure the phone is connected to Wi-Fi or another working internet connection, the eSIM profile is available, and you know whether the plan should be installed before travel or activated after arrival. An eSIM QR code is usually single-use or tied to an activation process; do not scan it repeatedly unless the provider tells you to. If the provider uses an app or manual activation details instead, follow those instructions.
Install with a QR code
- Open Settings. On the Pixel, open Settings → Network & internet → SIMs.
- Start setup. Tap Add SIM, then Set up an eSIM. Wording may differ slightly after a software update.
- Choose the scan option. Follow the on-screen setup and scan the QR code supplied for your plan. If the QR code is on the same phone, display it on another device or use the provider’s manual setup method.
- Wait for the profile to download. Keep the phone online and do not close the setup screen while the profile is being added.
- Confirm the line. When setup completes, check that the new eSIM appears under SIMs. Give it a clear label such as “Travel.”
- Set the data preference. Choose the eSIM for mobile data when the plan should be used. Keep your usual line selected for calls or messages if you want to continue using it and its terms allow that.
- Apply the plan’s roaming instructions. If the provider says data roaming is required for the travel profile, enable it for that profile. Keep roaming disabled on your home SIM if you want to avoid unexpected charges.
- Test at the right time. Some plans begin when installed, while others begin on first connection in the covered destination. Follow the plan terms and test the connection when its validity should be active.
For more detail, see the Android eSIM installation instructions and the iOS eSIM installation instructions. The iOS page is included for travellers who are helping another person set up a different device; the steps above are for the Pixel’s Android menus.
Choose the eSIM for mobile data
After installation, go to Settings → Network & internet → SIMs. Select the travel eSIM and turn it on. Under SIM preferences, choose it for Mobile data. If you keep a home SIM active, set calls and texts according to your needs and your home carrier’s terms. Pixel’s dual-SIM controls allow users to choose which line handles different functions, but the available choices and simultaneous eSIM behavior depend on carrier support.
Pixel 7 and later phones can use two eSIM profiles at once when the carrier allows it, according to Google’s eSIM help information. That is not a guarantee that every provider, region, or plan supports two active eSIMs together. Also distinguish a profile stored on the device from one that is currently enabled. If you need to use a physical SIM and an eSIM together, the Pixel 9 Pro’s listed SIM setup is one nano-SIM plus one eSIM; verify your carrier’s provisioning requirements before relying on simultaneous service.
Common issues and what to check
“Set up an eSIM” is missing
Check that you are in Settings → Network & internet → SIMs → Add SIM, not only the general Network menu. Restart the phone and install available Android updates. Check About phone → SIM status for an EID. If both the EID and setup option are absent, check the handset’s model code, market of sale, and carrier history with the seller or Google support. Do not purchase a plan until you know why the setup control is missing.
The QR code will not scan
Increase the brightness on the screen showing the QR code, clean the Pixel camera lens, and hold the phone steady at a comfortable distance. Make sure the whole code is visible and not cropped. If scanning from a saved image is offered, use the on-screen option. Otherwise, display the code on another screen. If the phone says the code is invalid or already used, stop and ask the provider to check the activation; repeated attempts may not fix a code that has already been consumed.
The profile downloads but activation fails
Confirm that Wi-Fi works, the date and time are set automatically, and the phone is running a current Android version. Check whether the plan requires activation by the provider or only becomes usable in its destination. Make sure the phone is SIM-unlocked and that the provider accepts the exact device. If the plan is linked to an account, verify that you are signed in to the correct account. Keep any error message so support can identify the failed step.
The eSIM appears, but there is no service
Turn on the travel profile and select it for mobile data. Confirm that you are in a country covered by the plan and that the plan has started and still has data or validity remaining. If the instructions require it, enable data roaming for the travel eSIM. Try airplane mode for about 30 seconds, then turn it off; if service still does not appear, restart the phone. If available, select automatic network selection again. Contact the provider if the phone cannot register on any supported local network.
The phone connects, but apps have no internet
Check which SIM is selected for Mobile data, confirm data is enabled for the travel eSIM, and check remaining allowance and validity. Temporarily turn off Wi-Fi to test cellular data. Enter APN settings only if the provider supplied them.
The eSIM works at home but not on the trip
Recheck that the plan covers the current country, its activation period has begun, and roaming is enabled on the travel eSIM if required. The device’s bands and the local partner network matter too; ask the provider to check your exact model code and destination market.
A second SIM stopped working or the wrong line is used
Review enabled profiles and defaults for data, calls, and texts in Settings → Network & internet → SIMs. A stored profile may be switched off. Two active eSIMs require carrier support; try enabling one at a time if needed.
The phone asks for an IMEI or EID
Provide the identifier requested by the provider using Settings → About phone or Settings → About phone → SIM status for the EID. Do not confuse EID with IMEI. Share identifiers only through the provider’s official support or activation flow. If the provider does not accept the device, ask whether the issue is the model code, account eligibility, carrier lock, or eSIM policy.
FAQ
Does the 128GB version support eSIM?
Yes. Google lists eSIM for Pixel 9 Pro; 128GB is its storage capacity. Check the individual phone’s EID, setup menu, and lock status.
Can I use a physical SIM and eSIM together?
Google lists one nano-SIM and one eSIM. Simultaneous service depends on the carrier and plan.
Can two eSIMs be active at once?
Google says Pixel 7 and later can use two eSIM profiles at once when the carrier permits it. Stored profiles and active profiles are not the same.
Do I need data roaming?
Follow the travel eSIM’s instructions. Some profiles require roaming on that line; keep it off for your home SIM if you want to avoid its roaming charges.
Does a travel eSIM include calls or a phone number?
Not necessarily. Many travel plans are data-only. Check the plan terms before relying on conventional calls, SMS, or a local number.
Will eSIM work in every country?
No. The plan must cover the destination, the provider must accept the phone, and local network support and device bands must align.
Final check: device first, travel plan second
Google Pixel 9 Pro 128GB supports eSIM at the model level. Google’s published specification lists a nano-SIM plus eSIM, and its Pixel help guidance includes Pixel 4 and later among eSIM-compatible phones. For the handset you will actually use, verify the EID, confirm that Set up an eSIM appears in Settings, and establish whether the phone is SIM-unlocked. For the service, check that the provider accepts the exact model and that the plan covers the country or route you will visit.
Once those checks pass, choose a plan based on your destination, data needs, validity period, and activation timing. Kaspersky eSIM Store is an app and website where you can choose, arrange, and activate an eSIM with a mobile-data plan for an international trip. Review the plan conditions before you proceed, install the profile over a reliable connection, and select the travel eSIM for mobile data when appropriate. This simple sequence helps you prepare with fewer surprises: check the phone, check the destination and service, then set up the eSIM.


