Travel connectivity guide
Google Pixel Fold 256GB eSIM: Compatibility & Setup
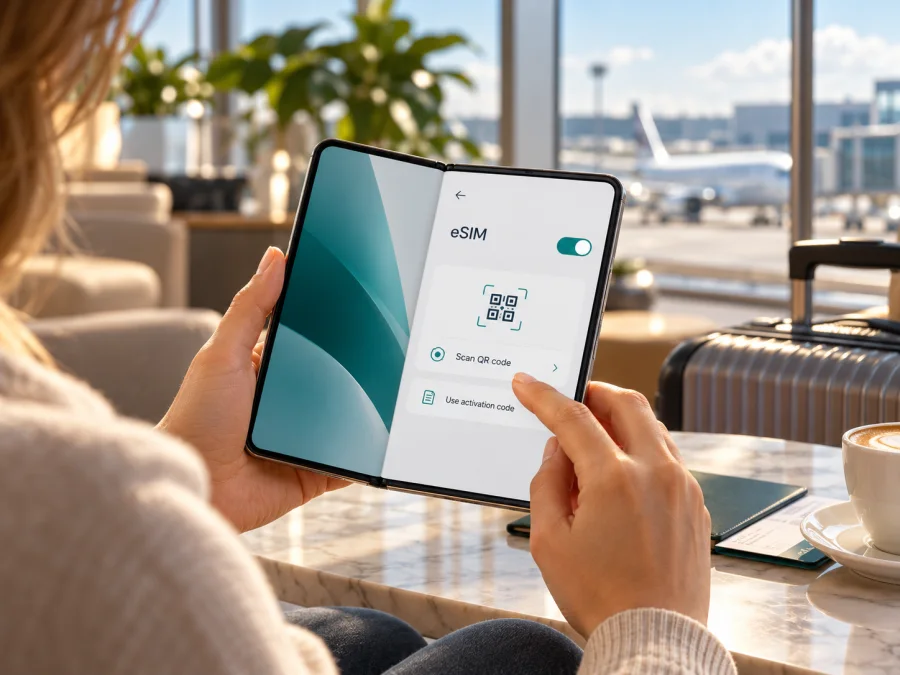
Google Pixel Fold 256GB eSIM: compatibility and setup
Quick answer: Google Pixel Fold 256GB supports eSIM according to Google’s current Pixel Help guidance, which says Pixel 4 and later phones work with eSIM. The 256GB label describes the phone’s storage capacity; it does not identify a separate SIM configuration. Still, an individual phone must have an available EID, be eligible for the eSIM service you want to use, and be free of any carrier restriction that prevents activation. Confirm these points on the device before choosing a travel plan.
Does Google Pixel Fold 256GB support eSIM?
Yes, Google’s support guidance places Pixel Fold in the supported Pixel family: Google says Pixel 4 and later phones work with eSIM. Its instructions for setting up a new eSIM also include the Pixel settings route, Settings → Network & internet → SIMs → Add SIM → Set up an eSIM. So the general answer for Google Pixel Fold 256GB is yes.
That answer describes the model family, not a guarantee about every second-hand, imported, carrier-sold, or refurbished handset. eSIM setup also depends on the mobile operator or eSIM provider, the phone’s network lock status, and its software. Google’s compatibility guidance advises checking with the operator, and Google notes that the process can differ by carrier. If you cannot find an EID or an eSIM setup option on your own phone, pause before buying a plan and ask the seller or carrier to confirm the exact device.
| Item | What to know |
|---|---|
| Exact device in this guide | Google Pixel Fold 256GB |
| eSIM support | Google lists Pixel 4 and later phones as eSIM-capable; Pixel Fold is included in that generation range. |
| What “256GB” means here | The storage variant; it does not, by itself, establish the carrier or regional configuration. |
| What can affect your individual phone | Market and carrier configuration, software, operator support, and whether the phone is network-unlocked. |
| Best on-device checks | Look for an EID under SIM status and an option to add or set up an eSIM in network settings. |
| Before buying a travel plan | Confirm the device can add an eSIM, is not restricted by a carrier, and supports the plan’s destination and activation method. |
Regional and carrier versions: what can vary?
The storage number in Google Pixel Fold 256GB does not tell you where the phone was sold or whether a specific carrier has applied restrictions. Two phones with the same name and storage can have different sales histories: one may have been sold unlocked, another through a mobile operator, and another imported or refurbished. Those differences matter more to activation than the storage capacity.
Google’s current general support article says all Pixel 4 and later phones work with eSIM, while also advising users to confirm eSIM availability with their mobile operator. This is useful model-family evidence, but the operator still has to support eSIM activation for the device and service in the relevant market. A carrier lock can prevent an eSIM from another provider from being used even when the phone’s hardware supports eSIM. A carrier may also need to activate or authorize a profile before the phone can download it.
Check the EID and eSIM settings yourself
An EID is the identifier associated with the phone’s eSIM hardware. Google explains that a phone needs an EID to use eSIM. On a Pixel phone, you can look for it in Settings; you can also use the setup menu to see whether the phone offers eSIM enrollment. Menu wording may vary slightly by Android version, language, and carrier configuration.
- Connect to Wi-Fi. This gives the phone an internet connection if setup needs to contact the eSIM provider.
- Open Settings. Use the phone’s main Settings app rather than a third-party SIM manager.
- Check for an EID. Tap About phone → SIM status and look for EID. On some software versions, you may also be able to open About phone and search settings for “EID.”
- Check the setup option. Go to Network & internet → SIMs → Add SIM. Look for Set up an eSIM or a similarly named option.
- Record the result without sharing it publicly. A carrier or provider may ask for the EID or IMEI to check eligibility. Provide these identifiers only through the provider’s official support or secure activation flow.
- Ask about a missing option. Restart the phone, install available system updates, and check again. If the EID and setup option are still absent, ask Google support, the seller, or the carrier to verify the exact handset before purchasing a plan.
Before you buy a travel eSIM
Use this short checklist while you still have reliable internet and time to resolve questions:
- [ ] The phone shows an EID in About phone → SIM status.
- [ ] Network & internet → SIMs → Add SIM offers an eSIM setup option.
- [ ] The phone is unlocked for use with another provider; the seller or carrier has confirmed this if you are unsure.
- [ ] The eSIM provider accepts the phone and the activation method you plan to use, such as in-app installation, QR code, or manual details.
- [ ] The plan covers every country or region on your route, not just your first stop.
- [ ] The plan’s data allowance, validity period, activation rules, and any fair-use conditions fit your trip.
- [ ] You know whether the plan starts when it is installed, when it is activated, or when it first connects at the destination. Follow the plan’s own terms.
- [ ] You can access the purchase confirmation or QR code on another screen if the Pixel Fold camera cannot scan a code displayed on the same phone.
- [ ] Your usual SIM’s roaming and mobile-data settings are understood so you can avoid unplanned charges.
Run this checklist again if the phone is reset, repaired, or updated before departure.
Check your device before choosing an eSIM plan.
How to install and activate an eSIM on Google Pixel Fold 256GB
Install the profile while the phone is connected to stable Wi-Fi, before departure if convenient. Keep the installation details available and follow the exact prompts supplied with your plan. The broad Pixel route is below; the provider may use a QR code, an in-app installation flow, or manual activation details. Google notes that eSIM setup steps can vary by carrier.
- Confirm eligibility first. Check that the plan supports eSIM on your Pixel Fold and that the handset is unlocked for the provider you will use.
- Open the activation instructions. If you received a QR code, display it on a second device or print it. If installation is handled from an app, keep that app open and follow its instructions.
- Start eSIM setup. On the Pixel Fold, open Settings → Network & internet → SIMs → Add SIM → Set up an eSIM. If the wording differs, search Settings for “eSIM” or “Add SIM.”
- Choose the activation method. Scan the provider’s QR code when prompted, or enter the activation details exactly as supplied. Do not scan an old or already-used code unless the provider confirms it can be reused.
- Wait for the profile to download. Keep the phone connected to Wi-Fi and do not close the setup flow while it is adding the eSIM. A successful download installs a profile; it does not necessarily mean that the plan is already using data.
- Label the profile. Use a clear name such as “Travel data” so you can distinguish it from your regular SIM in the SIM settings.
- Choose when to turn it on. If the provider’s instructions allow pre-installation, you can add the profile before the trip and enable it when appropriate. Read the plan’s activation and validity terms so installation timing does not accidentally start a period you wanted to save for later.
- Select the data line at your destination. Open Settings → Network & internet → SIMs and choose the travel eSIM for mobile data when you are ready to use it. Keep your regular SIM selected for calls or messages if you need that line.
- Set roaming only for the travel eSIM when instructed. Some travel plans require data roaming on the travel profile to connect to a partner network. Follow the plan’s instructions and check that data roaming is not unintentionally enabled on your home SIM.
- Allow the phone to register. Give the profile a few minutes to connect after arrival. Check the provider’s setup details for any required APN, supported network selection, or activation step.
- Test a small task. With Wi-Fi turned off, open a map or send a message through an internet app. Confirm that the travel eSIM is selected for data and that the usage shown by your provider begins to update.
For more general device guidance, see Google’s Android eSIM installation instructions and the iOS eSIM installation instructions. The iOS page is intended for Apple devices, so use the Android and Pixel settings steps above for Google Pixel Fold 256GB. If a provider’s instructions differ from the generic route, follow its current activation flow or contact its support before deleting a profile.
Use the travel eSIM for mobile data
For a trip, decide which line should handle each task. A typical setup keeps your home number available for calls or account verification, while the travel eSIM is selected for mobile data. On the Pixel Fold, review Settings → Network & internet → SIMs after installation and confirm the chosen line for mobile data. If the phone offers a prompt for calls or messages, select the home line or ask each time according to your needs.
If the travel plan requires roaming, enable data roaming for that eSIM profile and verify that the home SIM is not using mobile data. Dual-SIM settings can make it easy to select the wrong line, especially when both profiles are active. Before travel, consider switching off data roaming on the home line or temporarily disabling its mobile-data use, while keeping calls and SMS available only if that matches your carrier terms. Check with your home operator about charges for calls, texts, or background data abroad.
A data-only eSIM generally does not provide an ordinary phone number for cellular calls and SMS unless its plan says otherwise. Internet calling and messaging apps can work over the data connection, but they still depend on the app account and service. This makes a travel eSIM useful for maps, bookings, ride-hailing, email, browsing, and messaging, while your normal number can remain on the original SIM if the phone and your carrier allow it.
Practical travel scenarios
Short city break. Install the profile at home over Wi-Fi if the plan permits it. When you arrive, select the travel eSIM for data, check the destination coverage in your plan, and use it for maps and transport. Keep the home line’s data roaming off unless you intentionally want to use your regular plan.
Multi-country itinerary. Before buying, confirm that every country on the route is included in the plan’s destination list. A plan for one country may not cover a nearby country or a transit stop. If the route crosses borders, check how the plan handles network selection and whether its validity continues across the entire trip.
Work trip with a home number to preserve. Keep the regular SIM active for incoming calls or verification only if you understand the carrier’s roaming charges. Assign the travel eSIM to mobile data and turn off automatic switching to the home line if the available setting could route data through it. Test the arrangement before leaving the airport.
Common problems and what to check
There is no “Set up an eSIM” option. Look for an EID under About phone → SIM status. Restart, update Android, and search Settings for “eSIM.” If the EID or setup option remains missing, have the seller or carrier verify the precise handset and market configuration. Do not purchase a plan based only on a product listing.
The QR code will not scan. Increase the brightness of the other screen, clean the Pixel Fold camera lens, and avoid glare or a damaged print. Make sure the code is meant for this plan and has not already been used. If scanning still fails, check whether the provider offers manual activation or in-app installation. Never post an activation QR code publicly.
The profile downloads but cannot activate. Keep Wi-Fi connected, confirm the activation details were entered correctly, and check whether the provider must approve or assign the profile. A carrier lock or unsupported operator can block activation even when eSIM hardware is present. Contact the provider with the exact error and device identifiers through its secure support channel.
The phone shows the eSIM but there is no mobile data. Confirm that the profile is switched on and selected as the mobile-data SIM. Check that the plan is valid for the current country, that its activation conditions are met, and that any required data roaming setting is enabled for the travel profile. Disable Wi-Fi briefly when testing, then restart the phone if the network does not register.
The phone connects but the internet does not load. Recheck the APN only if the plan’s instructions specify one; do not copy settings from an unrelated provider. Confirm the network selection is automatic unless the provider instructs otherwise. Turn Airplane mode on for a few seconds and off again, then retry. If the issue persists, contact the plan provider and report the location, time, selected data SIM, and any displayed error.
Data is being charged to the wrong SIM. Return to Settings → Network & internet → SIMs and verify the mobile-data selection. Check the home operator’s roaming status and disable mobile data or roaming on that line if appropriate. After changing the selection, test again with Wi-Fi off and confirm which profile records usage.
The connection is intermittent. Move to an open area, wait a few minutes, and check whether the selected local network is listed in the plan instructions. Coverage can vary inside buildings, underground, or in remote areas. A plan’s destination coverage does not mean every room, station, or rural location will have a signal.
The profile disappeared or was deleted. Do not repeatedly scan the same code. Some activation codes are single-use, and deleting a profile can remove it from the phone without cancelling the plan or producing a new install code. Contact the plan provider to ask whether the profile can be reinstalled or must be reissued.
FAQ
Is Google Pixel Fold 256GB eSIM compatible?
Google’s current Pixel Help guidance says Pixel 4 and later phones work with eSIM, which includes the Pixel Fold generation. The 256GB storage tier does not itself determine eSIM support. Check the specific phone’s EID, eSIM settings, carrier lock, and provider eligibility before purchasing.
Where can I find the EID?
Open Settings → About phone → SIM status and look for EID. Google also says the EID may be printed on the phone’s box. The settings screen is the most direct way to check the handset you have in front of you.
Will a travel eSIM replace my phone number?
A data-only travel eSIM generally provides mobile data, not a conventional phone number, voice calls, or SMS. Your existing SIM may remain active for those functions if your operator permits it, but charges may apply while roaming. Check your home plan before travelling.
Do I need to turn on data roaming?
Some travel eSIMs require data roaming on the travel profile to connect to a partner network. Follow the specific plan instructions. Keep the setting for your home SIM in mind so you do not unintentionally use its roaming data.
Can I move the eSIM to another phone later?
Do not assume that a downloaded profile can be transferred. Transfer rules depend on the provider and plan, and some activation codes are one-use. Contact the provider before deleting or moving a profile, especially after installation.
What if my imported Pixel Fold has no EID?
Do not treat the model name or storage label as proof that the particular unit is ready for eSIM. Confirm its origin, exact configuration, and lock status with the seller or carrier. If there is no EID and no eSIM setup option after an update and restart, resolve that question before purchasing a travel plan.
Final check before your trip
Google Pixel Fold 256GB is in the Pixel generation Google identifies as supporting eSIM, and Google provides an eSIM setup path in Pixel settings. The 256GB label is a storage choice, not a promise about a particular phone’s carrier status. Use the EID and setup-option checks to confirm the handset in your possession, then verify that it is unlocked and accepted by the eSIM provider.
When those checks are complete, compare the plan’s destination, data amount, validity, and activation rules with your itinerary. Install the profile using the provider’s instructions, select it for mobile data when you are ready, and enable roaming only as directed for that profile. If the device or activation details remain uncertain, contact the seller or provider before payment. To browse current destinations and check available travel plans, visit the Kaspersky eSIM Store.


