Travel connectivity guide
Motorola Edge 40 Pro 12GB RAM eSIM Guide
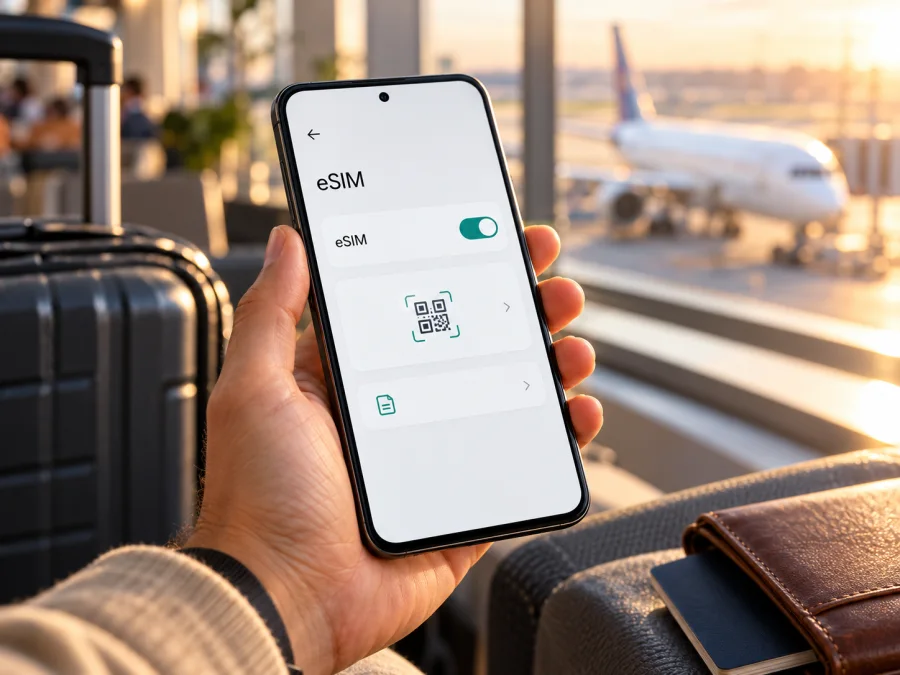
Motorola Edge 40 Pro 12GB RAM eSIM: compatibility and setup guide
Motorola lists the Edge 40 Pro with dual SIM support for one eSIM and one physical nano-SIM. That makes the Motorola Edge 40 Pro 12GB RAM a compatible device in the manufacturer’s documented configuration. Your individual handset still needs to expose eSIM in its software, and it must be unlocked for the eSIM provider you intend to use. Check the phone itself before choosing a travel plan.
An eSIM is a digital SIM profile stored on the phone. For travel, it can add a mobile-data line without removing your regular physical SIM. Compatibility depends on the phone, its regional configuration and software, and the plan’s destination and network conditions.
Motorola Edge 40 Pro 12GB RAM at a glance
| Item | What to know |
|---|---|
| Device | Motorola Edge 40 Pro 12GB RAM |
| eSIM status | Motorola lists one eSIM alongside one nano-SIM for the Edge 40 Pro configuration |
| Setup route | Settings → Network & Internet → SIM preferences, with wording that may vary by software |
| Travel use | Select the travel eSIM for mobile data when you are ready to use it |
| Check before purchase | Exact model/SKU, EID or eSIM menu, carrier lock, destination and plan conditions |
Does the Motorola Edge 40 Pro 12GB RAM support eSIM?
Yes. Motorola lists eSIM support for the Edge 40 Pro and documents adding an eSIM in Android. The listed arrangement is one eSIM plus one nano-SIM, so you can use a compatible eSIM alongside a physical SIM, subject to software and carrier settings.
A model-family specification cannot confirm every handset sold in every market. Regional versions, carrier-supplied units, local service support and software builds can differ. Motorola’s public documentation confirms the stated Edge 40 Pro configuration but does not provide a universal list of country-specific 12GB RAM SKUs with identical behavior. If your phone was imported, bought from a carrier or purchased second-hand, check its model number and SIM settings rather than relying only on a shop listing.
Regional versions and carrier restrictions
Phones with the same retail name may have different software or network configurations. The manufacturer’s specification supports eSIM for the Edge 40 Pro configuration, but the 12GB RAM label alone does not identify the exact regional SKU or remove a carrier restriction.
Check these details on your own phone:
- Model or SKU: Find the model number under Settings → About phone. Compare it with the invoice or box and ask Motorola or the seller about that exact identifier.
- Carrier lock: Ask the original carrier or seller whether the handset is unlocked for another provider’s eSIM. A visible eSIM menu does not necessarily mean the phone accepts every provider’s profile.
- Software: Install available system updates over a trusted connection, restart, and check the SIM menu again. Labels and feature availability may vary by build.
- Plan support: Confirm that the eSIM plan covers your destination and supports your device configuration. Support in one market does not guarantee support from every local provider.
- Dual-SIM limits: Motorola lists one eSIM and one nano-SIM. Do not assume that two physical SIMs and an eSIM can all be used at once, or that every stored profile can be active simultaneously.
Check compatibility before you buy
Open Settings → Network & Internet → SIM preferences or a similarly named SIMs & mobile network menu. Look for Add eSIM, Download a new eSIM, Set up an eSIM, or another option to download a profile. Exact labels depend on the Android version and region.
You can also check for an EID, the identifier associated with eSIM hardware. Look under Settings → About phone → SIM status, or search Settings for “EID.” On some Android builds, entering *#06# in the dialer may show device identifiers including an EID, but this shortcut is not universal. Keep the EID private and share it only through an official support channel when needed.
Compatibility checklist
Before ordering a travel eSIM, confirm that:
- [ ] Your handset is the Motorola Edge 40 Pro 12GB RAM configuration and you have its model number.
- [ ] Settings shows an eSIM setup option, or the EID is confirmed.
- [ ] The phone is not locked to its original carrier.
- [ ] The software is current and you can connect to Wi-Fi for setup.
- [ ] The plan covers every destination on your route and is suitable for this device.
- [ ] You understand the plan’s data allowance, validity, activation timing and roaming instructions.
- [ ] You know how to contact the provider if installation fails.
Check whether your device is compatible before selecting a plan. If the phone’s status is unclear, confirm the model number with the seller or provider first. A general specification is not proof about an individual handset.
Install and activate an eSIM
Have a reliable Wi-Fi connection and your provider’s instructions or QR code ready. Do not delete an installed profile to retry unless the provider tells you to; some profiles have limited reinstallation options. If the phone is managed by an organization, use the owner profile because secondary users may not have access to SIM settings.
1. Review the activation details
After choosing a plan for your destination, read its conditions. Check whether installation can happen before departure and when validity begins. Keep the QR code private. Use manual activation details only in the fields specified by the provider.
2. Open SIM settings
On the Motorola Edge 40 Pro, open Settings → Network & Internet → SIM preferences or the similarly named SIM menu. Choose the option to download, add or set up an eSIM. Motorola advises connecting to Wi-Fi first if the phone has no network connection.
3. Add the profile
Follow the prompts. Scan the supplied QR code, or choose manual entry if your provider gave you an activation code. Keep the phone connected while the profile downloads. If an error appears, note its wording before trying again.
4. Label and select the line
Give the new profile a recognizable label, such as “Travel” or the destination. In SIM preferences, choose which line handles mobile data. Calls, text messages and data may have separate defaults, so check each one. Keep your usual SIM identified if you want it available for its normal services.
5. Activate at the right time
Installation and activation may be separate events. Some plans start when the phone first connects to a supported network; others follow different terms. Use the plan’s instructions to decide when to enable the eSIM. At your destination, select it for mobile data and enable data roaming for that eSIM only if instructed. Registration may take a few minutes.
For detailed setup help, use the Android eSIM installation instructions. If you are setting up an eSIM on an iPhone instead, see the iOS eSIM installation instructions. Kaspersky eSIM Store is an app and website where you can choose, arrange and activate an eSIM plan for mobile data during an international trip; it is not a mobile operator or network provider.
Use the eSIM while travelling
A common setup is to leave your regular nano-SIM in the phone and add a travel eSIM for data. If the plan allows advance installation, set it up over Wi-Fi before leaving. Keep it off or do not select it for mobile data until the provider’s recommended activation time. Once abroad, enable the profile, select it for data and wait for connection to a supported local network.
If you want to receive calls or messages on your regular number, check your home carrier’s roaming terms before leaving that line active. Assign mobile data to the travel eSIM and turn off automatic switching to another SIM if you do not want the phone to use your home line for data. A travel eSIM plan may provide mobile data only, with no regular phone number, voice service or SMS unless the plan explicitly says otherwise. Internet messaging and calls can work through apps when data is available.
Common travel situations:
- Before departure: Verify compatibility, destination coverage and activation timing. Install in advance only if permitted, and keep setup details secure.
- On arrival: Turn on the travel eSIM, select it for data and follow the plan’s roaming instructions. Allow time for network registration.
- At a border: Confirm the next country is covered before relying on the eSIM. Use Wi-Fi to review options if it is not.
- To control usage: Monitor data in Android and in your provider account if available. Use Wi-Fi for large downloads when appropriate and restrict background data for apps you do not need.
Troubleshooting
First identify whether the problem is with finding the eSIM option, downloading a profile or connecting after installation. Note the error and your model number before contacting support.
The eSIM option is missing
Search Settings for “SIM,” “eSIM” or “EID,” then check About phone → SIM status. Install available updates, restart and check again. If the EID and setup option are still absent, ask Motorola or the original carrier to verify the regional model and software configuration. A factory reset is not a reliable first step and may remove data or settings.
The QR code will not scan or download
Use stable Wi-Fi, brighten the screen displaying the code, clean the camera lens and keep the full code in view. Check whether the code is still valid or has already been used. If it may be single-use, avoid repeated attempts and ask the provider for help. Use manual details only if the provider offers them.
The profile installed but there is no service
Make sure the eSIM is enabled and selected for mobile data. Confirm the plan covers the country and that its activation conditions are met. Enable data roaming for the travel line if required. Toggle airplane mode briefly, turn it off and wait for registration. Use manual network selection only if the provider recommends it.
Data uses the wrong SIM, or is slow
Review the mobile-data selection and disable automatic switching if you do not want the phone to fall back to the home SIM. Turn Wi-Fi off briefly and load a small page to confirm the active connection. For slow or intermittent service, move to a clearer-signal area, check local coverage and ensure Android data limits or Data Saver are not blocking use. An eSIM cannot overcome weak reception, congestion or a plan limitation.
Calls or messages do not work as expected
A travel data plan may not include a phone number, voice calling or SMS. Choose the correct SIM for ordinary calls and texts, or use internet-based apps when data is available. Check both the travel plan and home carrier terms before relying on either line.
Frequently asked questions
Can I install the travel eSIM before leaving?
Often you can, if the provider allows it. When validity starts varies by plan, so read its activation instructions to know whether installation or first network connection starts the period.
Should I enable data roaming?
Only when the selected plan’s instructions require it. Enable it for the travel eSIM line and confirm mobile data is not assigned to your home SIM by mistake. Check your home carrier’s roaming conditions too.
Can I move the profile to another phone?
Do not assume so. Transfer and reinstallation rules depend on the provider and plan. Ask before deleting a working profile or changing devices; removal may not cancel the plan and may prevent self-service reinstallation.
Is an eSIM a replacement for my regular number?
Not necessarily. A travel eSIM may provide data only, without voice service, SMS or a normal phone number. You may keep your usual SIM for its existing services, subject to its roaming terms.
Before you choose a travel eSIM
Motorola’s published information lists eSIM for the Edge 40 Pro dual-SIM configuration: one eSIM and one nano-SIM. For your Motorola Edge 40 Pro 12GB RAM, confirm that Settings exposes an eSIM setup option or that the EID is present, check that the phone is unlocked, and install current software. Ask the seller, carrier or Motorola to verify the exact model number if anything is unclear.
Then confirm that the plan covers your itinerary, its data and validity fit your trip, and you understand when activation starts. Browse current options for your destination on the Kaspersky eSIM Store website, then check the plan conditions for your dates and confirm compatibility before ordering. A short check can help you travel with a clear setup plan and avoid relying on a profile the phone cannot install.


