Travel connectivity guide
Samsung Galaxy S22 Ultra 256GB eSIM compatibility
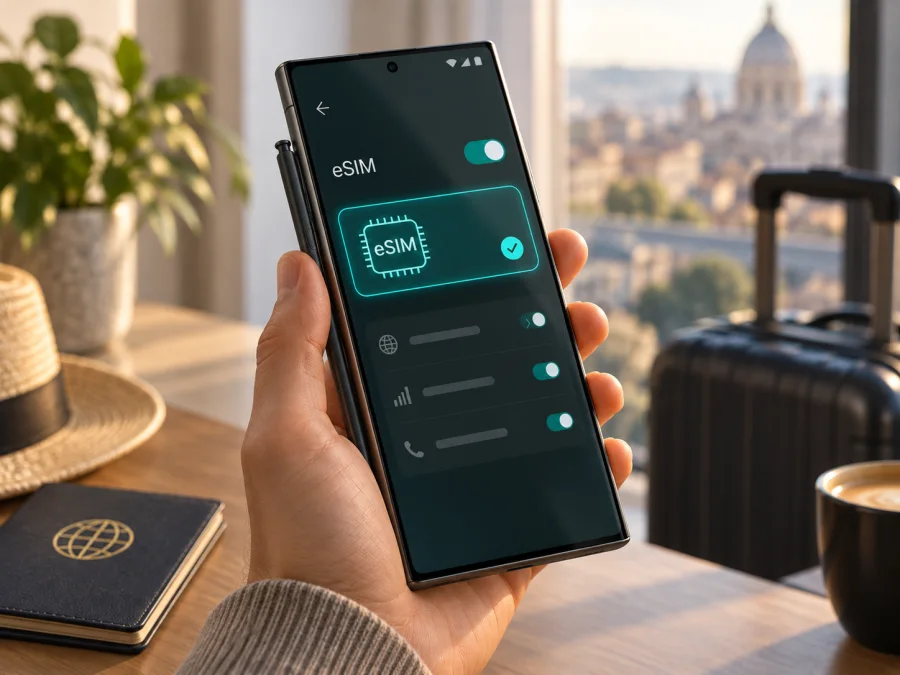
Samsung Galaxy S22 Ultra 256GB eSIM: compatibility and travel setup
Samsung lists the Galaxy S22 Ultra among its eSIM-capable Galaxy devices and documents adding a plan through SIM manager. This supports a model-level “yes,” but does not guarantee that every handset sold under this name can add an eSIM. Availability can depend on country of origin, carrier, model and software. The 256GB figure identifies storage; it does not identify the regional configuration.
Short answer: this variant can support eSIM, provided the specific phone has the required eSIM capability enabled and is not blocked by its carrier. Before buying a travel data plan, check for an EID and an Add eSIM option on the phone itself. If either is missing, ask Samsung or the seller to verify the model code and country configuration before proceeding.
Samsung Galaxy S22 Ultra 256GB at a glance
| Detail | What it means for eSIM |
|---|---|
| Device name | Samsung Galaxy S22 Ultra 256GB |
| Storage in this variant | 256GB; this is storage, not a guarantee of eSIM availability |
| Device family | Galaxy S22 Ultra, listed by Samsung among eSIM-capable Galaxy devices |
| eSIM answer | Supported on compatible regional and carrier configurations; verify the individual phone |
| First check | Look for an EID in status information and for Add eSIM in SIM manager |
| Travel use | A compatible, unlocked phone can use a travel data profile where the selected plan has coverage |
An eSIM is a digital SIM profile stored in the phone. SIM manager lets you review available lines and choose which handles mobile data. Menu labels can vary by software, market or carrier.
Does Samsung Galaxy S22 Ultra 256GB support eSIM?
Samsung’s current eSIM list includes the Galaxy S22 Ultra, and its S22 Series guidance explains adding a plan or scanning a carrier QR code. This confirms support for the device family, but not for every regional retail configuration.
This matters for an imported or used phone. Samsung notes that eSIM may not be supported depending on country of origin; carrier firmware, model number and software can also affect the controls. A carrier may require the phone to be unlocked or restrict activation on its service.
Use the phone’s settings as the practical check. Open Settings → Connections → SIM manager and look for Add eSIM or Add mobile plan. Then open Settings → About phone → Status information (sometimes Status) and look for EID. The EID identifies the embedded SIM; keep it private. It may also appear on the original box.
An EID is a strong sign that the phone exposes eSIM capability, but also check for the add-plan menu: neither proves that the phone is unlocked or that a specific plan can activate. If both checks fail, restart, update the software and check again. Then ask Samsung or the seller to confirm the full model code and sales market; do not rely on the listing title or storage alone.
Before you install an eSIM
Before scanning, keep the confirmation and activation details available on another screen or on paper. QR codes may be single-use. If the code is on the phone itself, display it on another device or use the provider’s supported manual method.
Check these basics first:
- Confirm the device. Verify the EID and the add-plan menu using the steps above.
- Check the network lock. Ask the original provider whether the phone is unlocked for another provider’s SIM or eSIM.
- Read the plan conditions. Confirm supported country or countries, start date, validity period, included data, any speed policy, and whether activation starts during installation or on first network connection.
- Use stable internet. Downloading a profile needs a network connection. Wi-Fi is usually convenient for installation.
- Keep the original line available. Decide whether to retain the physical SIM for voice, messages or account verification. Check any roaming charges for the home line before travel.
- Avoid deleting a working profile. Removing an eSIM from the phone does not necessarily cancel a plan or make its QR code reusable. Follow the plan provider’s process if you need to reinstall it.
Compatibility checklist
<a id="kesim-device-compatibility"></a>
Use this checklist before ordering a plan. A “yes” to one item does not replace the others.
- [ ] EID visible: check Settings → About phone → Status information or on the original box.
- [ ] Add-plan control visible: check Settings → Connections → SIM manager for Add eSIM or the equivalent wording.
- [ ] Regional version confirmed: compare the complete model code and country of origin with the seller or Samsung support.
- [ ] Carrier unlock checked: confirm that the handset accepts a plan from a different provider if you intend to use one while travelling.
- [ ] Plan requirements checked: confirm the destination, validity rules, data allowance, supported network and installation method for the exact plan.
- [ ] Internet available for setup: connect to reliable Wi-Fi before downloading a profile unless the plan’s instructions specify another supported method.
For a quick return to this section, use the eSIM compatibility checklist.
Menus may vary by Android and One UI version, carrier and region. See Android eSIM installation instructions and iOS eSIM installation instructions. The iOS guide is useful if you are preparing a different Apple device; use the Galaxy’s own Settings screens to install a profile on this Samsung phone.
How to install and activate eSIM on Galaxy S22 Ultra
Follow the plan provider’s instructions if they differ. Connect to Wi-Fi and use a current activation code.
- Open SIM manager. On the phone, go to Settings → Connections → SIM manager. Tap Add eSIM or Add mobile plan. If there is no such choice, stop and recheck device compatibility rather than continuing with a QR code.
- Choose the supported installation method. If the provider gave you a QR code, choose the scan option and point the camera at the code. If the provider gave an activation code or server details, choose manual entry only if the plan supports it. Some carriers offer an automatically assigned plan that appears after tapping Add eSIM.
- Confirm the download. Review the on-screen plan information and accept the download. The phone may need a short time on Wi-Fi to contact the activation server. Do not close the setup screen while it is processing.
- Name the profile. When prompted, choose a label such as “Travel” or the destination name. A clear label makes it easier to distinguish this plan from a personal physical SIM in the SIM manager.
- Choose what each line does. If you keep a physical SIM active, select the preferred line for calls, text messages and mobile data. For a data-only travel plan, keep your usual number as the voice and SMS line if you need it, and choose the travel eSIM for mobile data when appropriate.
- Enable the profile at the correct time. Some plans can be installed before departure but only begin their validity on first connection in the destination. Others start earlier. Follow the plan’s timing instructions; installing, activating the profile, connecting to a network and starting the validity period can be separate events.
- Check data settings. Select the travel eSIM as the mobile data SIM when you want to use it. Enable data roaming for that eSIM only if its instructions require it. Leave roaming disabled on your home line if you want to avoid unintended charges, unless you have confirmed your home plan covers them.
- Restart if necessary. If the phone asks you to restart, do so. After it reconnects, return to SIM manager and check that the profile is enabled. At the destination, allow time for the phone to register on a supported network.
Profile installation does not always mean data is available. A plan may connect only at its destination, or its validity may begin at installation. Check the plan instructions before installing early.
Using eSIM for mobile data while travelling
A common arrangement is to keep the home number on a physical SIM and use the travel eSIM for data. In Settings → Connections → SIM manager, enable the lines you need and set the travel profile as the mobile-data SIM. Check this selection after installation. Turn off the home line only if you will not need it for calls or verification codes.
On arrival, turn off airplane mode, enable the travel profile, and check that mobile data is assigned to it. If the plan instructions require data roaming, enable roaming for that profile. Leave the home SIM’s roaming setting as you intend, because a dual-SIM phone may still connect that line for calls or messages. Review the roaming terms of your home provider. A data eSIM is generally intended for internet access; unless a plan explicitly includes them, do not expect it to provide a regular phone number, conventional voice calls or SMS. Messaging, maps, ride services, email and internet calls can use data, subject to the app and connection.
For a stopover, a country plan may fit; for a multi-country itinerary, verify each destination. A border crossing does not guarantee service under the same plan. Match validity and data allowance to your trip, and check hotspot terms if you plan to tether. Coverage and speed depend on local network conditions and plan terms.
Kaspersky eSIM Store is an app and website where travellers can choose, arrange and activate an eSIM with a mobile-data plan for a trip abroad. Before selecting a plan, check that the destination and usage period fit your itinerary, then make sure the Galaxy’s EID, SIM manager and network-unlock checks are complete. The store is not the mobile operator or network owner; actual service is subject to the plan terms and available local network.
Troubleshooting: when eSIM does not appear or connect
There is no “Add eSIM” option. Confirm the model code and country configuration with Samsung or the seller. Update and restart the phone, then check SIM manager and EID again. If both remain absent, the regional or carrier configuration may not expose eSIM; avoid unofficial firmware changes.
The QR code is rejected. Check that it belongs to this plan and has not already been used. Keep the phone online, display the code on another screen, and ask the provider for a replacement or supported manual method if needed.
The profile is installed but has no service. Confirm the plan covers your current country and is within its validity period. Check that it is enabled and selected for data, disable airplane mode, and restart. Enable roaming on the travel eSIM if the plan requires it.
Data uses the wrong SIM or apps cannot load. Review the mobile-data selection, plan balance and validity. Follow the plan’s APN instructions only if manual APN setup is required. If the issue persists, contact the plan provider with the model code and error; share EID or activation details only through a trusted support channel.
The home SIM incurs roaming charges. Check the roaming toggle and data line for each profile. Calls or messages on the home line may still incur charges under its terms; turn it off if you do not need it.
Frequently asked questions
Does the 256GB storage version have eSIM?
Samsung lists the Galaxy S22 Ultra family as eSIM-capable, but 256GB is only a storage size. Check the phone’s EID, SIM manager and regional model code.
Can a physical SIM and an eSIM be active together?
Supported Galaxy S22 configurations can use a physical SIM and eSIM together. The exact options depend on region and software; review SIM manager and choose lines for calls, messages and data separately.
Do I need to remove my usual SIM before travel?
Usually not, if the phone supports both lines at once. Keep the physical SIM available, choose the travel eSIM for data and check home roaming terms.
Does installing the profile start the plan?
It depends on the plan: validity may start at installation, activation or first network connection. Check the instructions before installing.
Will an eSIM work without mobile data roaming enabled?
Some do and some do not. Follow the plan instructions, enable roaming on the travel profile if required, and review the home SIM separately.
What if this phone was purchased abroad?
The name alone cannot confirm eSIM on an imported unit. Check the EID, add-plan option and full model code; ask Samsung or the seller to verify if the menu is missing.
Final check before your trip
Before you choose a travel eSIM, confirm that your exact Samsung Galaxy S22 Ultra 256GB shows both an EID and an Add eSIM option, and verify that the handset is unlocked for the plan you intend to use. Check the plan’s destination coverage, start conditions, data allowance, validity, installation method and roaming instructions. Install it over reliable Wi-Fi at the time specified by the plan, label the profile clearly, and set the intended mobile-data line before you leave.
If the regional configuration is uncertain, verify it with Samsung or the seller rather than assuming that every 256GB handset has identical settings. Once compatibility is confirmed, Kaspersky eSIM Store’s app and website can help you choose, arrange and activate an eSIM plan for mobile data on your overseas trip. Keep the plan instructions available, and recheck SIM manager when you arrive so the right profile is selected.


