Travel connectivity guide
Sharp AQUOS Wish eSIM: Compatibility and Setup
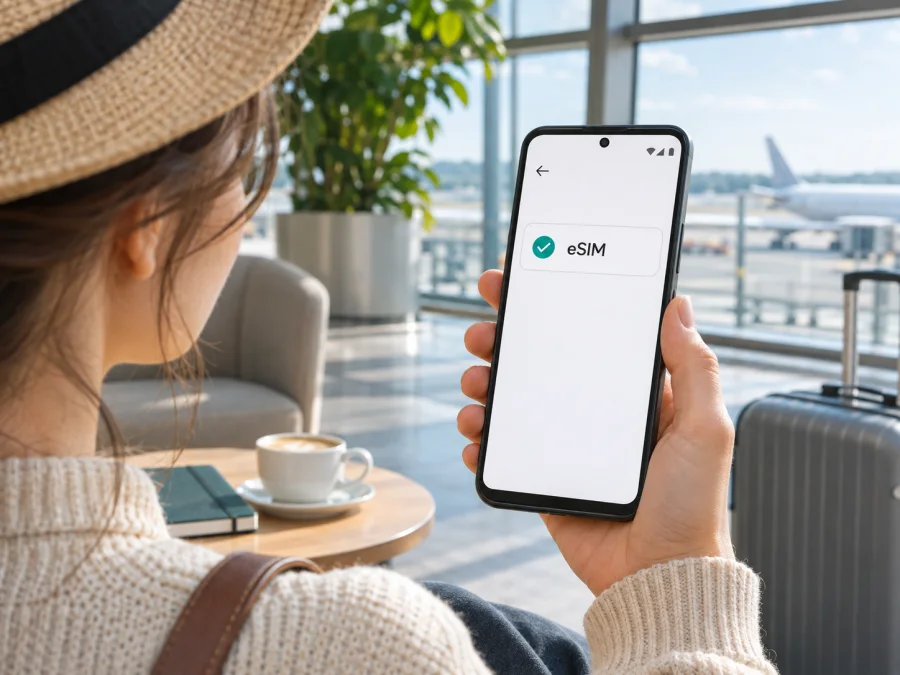
Sharp AQUOS Wish eSIM: compatibility, setup, and travel use
Short answer: some Japanese-market versions of Sharp AQUOS Wish support eSIM. Sharp lists eSIM alongside nanoSIM for the SIM-free SH-M20, and Y!mobile lists nanoSIM/eSIM for its A104SH version. au also lists eSIM service compatibility for SHG06. The name “Sharp AQUOS Wish” by itself does not identify which version you own, and those Japanese-market confirmations do not establish support for every imported or operator-branded handset. Check the model code and eSIM menu on your own phone before choosing a travel plan.
An eSIM is a digital SIM profile stored in a phone. Travel use depends on device support, provider requirements, destination coverage, and any carrier lock.
What the name does and does not confirm
Sharp AQUOS Wish is a product name, not a complete hardware identifier. Retailers and carriers in Japan have used distinct codes for the first-generation phone, including SH-M20, A104SH, and SHG06. Those codes refer to versions sold through different channels; a listing that says only “AQUOS Wish” may omit the detail needed to judge eSIM support. It may also be confused with later phones whose names add a number, such as AQUOS wish2 or AQUOS wish3. Those are separate products and their specifications should not be used to answer a question about Sharp AQUOS Wish.
Sharp’s published specification for the Japanese SIM-free SH-M20 says “nanoSIM + eSIM” and describes dual-SIM dual-VoLTE support. Y!mobile’s A104SH specifications also list nanoSIM and eSIM. au’s device check list includes the SHG06 under eSIM and marks its listed services as tested on Android 13. These statements are useful evidence for those named Japanese-market variants and their stated operator environments. They are not a guarantee that an unknown imported unit, a refurbished phone with a replaced board, or a device sold under the same short name in another market will expose the same feature.
| Check | What is confirmed | What it means for your phone |
|---|---|---|
| Sharp AQUOS Wish SH-M20 | Sharp’s Japan release specification lists nanoSIM + eSIM. | eSIM support is documented for the Japanese SIM-free model. Confirm the code on the handset and check that it is not restricted by a seller or network lock. |
| Sharp AQUOS Wish A104SH | Y!mobile’s Japanese product specification lists nanoSIM/eSIM. | The named Y!mobile version supports eSIM capability. A carrier’s own activation rules still apply to its service. |
| Sharp AQUOS Wish SHG06 | au’s current compatibility table includes eSIM for this model; the displayed check notes Android 13 as the tested OS. | The model has an operator-specific eSIM confirmation for au. This does not automatically certify every other provider’s plan or network. |
| Phone identified only as “Sharp AQUOS Wish” | The short name does not reveal a SKU or sales market. | Treat support as unconfirmed until you check the code, settings, and provider requirements. |
| A later AQUOS wish generation or an overseas import | This article’s evidence for SH-M20, A104SH, and SHG06 is not a specification for another product. | Check the exact model number and the official specification for that version. |
Regional versions and operator differences
The confirmed examples above are all tied to Japan: SH-M20 is Sharp’s Japanese SIM-free model, A104SH is the Y!mobile version, and SHG06 is the au version. The Japanese manufacturer and carrier pages describe those model codes; they do not establish that every phone sold internationally as AQUOS Wish has identical SIM hardware, firmware, or software menus. If your phone came from another country, ask the seller for its full model code and the original market before relying on a general compatibility list.
A carrier-branded version can have eSIM hardware and still behave differently when used elsewhere. The provider that issued or sold the phone may limit which network profiles it can accept, or the phone may be locked to that provider. A lock is separate from eSIM capability: a handset can contain eSIM hardware but refuse a profile from another provider until it is officially unlocked. Ask the original operator to confirm the lock status and unlock eligibility. Do not infer that a phone is unlocked simply because a settings screen offers “Add eSIM.”
There are also two separate compatibility questions for travel. First, can the handset download and keep the eSIM profile? Second, can that profile’s provider register the phone on a compatible local network in the destination? An answer of “yes” to the first does not guarantee the second. Network bands, supported services, provider rules, and the plan’s destination list all matter. Even within Japan, a manufacturer’s SIM-free specification and an operator’s own service-compatibility result answer different questions. For use abroad, check the travel eSIM provider’s requirements for your exact phone and destination.
Check your exact phone before buying
Start with the model code, then look for the eSIM controls. On many Android phones the EID is a useful additional clue, but a missing EID in one menu is not enough by itself to decide whether an unfamiliar model supports eSIM: menu locations can differ by software, and the phone may need an update. The clearest practical check is whether the correctly identified handset exposes an option to add or download an eSIM and whether its manufacturer or carrier documentation confirms that exact variant.
- Find the model code. Open Settings → About phone and look for Model, Model number, or Device identifiers. Record the code exactly, including letters and digits. Compare it with the box, purchase receipt, or original carrier account if available. A short marketing name alone is not enough.
- Open the SIM settings. On the Japanese SH-M20 manual, the route is Settings → Network & internet; the screen includes an option to add an eSIM. On other Android versions, look under Network & internet, SIMs, Mobile network, or SIM manager for Add eSIM, Download a SIM, or a similarly worded command. The label and route may vary.
- Check for an EID. Look under Settings → About phone → SIM status or the device’s status/identity information. You can also open the phone information screen used for IMEI details and check whether an EID appears. Do not post the EID publicly; it is an identifier for the embedded SIM. If no EID is shown, use the exact model code and official documentation as the next check rather than assuming either support or non-support.
- Confirm the phone is not restricted. Check with the operator that originally sold the phone whether it is network locked and whether an eSIM from another provider is allowed. If the phone was bought second-hand, ask the seller for the original carrier and market.
- Compare with the travel plan requirements. Check whether the destination is included, whether the plan is data-only, how long it lasts, when its validity begins, and whether the provider lists your exact model or requires an unlocked device.
Compatibility checklist:
- [ ] The model code in Settings is visible and matches the seller’s description.
- [ ] The exact code has manufacturer or carrier documentation that confirms eSIM, or the phone displays a usable Add eSIM option.
- [ ] The phone is not locked against the eSIM provider you intend to use.
- [ ] The Android software is up to date and the phone has an internet connection for profile installation.
- [ ] The plan supports the destination and fits the trip’s data and validity needs.
- [ ] You understand that a travel data eSIM may not provide a local phone number, voice service, or SMS.
Check your device before purchasing a plan. If you cannot confirm the model code or the add-eSIM option, contact the original seller or carrier first. A compatibility checker is a useful second check, but it cannot remove a carrier lock or make an unsupported regional model compatible.
How to add and activate an eSIM
The exact screens on Sharp AQUOS Wish can vary by model code, Android version, and operator software. The SH-M20 documentation describes adding an eSIM from the network settings; a carrier may provide a different activation flow or require you to scan a QR code from its app. Follow the instructions that come with the eSIM profile, and install it while connected to reliable Wi-Fi or another internet connection. Keep the QR code available on a second screen or printed page if the phone cannot scan a code displayed on itself.
- Prepare the profile. Confirm the phone is compatible and unlocked. Open the purchase or activation message on another device, or have the provider’s app ready. Check whether the profile is a QR code, an in-app installation, or manual activation details. A one-time QR code should not be shared or scanned repeatedly.
- Open eSIM setup. On the SH-M20, open Settings → Network & internet and choose the add eSIM control (shown as a plus sign in Sharp’s manual). On a different Android build, open the SIM or mobile-network settings and select Add eSIM or Download a SIM. If no such option appears, stop and recheck the model code and documentation instead of attempting a physical-SIM workaround.
- Download the profile. Choose the QR-code option if provided, then scan the code. If the provider offers direct installation in an app, follow its on-screen flow. Review any confirmation showing the plan or provider before accepting. Keep the device online until the profile download finishes.
- Name the line. Give the profile a clear label such as Travel data or the destination name. This makes it easier to distinguish it from your home SIM in the dual-SIM settings.
- Choose when to use it. If you are setting up before departure, leave the travel profile installed but select your home SIM for mobile data until you are ready, if the provider’s terms allow that. Check the plan’s activation and validity rules: installation, activation, first network connection, and the start of the validity period are not always the same event.
- Select mobile data. When you want to use the travel plan, go to the SIM settings and choose that eSIM as the line for mobile data. Keep your normal line selected for calls or messages if you need it, but review its roaming settings and your home operator’s charges.
- Set data roaming only for the travel profile if required. Some travel eSIMs need data roaming enabled to connect to a partner network. Turn it on for the eSIM only when the plan’s instructions say to do so. If possible, turn data roaming off for your home SIM to avoid unintended charges. The menu may show separate roaming switches by line.
- Wait for registration. After you arrive in a covered destination, allow several minutes for the profile to register. Follow the provider’s APN instructions only if supplied; do not guess an APN value. Restarting the phone once can help it refresh network registration.
For a general overview of installation, see the Android eSIM installation guide. Its illustrated steps are written for Samsung, so Sharp menu names may differ. The iOS eSIM installation guide is for Apple devices and is included for readers setting up a different device; it is not a Sharp AQUOS Wish procedure.
Kaspersky eSIM Store is an app and website where travellers can choose, arrange, and activate an eSIM with a plan for mobile data on an international trip. Before using it with Sharp AQUOS Wish, confirm the phone’s exact model and unlocked status, then review the destination and current plan conditions. The Store does not make an incompatible or locked handset work with an eSIM.
Using the travel eSIM for mobile data
AQUOS Wish can have a physical nanoSIM and eSIM installed on supported versions, but dual-SIM operation does not mean that both lines use mobile data at the same time. Sharp’s specification for SH-M20 describes dual-SIM dual-VoLTE capability; the Japanese release notes that when two 5G SIMs are used, only the SIM selected for data can use 5G. The exact service behavior depends on model and operator. For a travel data plan, select the travel eSIM as the mobile-data line and decide separately which line handles calls or SMS.
Before leaving, save the provider’s setup information and make sure the eSIM profile appears in the SIM list. You can install it at home while Wi-Fi is available, but do not assume the plan’s validity starts only when you arrive: check the plan terms for activation timing. Some plans start on installation or manual activation; others start on first connection in the destination or can be scheduled. Use the provider’s stated rule for your selected plan.
At the destination, turn on the travel eSIM and mobile data. Enable data roaming for that profile if its instructions require it. If you keep the home SIM active, disable data roaming on that line or select the travel eSIM as the sole mobile-data SIM to reduce the chance that apps use the home operator’s roaming service. Calls and SMS remain governed by the home SIM and its operator. A data-only travel eSIM generally does not replace your normal number; internet calling and messaging apps can work over data if your accounts and app settings are already available.
For a one-country holiday, choose a plan whose coverage explicitly includes that country and whose data allowance and validity period fit how you expect to use maps, bookings, messages, and browsing. For a multi-country itinerary, confirm that every stop is included; a regional plan can be convenient only if the listed destinations match your route. Avoid selecting by country name alone if you will also visit nearby territories, islands, or border regions.
Common problems and what to check
There is no “Add eSIM” option. Verify the full model code and compare it only with documentation for that exact variant. Install available system updates and restart. If the control is still missing, ask Sharp or the original carrier whether this unit supports eSIM; do not rely on the product name alone.
The QR code will not scan. Use a second screen or a printed code, increase its brightness, and make sure the whole code is visible. If it is single-use or the profile may already be installed, stop retrying and ask the provider whether it can be reissued. Do not share the code publicly.
The profile installs but has no service. Check that you are in a supported destination, that the travel eSIM is enabled and selected for mobile data, and that data roaming is on for that profile if required. Restart once and wait for registration. Use only the APN or network-selection details supplied by the provider.
There is signal but no data. Confirm the plan is active and has data remaining; check that mobile data is assigned to the travel line, not the home SIM. Verify any provider-specified APN, then try a basic webpage to distinguish a network problem from an app issue.
The home SIM may be roaming. Review the mobile-data line and each SIM’s roaming switch. Disable data roaming on the home SIM if appropriate, and check the home operator’s call, voicemail, and SMS charges separately.
Activation fails or another provider’s profile is rejected. Check internet access, the profile’s validity, the phone’s unlock status, and the provider’s exact device requirements. Avoid deleting a partly installed profile or reusing a one-time code without provider guidance. When contacting support, share the model code and error text, but keep EID, QR codes, and activation tokens private.
FAQ
Does Sharp AQUOS Wish support eSIM?
Some identified Japanese-market versions do. Sharp documents eSIM for SH-M20, Y!mobile lists it for A104SH, and au lists eSIM compatibility for SHG06. The unqualified name does not confirm which version you have, so check the exact model code and the add-eSIM setting before purchase.
Is eSIM support the same in every country?
No. The evidence here confirms named variants sold in Japan. It does not prove that every regional import, operator version, or later AQUOS wish generation has the same hardware and software. Check the code on the phone and its original market.
Does a travel eSIM give me a phone number?
Usually a travel data plan is for mobile internet and does not include a regular local phone number, calls, or SMS unless its conditions specifically say otherwise. Messaging and internet calls may work through apps using a data connection.
Final check: confirm the phone, then choose for the trip
For Sharp AQUOS Wish, the reliable answer starts with the full model code. SH-M20, A104SH, and SHG06 have documented eSIM support in Japanese manufacturer or carrier materials, but the bare product name does not establish support for an unknown regional version. Find the code in Settings, confirm that the phone offers eSIM setup, and ask the original seller or operator about any lock. Then check that the plan covers every destination on your route, matches your data needs, and has activation timing that works for your departure.
Once those checks are complete, Kaspersky eSIM Store’s English website lets you browse current destinations and plan conditions. Treat the destination list and terms shown there as the current source when choosing. A careful check before purchase makes it easier to set up the profile over Wi-Fi, choose the right line for data abroad, and keep your home SIM’s roaming settings under control.


