Travel connectivity guide
Sony Xperia 1 IV 512GB eSIM Compatibility & Setup
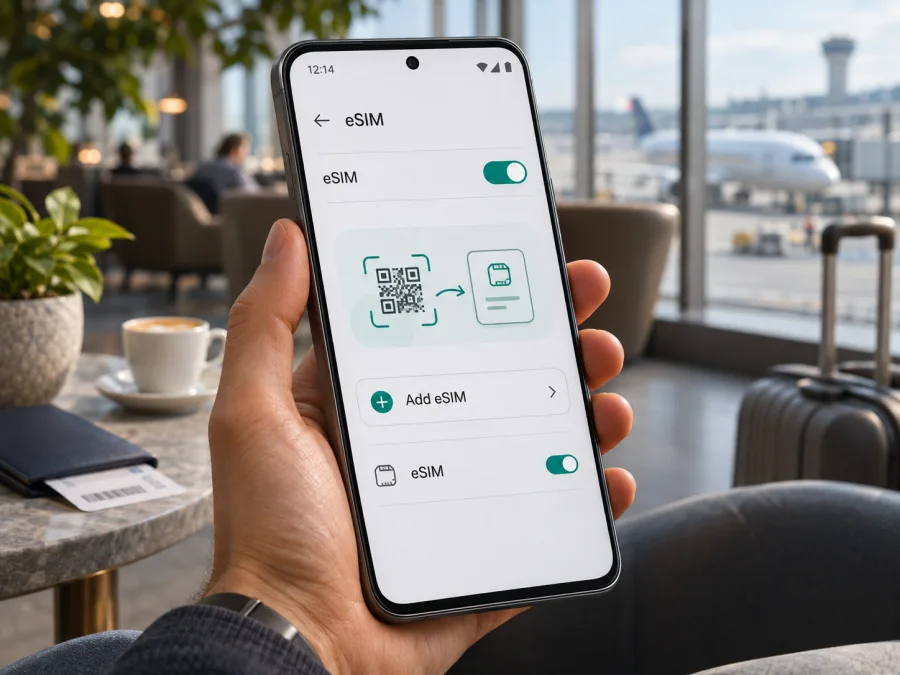
Sony Xperia 1 IV 512GB eSIM: compatibility and setup
If your phone is the Japanese SIM-free Sony Xperia 1 IV XQ-CT44 with 16 GB RAM and 512 GB storage, it supports eSIM. Sony lists that exact model and memory configuration and its Help Guide explains how to register a downloaded SIM. The name “Sony Xperia 1 IV 512GB” alone, however, does not identify one worldwide hardware version. Sony sold Xperia 1 IV variants with different SIM trays, and some regional 512 GB versions use two physical nano-SIMs instead of eSIM. Before buying a travel plan, check the model code printed in Settings and confirm that the eSIM menu is present. Storage capacity is not a reliable way to identify eSIM support.
This guide explains the distinction, how to check the phone, and how to install a data eSIM for a trip. It also covers the settings that matter after landing. Treat the model code and the device’s own SIM settings as decisive; do not infer compatibility from a shop listing that only says “Xperia 1 IV 512GB.”
Does Sony Xperia 1 IV 512GB support eSIM?
Yes, for the 16 GB/512 GB XQ-CT44 model sold as the Japanese SIM-free version. Sony’s official Japanese specifications identify XQ-CT44 as 16 GB RAM/512 GB ROM and list nano-SIM plus eSIM. Sony’s Help Guide for XQ-CT44 says the device supports downloaded SIMs and gives the settings path for adding one.
That answer is specific to XQ-CT44. It should not be generalized to every Xperia 1 IV that has 512 GB of storage, every carrier edition, or every phone described by a seller using the same retail name. Sony’s support material for the international XQ-CT54/XQ-CT62/XQ-CT72 family explicitly marks eSIM setup as XQ-CT54 only. Sony also describes the XQ-CT62 and XQ-CT72 configurations as two nano-SIMs, or one nano-SIM plus a memory card. Those versions do not become eSIM-capable because a menu is translated differently or an eSIM QR code is available.
| Item | What to know |
|---|---|
| Exact name in this guide | Sony Xperia 1 IV 512GB |
| Confirmed eSIM 512 GB variant | XQ-CT44, Japanese SIM-free model; 16 GB RAM and 512 GB storage |
| eSIM status for XQ-CT44 | Supported according to Sony’s specifications and Help Guide |
| Other Xperia 1 IV versions | SIM arrangement varies by model code and market; some support only physical SIMs |
| What the storage label tells you | Storage size only; it does not establish eSIM support |
| What to check before a plan | Model code, eSIM settings, device unlock status, and destination plan conditions |
Model codes and regional versions
The clearest confirmed 512 GB match is XQ-CT44. Sony’s Japanese product specification page lists this code with 16 GB/512 GB and nano-SIM/eSIM. The same page distinguishes it from carrier-sold Xperia 1 IV models. A carrier edition can have different provisioning, network compatibility, or lock status even where its outward name is identical. Check the code under Settings → About phone and compare it with the product label or seller documentation.
The international documentation provides a useful comparison: XQ-CT54 is the listed eSIM-capable option in the XQ-CT54/XQ-CT62/XQ-CT72 group. Sony’s guidance describes XQ-CT62 and XQ-CT72 as dual physical nano-SIM models. These model numbers do not, by themselves, tell you the phone’s storage capacity; regional combinations and retail listings can differ. For that reason, do not assume the 512 GB unit in your hand is XQ-CT44 or that all 512 GB models have the same SIM capability.
Check compatibility before buying
Use these checks in order. If the model code does not match an eSIM-enabled variant, do not rely on the product title or storage capacity as proof.
- [ ] Open Settings → About phone and note the complete model number, including its suffix (for example, XQ-CT44 or XQ-CT72).
- [ ] For the 512 GB XQ-CT44 version, confirm that the phone shows Settings → Network & internet → SIMs and an option such as Add SIM or Download a SIM. Labels can vary by Android version and language.
- [ ] Look for an EID in the phone’s device or SIM status information, if the software exposes it. An EID is an identifier associated with an eSIM-capable device. Its presence is useful evidence; if you cannot find one, confirm the model code and the add-eSIM menu rather than relying on a single screen.
- [ ] Check that the device is not locked to a carrier. A phone can support eSIM but still reject profiles from other providers if a carrier restriction applies.
- [ ] Confirm that the trip plan covers the country or region and that its data allowance, validity period, activation timing, and any network restrictions suit your itinerary.
- [ ] Keep a reliable Wi-Fi connection available while installing the profile. Follow the plan’s installation instructions and retain the confirmation details until the eSIM is working.
Compare the phone’s About phone details with its box or purchase record. If the seller cannot confirm the variant, wait until you can check the device itself. This short check can prevent buying a plan for a SIM configuration the handset does not have.
Before choosing a plan, separate three questions: can this exact phone download an eSIM profile, is the phone free to use another provider, and will the selected plan connect on your route? A positive answer to the first question does not settle the other two. If a listing gives only “Xperia 1 IV 512GB,” ask for the full XQ model code and request a view of the SIM settings. Also compare the plan’s listed destinations and start conditions with your actual travel dates; do not assume a regional label includes every stop.
For an additional pre-purchase check, check your device compatibility. A general compatibility checker is useful, but the exact model code and the phone’s own settings remain important for this regional model family. If you are buying a used or imported handset, ask the seller to show the About phone screen and eSIM setup menu before you pay.
How to install an eSIM on Sony Xperia 1 IV 512GB
The Xperia 1 IV runs Android, so use the Android steps below. Menu labels can differ a little between software versions. On XQ-CT44, Sony documents the path Settings → Network & internet → SIMs; if a SIM card is already inserted or an eSIM has been downloaded, tap the + button to add another profile. You will need a stable internet connection and the QR code or activation method supplied for your plan.
- Confirm the variant first. In Settings, verify that the phone is the eSIM-capable model you intend to use. For the documented 512 GB Japanese SIM-free version, look for XQ-CT44. Then confirm that the SIM settings include an add or download eSIM option.
- Read the plan’s activation instructions. Check whether it should be installed now or closer to departure, when its validity begins, and whether activation requires a network connection. A plan’s installation and its start of use may be separate events, so use the provider’s stated timing.
- Connect to Wi-Fi. Keep the phone online and charged. Avoid resetting the device, changing accounts, or removing an existing profile while installation is in progress.
- Open the SIM settings. Tap Settings → Network & internet → SIMs. Choose +, Add SIM, or the equivalent eSIM option. Follow the on-screen prompts.
- Scan or enter the activation details. Scan the QR code displayed on another screen or printed out, or enter the details manually if the plan offers that option. Do not scan the same single-use code repeatedly if the first attempt appears to stall; check the provider’s instructions first.
- Wait for the profile to download. Keep the Wi-Fi connection active until Android confirms that the SIM has been added. Give the device a short time to finish registering the profile before changing other settings.
- Name the profile clearly. A label such as “Travel data” can help distinguish it from your primary physical SIM. The label is only for your convenience and does not change the plan.
- Choose when to enable it. You can leave the travel profile off until you are ready, if the plan’s instructions allow that. Before travel, make sure you know how to turn it on and select it for mobile data.
- Set mobile data to the travel eSIM when appropriate. After arrival, open SIM settings and select the travel profile under mobile data. Leave your regular SIM selected for voice or messages only if that is what you intend and your home plan’s roaming charges are understood.
- Check roaming and APN instructions. Some data plans require data roaming for the travel eSIM; others may use different settings. Enable roaming only for the profile as instructed by the plan. If an APN is provided, enter exactly the supplied value in the phone’s access point settings.
The Kaspersky eSIM Store Android installation guide describes its installation flow; Android menus on this Sony can differ from the Samsung screenshots in that guide. The iOS installation guide is for iPhone and does not apply to Xperia setup. Use Sony’s menu path and the travel plan’s own instructions for this Android device.
Using the eSIM for mobile data while travelling
A travel eSIM can provide mobile data without replacing the physical SIM in a compatible phone. Before departure, choose a plan for the destinations on your route and compare its covered locations, data volume, validity period, activation timing, and any usage rules. A country plan is designed for its stated destination; a regional plan may be more suitable for a multi-country route if every stop is included. Do not assume that a plan works in transit areas, on aircraft, or in a country that is not listed in its conditions.
Kaspersky eSIM Store is an app and website where you can choose, arrange, and activate an eSIM plan for mobile data on a trip abroad. It is not the mobile network itself. The connection is subject to the selected plan, the networks available at your destination, the handset’s regional radio compatibility, and local conditions. Review the plan details before choosing it. For calls and SMS, keep using your normal SIM if appropriate, or use internet-based messaging apps; a data-only travel plan does not automatically include a regular phone number, voice service, or text messages.
A simple setup for a short trip might keep the home SIM enabled for calls while the travel eSIM is selected for mobile data. Before doing so, review your home carrier’s roaming terms. Disable data roaming on the home SIM if you want to avoid unintended data use, and turn it on for the travel profile only if the plan requires it. On a dual-SIM phone, confirm that the mobile-data selection has not switched back to the home line after a restart or a settings change.
For a multi-country itinerary, review the route rather than choosing only the first stop. A regional plan may cover several countries under one set of terms, but country inclusion, network access, and plan duration must be checked individually. If the trip includes a long layover or a late arrival, consider when the plan begins counting validity. Some plans start when installed, others when first connected, and others may offer scheduled activation; follow the current product terms rather than assuming a universal rule.
Monitor your data use during the trip, especially for video, cloud backups, app updates, and hotspot sharing. Use Wi-Fi for large downloads where practical, and check whether tethering is allowed by the selected plan and phone. Keep the plan’s support details accessible offline in case the connection is unavailable. If you use a physical home SIM at the same time, identify each line by its label before choosing the default for calls, texts, and data.
Troubleshooting common eSIM issues
There is no “Add eSIM” option. Check the model code first. XQ-CT62 and XQ-CT72 use physical dual-SIM configurations; storage and retail name do not prove eSIM support. Restart, check for system updates, and revisit SIM settings. If a supposed XQ-CT44 still lacks the option, ask Sony or the seller to confirm the variant before buying a plan.
The EID is missing. Look in About phone or SIM status; menu placement varies, and not every screen exposes the EID. Confirm the model code and Add SIM option as well. If both are missing, pause and verify the phone rather than assuming the plan is at fault.
The QR code will not scan or the profile will not download. Use a stable Wi-Fi connection, increase the QR display brightness, avoid glare, and check that the code has not expired or already been used. If the code is on the Xperia screen, display it on another device. Some codes are single-use, so do not delete a profile or keep retrying without checking the provider’s instructions.
The profile is installed but there is no data. Turn on the travel profile, select it for mobile data, and check the plan’s destination, validity, and activation conditions. Enable data roaming for that profile only if the plan requires it. Enter the provider’s APN exactly if supplied, then toggle airplane mode or restart once. If service remains unavailable, check the supported network options for your location and contact support with the error details, not your QR code.
The connection is slow or the home SIM uses data. Coverage and speed depend on local networks, congestion, plan terms, and the phone’s regional radio support; 5G is not guaranteed everywhere. Confirm that mobile data is assigned to the travel eSIM and disable roaming data on the home SIM if you want to avoid its data charges. Recheck both selections after restarting the phone.
Practical travel scenarios
A weekend in one country: verify XQ-CT44, install the profile over Wi-Fi if the plan allows it, and check when validity starts. Select it for data after arrival; keep the home SIM for calls only if you understand its roaming terms.
A multi-country route: choose a plan whose listed destinations include every stop. Check validity and activation timing across the full itinerary rather than relying on a broad regional label.
A used or imported phone: ask to see the model number in Settings, the Add SIM option, and confirmation that the device is unlocked. If those details cannot be verified before departure, arrange a confirmed compatible device or another connection option.
Frequently asked questions
Is every Sony Xperia 1 IV 512GB eSIM-compatible?
No. Sony confirms eSIM for the 16 GB/512 GB Japanese SIM-free XQ-CT44. Other Xperia 1 IV versions use different SIM configurations, so verify the model code and Settings menu.
Does 512 GB prove that my phone is XQ-CT44?
No. Storage does not identify the regional model. Check About phone and ask the seller for the complete model code.
Can I use an eSIM and physical SIM together?
Sony documents nano-SIM plus eSIM for XQ-CT44. The data, calls, and messages line can be selected separately; verify the settings and roaming terms for both.
Can I install the eSIM before travel, and does it include calls?
Installation timing and plan validity depend on the plan’s instructions. Do not assume a data plan includes a phone number, calls, or SMS; check its stated services. Internet messaging apps can use the data connection.
What if the phone is XQ-CT72?
Sony describes XQ-CT72 as a physical dual-nano-SIM configuration, unlike eSIM-capable XQ-CT54. Confirm the regional device documentation; a plan cannot add built-in eSIM support to an incompatible model.
Before you choose a travel eSIM
For Sony Xperia 1 IV 512GB, the dependable answer depends on the model code: Sony documents eSIM on the Japanese SIM-free XQ-CT44 with 16 GB RAM and 512 GB storage. Other Xperia 1 IV regional versions can have different SIM hardware and settings. Confirm the code, EID or Add SIM option, and carrier-unlocked status before choosing a plan.
Then match the plan to your destination and travel dates. Review the locations covered, data allowance, validity, activation timing, roaming instructions, and supported network conditions. Kaspersky eSIM Store’s website lets you browse current travel eSIM options; that page is a general store destination, not a specific country tariff. Compare the current terms shown there with your route, and install only after confirming that this exact phone can add an eSIM profile.


