Travel connectivity guide
Vivo V29 eSIM: Compatibility and Setup Guide
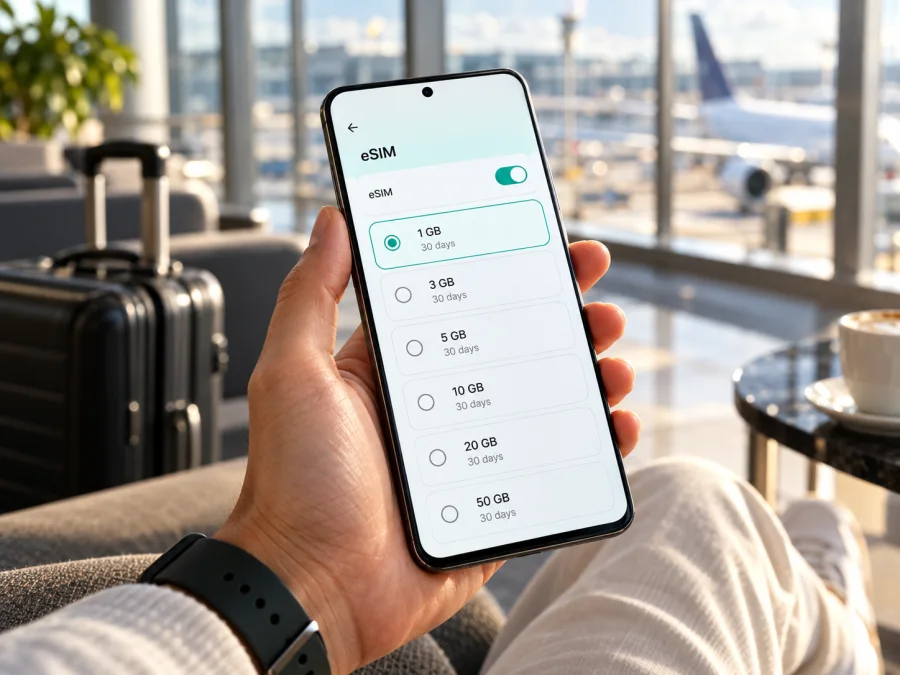
Vivo V29 eSIM: compatibility, setup and travel guide
Quick answer: some Vivo V29 versions support eSIM, but the model name by itself is not enough to confirm that yours does. Vivo’s official European specifications list a choice of two nano-SIMs or one nano-SIM plus an eSIM. Vivo’s official India specifications list two nano-SIMs and do not list eSIM. Check the phone itself, its exact regional version and its carrier lock status before choosing or paying for a travel plan.
Does the Vivo V29 support eSIM?
It depends on the region-specific version. Vivo’s product specifications for Spain and other European markets describe the V29 SIM arrangement as “Dual nano SIM or single nano SIM + eSIM.” The manufacturer’s Spanish launch information also describes eSIM use on the V29 5G. In contrast, Vivo’s India product page lists a card slot for two nano-SIMs and a dual-SIM standby mode. Vivo’s Belarus page also lists two nano-SIMs. Those market-specific listings do not establish eSIM support for those versions.
| Item | What the official specifications indicate | What you should confirm |
|---|---|---|
| Model name | Vivo V29, sometimes styled Vivo V29 5G in regional material | The full model or product code on the box, invoice or phone settings |
| SIM configuration in Europe | Two nano-SIMs, or one nano-SIM plus eSIM | That the specific unit was made for a market with eSIM enabled |
| SIM configuration in India | Two nano-SIMs; eSIM is not listed | Treat this regional configuration as not confirmed for eSIM unless Vivo verifies the exact unit |
| SIM configuration in Belarus | Vivo lists two nano-SIMs | Do not infer eSIM from the shared V29 name or 5G capability |
| 5G | Supported on some V29 versions and network combinations | 5G availability is separate from eSIM support and depends on the local network and plan |
| Carrier status | Not determined by the model’s feature list | Confirm that the phone is unlocked and accepts a profile from the intended provider |
Check compatibility on your own phone
Use the phone’s settings as a first-hand check. Menu names can vary with Funtouch OS version, Android version, language and market, so look for equivalent wording if the exact path differs.
- Connect to Wi-Fi and install any available stable system update. Restart the phone after the update.
- Open Settings and look for Mobile network, Network & internet, SIM card & mobile network or Dual SIMs and mobile network.
- Look for Add eSIM, Add mobile plan, Download a SIM, Manage eSIMs or a similar option. Open it only far enough to confirm that the setup screen exists; you do not need to scan or install a plan to check support.
- Check the device identifiers in Settings → About phone → Status or SIM status. If an EID is shown, that is strong evidence the installed device has an eSIM component. The exact menu path varies.
- If there is no EID and no eSIM option, do not assume the phone is compatible. Check the model code and region with Vivo support or the original seller.
EID means Embedded Identity Document. It is a long identifier associated with the eSIM hardware. It is not the same as an IMEI, phone number, QR code, or activation code. Do not post your EID publicly or send it to an unknown person. A missing EID entry alone is not always conclusive: software, regional firmware or a carrier configuration can affect what appears in settings. Confirm with the manufacturer using the exact model code.
Use the Check your device page to review compatibility before you choose a plan. If the phone does not show an EID or an eSIM setup option, pause before purchase and ask Vivo or the seller to verify that exact unit. A retailer’s generic “V29” listing may not include enough detail to distinguish regional hardware.
Before choosing a travel eSIM
Confirm the points below while you still have a reliable internet connection and time to resolve any questions.
- Exact version: Find the full model code in About phone and compare it with the box or invoice. Ask the seller which country or region supplied the unit.
- eSIM menu or EID: Confirm that the phone can add a profile. For a regional V29 with an unclear listing, request confirmation from Vivo for the model code.
- Carrier unlock: Ask the original mobile carrier or seller whether the device is unlocked for other networks. If a lock message appears when adding a profile, contact the party that applied the restriction.
- Destination and coverage: Check that the plan covers every country or region on your route. Coverage and supported network technologies depend on the local network, the plan and the device variant.
- Plan conditions: Read the data allowance, validity period, supported destination, activation requirements and any fair-use or hotspot conditions shown for the selected plan. Check when validity starts; installing a profile and starting the plan’s validity may be separate events.
- Installation connection: Keep Wi-Fi available while adding the eSIM. The phone generally needs an internet connection to download the profile.
- Primary number: Decide whether to keep your home SIM enabled for calls or messages. Check your home carrier’s roaming charges and default-line settings before travelling.
- Backup: Keep the installation instructions and any activation details somewhere you can reach without relying on the new connection. Treat a QR code or manual activation data as sensitive and do not share it.
A travel data eSIM is usually intended to provide mobile internet. Unless a particular plan explicitly says otherwise, do not expect it to supply a regular phone number, ordinary voice calls or SMS. Internet-based calling and messaging apps can work over its data connection, subject to the app and plan conditions.
How to install an eSIM on the Vivo V29
Install only after confirming that your version supports eSIM and that the selected plan is suitable. The wording of Vivo’s menus may differ by region or software release. Follow the provider’s current installation instructions if they give a device-specific path.
- Prepare the phone. Connect to stable Wi-Fi, charge the battery, and install available system updates. Keep the physical SIM you want to retain in the phone. If you are using a work-managed device, check whether an administrator controls SIM settings.
- Get the plan ready. In the app or website where you selected the travel plan, open its installation details. Depending on the plan, you may receive a QR code, an in-app installation button or manual activation details. Follow the displayed instructions and keep the code private.
- Open SIM settings. On the phone, go to Settings and open the mobile-network or SIM-management menu. Tap Add eSIM or the equivalent option. If the option is absent, stop and recheck the regional variant rather than trying unrelated menus.
- Add the profile. Use the phone’s camera to scan the supplied QR code, or use the supported direct-install flow. If manual entry is offered, enter the details exactly as provided. Some QR codes can only be used once or on one device.
- Wait for download. Keep the phone connected to Wi-Fi and do not close the setup process while the profile downloads. When prompted, confirm the new plan’s label. You could name it “Travel data” or use the destination to distinguish it from your home SIM.
- Choose line preferences. Set your preferred line for mobile data to the travel eSIM when you are ready to use it. Keep calls and texts on your home SIM if you need them, but check your home carrier’s roaming charges. Avoid enabling data switching if you do not want the phone to fall back to the home SIM for data.
- Set roaming for the travel profile if required. Some travel plans need data roaming enabled on their eSIM. Enable it only for the intended profile and follow that plan’s instructions. Data roaming on the wrong SIM can create charges from your home carrier.
- Activate according to the plan instructions. Adding a profile, turning it on, registering with a local network and starting a plan’s validity are not always the same event. Follow the plan’s stated activation rules. If it is meant to activate on arrival, you can install it beforehand and leave the profile off until the instructed time.
- Test the connection. At the destination, enable the travel profile, select it for mobile data and allow the phone a few minutes to register. Turn off Wi-Fi briefly to check that a web page loads over mobile data. Check the plan’s usage details if the connection is active but data is not being deducted as expected.
For screen-by-screen help, see the Android eSIM installation instructions and the iOS eSIM installation instructions. The Vivo V29 uses Android, so the Android guide is the relevant one; the iOS page is included for readers setting up a different Apple device.
Kaspersky eSIM Store is an app and website where you can choose, arrange and activate an eSIM with a plan for mobile internet during an international trip. Before selecting a destination, make sure your phone passes the checks above. You can review available plan terms in the app or on the site and choose one that fits your route and expected data use.
Using the eSIM for mobile data while travelling
The simplest setup for many travellers is to keep the home SIM available for its usual number and select the travel eSIM as the mobile-data line. The two profiles may both appear in the SIM settings, but the phone’s dual-SIM behaviour and the active plan determine which services work at a given time. The Vivo specifications describe dual-SIM dual-standby on certain versions; this does not mean both lines can use every function simultaneously in every situation.
Before departure, you can install the eSIM over Wi-Fi and check that it appears in the phone’s SIM manager. Whether you should switch it on before travelling depends on the plan. Read when the data allowance and validity begin. If validity starts on first network connection, turning on the profile too early could start the clock before you need it. If activation must happen before departure, follow those instructions instead.
After landing, turn on the travel profile and select it under Mobile data. If the plan requires roaming, enable data roaming for that eSIM. Keep your home SIM’s data roaming disabled if you want to avoid unplanned home-carrier data charges. You may still be able to receive calls or messages on the home number, depending on your carrier and settings; charges can apply even when the travel eSIM handles data. Check with your home carrier before relying on voice or SMS abroad.
Common problems and what to check
“Add eSIM” is missing. Restart after updating the phone, then check About phone for an EID and re-open the SIM settings. Verify the exact model code and market with Vivo. A V29 sold in a region where Vivo specifies two nano-SIMs may not support eSIM. A factory reset is not a good first step and may remove stored information without adding missing eSIM hardware.
The QR code will not scan. Increase screen brightness on the device displaying it, clean the camera lens, and make sure the entire code fits in the frame. If the QR code is on the same phone, use the provider’s direct-install option or display it on another screen. Confirm that the code has not already been used and that the phone has a Wi-Fi connection. Do not keep retrying a one-time code if the setup reports it is already redeemed; contact the plan’s support channel.
The profile is installed but there is no service. Check that the eSIM is turned on and selected for mobile data. At the destination, toggle airplane mode on and off, restart once, and give the phone time to register. Check the plan’s supported country, local-network availability, roaming setting and network selection. If automatic selection fails, use manual network selection only as directed by the plan provider. A coverage limitation cannot be fixed by reinstalling the profile.
The home SIM is using data. Recheck the default mobile-data line and turn off automatic data switching if available. Keep roaming disabled on the home SIM unless you intentionally want to use its roaming service. If unexpected charges appear, contact the home carrier; changing the travel eSIM settings will not reverse charges already recorded by that carrier.
You want to move the eSIM to another phone. Do not delete the profile assuming it can be installed again. Some eSIMs can only be installed once or have a provider-controlled transfer process. Review the plan’s transfer and reissue rules first, and contact support if the phone is lost or replaced.
Frequently asked questions
Can I use eSIM and a physical SIM together on the Vivo V29?
On an eSIM-enabled regional V29, Vivo’s European specifications describe either two nano-SIMs or one nano-SIM plus eSIM. The permitted combination can depend on the version and software. Check the SIM manager on your specific phone. A version specified only for two nano-SIMs does not gain an eSIM option by removing one card.
Does every Vivo V29 5G support eSIM?
No. The Vivo V29 name and 5G support do not establish eSIM compatibility. Official specifications differ by market: European listings include eSIM, while the India listing specifies two nano-SIMs. Verify the model code and check the EID or eSIM menu.
Does the travel eSIM replace my home number?
Usually a travel data eSIM provides a data connection and not a conventional phone number, voice service or SMS unless the plan specifically includes them. You may leave your home SIM active for its number, but check roaming prices and which line is selected for calls, messages and data.
When should I install it?
You can often install a travel eSIM while connected to Wi-Fi before leaving, but when to switch it on depends on the plan’s activation and validity rules. Read the instructions shown with the plan. Do not delete an installed profile if it has not connected; check the provider’s troubleshooting steps first.
Is an unlocked phone required?
The phone must be allowed to use the intended profile and network. A carrier-locked handset may reject another provider’s eSIM. Ask the original carrier or seller to confirm the unlock status before paying for a travel plan.
Final check: confirm the device, then choose a plan
For the Vivo V29, the practical answer is regional: official European specifications include eSIM, whereas official specifications for some other markets list two physical nano-SIMs. Confirm the exact unit using its model code, EID and SIM settings, and ask Vivo or the seller when those checks do not agree. Also verify that the phone is unlocked and that its software exposes the eSIM setup option.
Once compatibility is confirmed, choose a destination or route and compare the plan’s data allowance, validity, activation rules and network conditions with your trip. Kaspersky eSIM Store is an app and website that lets you choose, arrange and activate an eSIM with a mobile-data plan for travel abroad. Check your phone before purchase, install the profile over Wi-Fi, then select the travel eSIM for mobile data when the plan’s instructions say it is ready.


