Travel connectivity guide
Vivo X200 128GB eSIM Compatibility and Setup
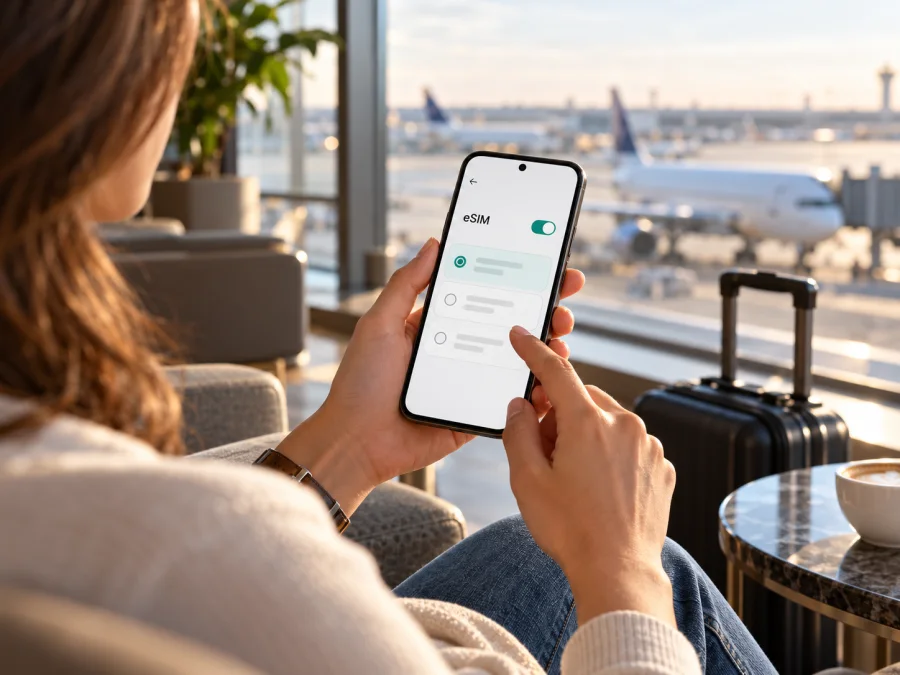
Vivo X200 128GB eSIM: compatibility, setup and travel data
Can the Vivo X200 128GB use eSIM?
The exact Vivo X200 128GB variant cannot be confirmed as eSIM-compatible from the official information available. Treat eSIM support as unverified until the phone itself or vivo confirms it for your precise model code and sales region. The storage description “128GB” alone does not identify a regional hardware version, and the official vivo X200 specification page I checked lists 12 GB + 256 GB and 16 GB + 512 GB configurations. It describes two nano-SIM slots and Dual SIM Dual Standby, but does not list eSIM. This does not establish that every X200 has identical hardware, but it is not a basis for assuming the 128GB listing supports eSIM.
This distinction matters when preparing for travel. The Vivo X200 name can refer to phones sold in different markets, and listings may abbreviate a model name, combine memory details, or describe an imported handset. Regional versions may differ in modem bands, SIM tray, firmware, carrier configuration and available network features. A global product page is a useful reference, but it cannot authenticate an unidentified 128GB unit. A seller’s generic “dual SIM” wording also does not mean one of the SIMs is electronic: it often means two physical nano-SIMs.
For now, the practical answer is: do not buy an eSIM plan for a Vivo X200 128GB until you find an EID or a working “Add eSIM” option on that exact phone, or receive written confirmation from vivo for its model code and region. If neither check succeeds, plan to use a physical local SIM or another compatible device for mobile data. A store’s compatibility result may help screen a model, but the handset’s own capability and the provider’s plan requirements still matter.
What is confirmed, and what is not
| Check | What the current information says | What it means for this exact device |
|---|---|---|
| Device name in the request | Vivo X200 128GB | Keep this as the target; do not substitute X200 Pro, X200 FE or another capacity. |
| Official global X200 storage configurations | 12 GB + 256 GB and 16 GB + 512 GB | A 128GB configuration is not listed on that page. The exact origin of the requested variant remains unverified. |
| Official global X200 SIM information | Two nano-SIMs; Dual SIM Dual Standby | This describes the listed global product. It does not establish eSIM support on the 128GB listing. |
| Official global X200 eSIM statement | The specification page does not list eSIM | Absence from a specification is not a universal statement about every market, but it is not evidence of support. |
| Market and carrier status | Not specified in the request | The sales country, model code, firmware and any carrier restrictions must be checked on the individual handset. |
| Usability for an eSIM travel plan | Requires embedded eSIM hardware, software support and an unlocked device | Verify each condition before purchase; 4G/5G support alone is not enough. |
Do not transfer features from the X200 Pro, X200 FE, another capacity or a phone sold in another country. Ask for the model code in Settings or on the box and compare it with vivo support for the sales market.
Check the phone before choosing an eSIM plan
Run these checks on the device you will actually take on the trip. Menus vary between Funtouch OS and OriginOS versions, and menu wording can change after system updates. A missing menu can be useful evidence, but a menu label alone is not a guarantee that a profile from a particular provider will activate successfully.
1. Look for an EID
An EID is an identifier associated with an embedded SIM. On Android, try Settings → About phone → Status or Settings → About phone → SIM status. On some software versions, search Settings for “EID” or “SIM status.” You can also try the Android dialler code *#06#; on supported phones it may show the device identifiers, including EID. Do not share a screenshot of the result publicly because device identifiers are private information.
If the phone displays an EID, record only that it is present; you do not need to send the number to a retailer or include it in an article. An EID is a strong sign that an eSIM component is present, but continue to the next check. A device may have eSIM hardware while the function is disabled by its regional firmware or carrier configuration. Conversely, some operating system builds may not expose an EID in the place you expect, so a missing field should be checked against the exact model documentation rather than interpreted in isolation.
2. Find the eSIM installation menu
Open Settings and search for “eSIM,” “Add eSIM,” “Add mobile plan,” or “Download a SIM.” Also look under Network & internet, Mobile network, SIM cards, or SIM management. On many Android phones, a supported flow offers a control to add a mobile plan and then scan a QR code or enter activation details. Labels and paths are manufacturer-specific; Vivo may use different names or omit the function entirely on a given variant.
A menu for enabling or renaming physical SIM slots is not an eSIM installation menu. Do not repeatedly scan a code: activation codes may be single-use. If there is no EID or add-eSIM option, ask vivo to confirm the model code and region before purchase.
3. Check for a carrier or network lock
An eSIM-compatible phone can still be restricted to one carrier. Check the original purchase terms, ask the selling carrier whether the device is unlocked, and look for a network-unlock or SIM-lock message after inserting a different physical SIM if you have one. A lock may prevent registration on another provider even when the device has the required eSIM hardware. Confirm the status before travel; changing data settings cannot remove a carrier lock.
4. Compare the model code and market
In Settings → About phone, note the model number or model code, software build and region. Compare those details with the packaging and purchase record. Ask the manufacturer or authorised seller a precise question: “Does this exact model code, sold for this country and running this software version, support adding a third-party eSIM profile?” If the phone was imported, ask which market’s firmware it has and whether eSIM is enabled there. Avoid relying on a marketplace title, a spec page for a related model, or a screenshot from a different user’s phone.
Use this device compatibility check as one part of the process. If you can verify the EID and see an active add-eSIM flow, check that the device is unlocked and that the travel plan supports the destination and installation method you intend to use. If any of those points remain uncertain, wait before paying for a plan.
How to install and activate an eSIM if your unit is confirmed compatible
The following is a general Android workflow. It is conditional, not a claim that the requested Vivo X200 128GB supports eSIM. Follow the prompts on your phone and the installation details supplied with your plan. Keep a stable Wi-Fi connection available during setup, and do not delete a downloaded eSIM profile to troubleshoot unless the plan provider tells you to: a QR code may not be reusable.
- Confirm compatibility and unlock status. Check the EID, the add-eSIM menu, the precise model code and carrier lock. Make sure the phone’s operating system is up to date, then restart it if the menu was unavailable before the update.
- Choose the destination and plan. Check that the plan covers every country on your route, its data allowance, validity period, activation timing, permitted network use and any hotspot conditions. A travel data eSIM usually does not replace your primary number for ordinary calls or SMS; review the plan terms.
- Prepare a connection. Use reliable Wi-Fi before departure or another internet connection. Keep the QR code or manual activation details accessible on a second screen or printed page if the phone cannot scan its own display.
- Open the add-plan flow. In the phone’s mobile-network or SIM settings, select Add eSIM or the equivalent. Choose QR-code scanning or manual entry if offered. Menu names can differ from the examples in a general Android guide.
- Install the profile once. Follow the confirmation prompts and wait for the profile to download. Give it a clear label such as “Travel data” so you can distinguish it from your home SIM. If the installation fails, stop and check the exact error with the provider before trying another activation code.
- Set the data line deliberately. Keep your regular number selected for calls and messages if you need it, and select the travel eSIM for mobile data only after you are ready to use the plan. Turn off automatic data switching if you want to prevent the phone from falling back to your home SIM’s data service.
- Enable roaming only for the travel eSIM if required. Some travel profiles need data roaming enabled to connect to their partner network. Follow the plan’s instructions and make sure roaming is not inadvertently enabled for your home SIM if that could incur charges. The roaming switch does not itself create an extra charge on a prepaid travel plan, but the home operator’s terms still apply to the home line.
- Activate at the right time. Some plans start their validity when installed, while others begin when they first connect in the covered destination. Read the specific activation rule before installation. If scheduled activation is offered and you need it, select the appropriate date during checkout.
- Test after arrival. Turn on the travel line, select it for mobile data, and allow a few minutes for network registration. Check the data indicator and open a simple webpage. If there is no connection, verify the destination, plan start time, roaming setting and APN before reinstalling anything.
For general Android steps, see How to install an eSIM on Android. That page notes that the process varies by Android model and operating-system version; its illustrated menu is specific to Samsung. It is a reference for the sequence, not a Vivo-specific menu map. The iOS instructions are relevant only if you are setting up a separate compatible iPhone: How to install an eSIM on iOS.
Using a travel eSIM for mobile data
If your specific phone is confirmed compatible, a travel eSIM can provide mobile data without replacing the physical SIM in the tray. Coverage, speeds and available networks depend on the destination, plan and local partner networks. A 5G-capable phone does not guarantee 5G access on every plan or in every location.
Compare the plan’s coverage against the full itinerary, including stopovers. Check its data allowance, validity, activation timing, hotspot conditions and how extra data can be added. Navigation and messaging typically use less data than video, cloud backups or hotspot use, so estimate your needs before choosing.
You may keep your home SIM for calls and SMS while assigning data to the travel eSIM, if the device permits. The home carrier may still charge for roaming calls, messages or data. Turn off automatic data switching if you want to avoid fallback to the home line, and review voicemail and call settings before departure.
Kaspersky eSIM Store is an app and website where travellers can choose, arrange and activate an eSIM with a mobile-data plan for an international trip. Browse destinations and current options on the Kaspersky eSIM Store website. This is the general store homepage, not a page for a particular country tariff. Check the chosen plan’s terms: travel eSIMs are generally data-only unless voice or SMS is explicitly included. Internet calling and messaging apps can work over data.
Install the profile when you have reliable internet, but first check whether installation starts the plan’s validity. If you wait until arrival to use it, keep the line off until needed. Retain your confirmation and account access so you can manage the plan during the trip.
Troubleshooting: start with the simplest checks
If an installed profile has no data connection, check one setting at a time. Confirm you are in a covered destination and that the plan has started, then verify that the eSIM is switched on and selected for mobile data.
- No Add eSIM option: Search Settings for “EID” and check the exact model code. Install available system updates and restart. If the identifier and menu are still absent, ask vivo about that region-specific unit; software resets cannot add missing eSIM hardware.
- QR code rejected: Confirm Wi-Fi is working and the code belongs to the purchased plan. It may already have been used. Avoid repeated attempts or deleting a downloaded profile; contact the plan provider with the exact error.
- Signal but no internet: Select the travel eSIM for data, enable data roaming for that line if the plan requires it, and verify the APN against the provider’s instructions. Wait a few minutes after arrival for network registration.
- Wrong line uses data: Turn off automatic data switching and select the travel eSIM manually. Check that cloud backups, app updates and hotspot devices are not using the home SIM or consuming the allowance unexpectedly.
- Slow or unstable service: Move to a place with better reception and allow automatic network selection. Check the plan’s speed conditions and local coverage. If recommended by the provider, test LTE/4G when 5G reception is weak.
- Hotspot or profile recovery fails: Check whether tethering is supported and allowed. Some activation codes are single-use and profiles may be tied to one device; ask the provider before removing or reinstalling a profile.
When requesting help, share the model code, software version, purchase country, destination, plan name and error text. Keep EID, IMEI, QR codes and activation details private. If a setting’s effect on your home line is unclear, pause before changing it to avoid unexpected roaming use.
Travel scenarios for Vivo X200 128GB owners
You already own the phone and leave soon
Check for an EID and an eSIM installation flow on the handset, then confirm its unlock status. If the results are unclear, arrange a physical SIM or another device with verified support. Do not buy a profile in the hope that it will add eSIM capability.
You are comparing a 128GB listing
Ask for the full model code, country of sale, firmware region and written confirmation that eSIM works on that exact code. Check the response with vivo for that market. If eSIM is essential, understand the return terms and test the device during the return window.
You need two lines or travel across borders
Once compatibility is established, you may be able to keep your home line for calls and messages and assign mobile data to the travel profile. Check home-carrier roaming charges and test the configuration before leaving. For multi-country routes, confirm every destination, validity period and data allowance; a listed country or 5G-capable phone does not guarantee identical coverage everywhere.
Frequently asked questions
Does Vivo X200 128GB support eSIM?
I could not verify support for this exact variant. The official global X200 specification lists two nano-SIMs, does not list eSIM, and shows 256GB and 512GB configurations. Since a 128GB listing may refer to another market or seller description, check its model code, EID and settings before deciding.
Do two SIM slots or an EID prove eSIM support?
No. Dual SIM can mean two physical nano-SIMs. An EID is a useful sign of embedded SIM hardware, but also confirm an eSIM installation menu, unlocked status and compatibility with the selected plan.
Can I install before travelling, and when does validity start?
Installation may be possible before departure, but activation rules vary. A plan may begin at purchase, installation or first connection in its destination. Read the plan’s terms and retain internet access during setup.
Does a travel eSIM replace my normal phone service?
A data-only travel eSIM generally does not include an ordinary phone number, calls or SMS unless the selected plan says otherwise. Keep a separate primary line if needed and check its roaming charges.
What if there is no EID or Add eSIM menu?
Check the model code, update the phone and search Settings once more, then ask vivo about that exact regional variant. If support cannot confirm eSIM, use a physical SIM or a device with verified compatibility.
Will every plan work on an eSIM-compatible phone?
No. The device must be unlocked, the plan must accept it, the destination must be covered and local network conditions must be compatible. Data roaming or a provider-specified APN may also be needed.
Final check before your trip
For Vivo X200 128GB, eSIM compatibility remains unverified. The available official global Vivo X200 specification names two nano-SIM slots, does not list eSIM and shows 256GB and 512GB storage configurations rather than 128GB. Confirm the precise model code, sales region, EID, eSIM menu and carrier-unlock status on your own handset before spending money on a travel plan.
If those checks confirm support, compare destinations, data allowance, validity and activation conditions, then follow the plan’s setup instructions. If they do not, choose a physical SIM or use a separate device whose eSIM support is confirmed. Once you know which option fits, browse current travel-data choices on the Kaspersky eSIM Store website and review the terms for your route before checkout.


