Travel connectivity guide
Vivo X200 Pro 128GB eSIM: Compatibility & Setup
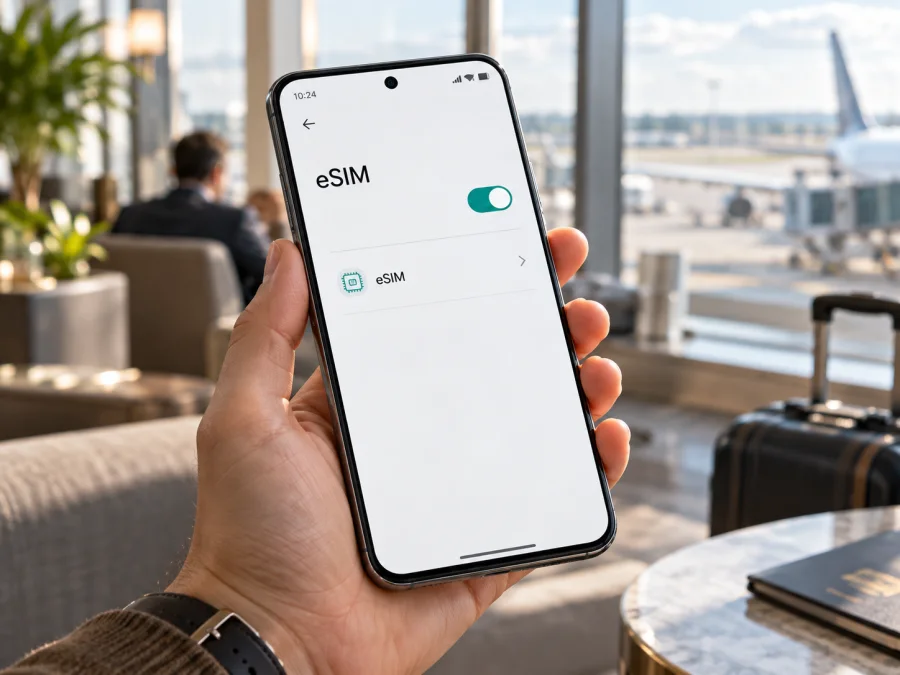
Vivo X200 Pro 128GB eSIM: compatibility and setup guide
The Vivo X200 Pro 128GB may support eSIM, but the storage label does not establish compatibility. Vivo’s official specifications differ by sales market: the Spain page lists eSIM support; Taiwan and Indonesia describe a tray that can use two nano-SIMs or one nano-SIM plus eSIM; India and Kazakhstan list two nano-SIM cards. The official X200 Pro pages checked do not list a 128GB configuration, so treat that capacity as a seller listing to verify. Check the exact model number and the phone’s settings before buying a plan.
For this specific listing, compatibility is unconfirmed until the regional model and handset are checked. An X200 Pro from an eSIM-enabled market can add a travel data profile; a two-nano-SIM version cannot gain eSIM support through a software setting. A carrier lock is a separate restriction: even eSIM-capable hardware may refuse another operator’s profile until unlocked.
Vivo X200 Pro 128GB at a glance
| Item | What to know |
|---|---|
| Device name | Vivo X200 Pro 128GB |
| eSIM answer | Depends on exact regional hardware and firmware |
| Official regional examples | Spain lists eSIM; Taiwan and Indonesia specify nano-SIM plus eSIM as an option; India and Kazakhstan list two nano-SIMs |
| 128GB configuration | Not listed on the official X200 Pro specification pages checked |
| Before buying | Confirm model code, EID, add-eSIM menu, unlock status and destination-plan terms |
These examples describe market-specific configurations. They do not prove that every unit sold in those countries has the same hardware, or that an imported phone will work with every operator abroad. The device family name can cover distinct regional builds. “128GB” is not an eSIM identifier and may be a seller’s wording or a listing error. It does not establish a special SIM configuration.
Vivo’s Spain page lists eSIM as supported, while its India and Kazakhstan specifications list two nano-SIM cards. Taiwan and Indonesia explicitly describe the alternative of one nano-SIM plus eSIM. Read the specification for the phone’s original sales market, then check the actual handset. A SIM-tray description alone may not settle the question, since some regional variants support alternatives that are not obvious from a tray photo.
Does the Vivo X200 Pro 128GB support eSIM?
There is no reliable universal yes-or-no answer based only on the name “Vivo X200 Pro 128GB.” The X200 Pro family includes regional versions with eSIM and versions specified for two physical nano-SIMs. The official product pages checked do not identify a 128GB X200 Pro variant. Therefore, compatibility for the specific listing is unconfirmed until you match its full model number to the right regional specification and inspect the phone.
On an eSIM-enabled version, settings should include a way to add or download a mobile plan, and the device should have an EID. If the exact regional specification says two nano-SIMs only, or there is no EID and no eSIM control after checking the current software, do not assume a travel eSIM will work. Ask the seller to confirm the model code, original market and carrier-unlock status in writing. A marketplace title or another X200 Pro owner’s experience is not enough when the details conflict.
Regional firmware, operator customization and local requirements can affect available menus and network functions. A phone can accept a profile yet fail to register on a particular network because of a carrier lock, plan restriction, destination coverage or radio-band mismatch. Hardware support is only one part of compatibility.
Why the regional version matters
Check Settings > About phone for the full model code and software version. If the phone is imported or used, ask the seller for a photo of that screen and the mobile-network settings. Compare the code with Vivo’s specification page for the original sales market, not just the page for your current country. If the listing’s 128GB claim is not reflected in Vivo’s published configuration for that market, ask the seller to explain it before paying.
A carrier-branded phone may be locked to its original operator. Ask whether another operator’s eSIM can be installed and used. Also check software updates: an update can change a menu or fix a software issue, but it cannot add eSIM hardware that is absent from the handset.
Check compatibility before buying an eSIM plan
<a id="kesim-device-compatibility"></a>
Use the phone you plan to travel with. Funtouch OS menus can vary, so look for equivalent entries such as “SIM cards,” “Mobile network,” “SIM management,” “Add eSIM” or “Download a SIM.”
- [ ] Record the model code. Open Settings > About phone and note the full model number and software version.
- [ ] Look for an EID. On many Android phones, dial
*#06#to display device identifiers. An eSIM-capable phone may show an EID alongside its IMEI numbers. You can also check About phone or SIM status. - [ ] Find the add-eSIM control. Open the mobile-network or SIM-management settings. Check whether you can begin adding or downloading an eSIM profile.
- [ ] Compare the regional specification. Match the model code to the manufacturer’s page for the original market. Do not infer compatibility from storage capacity or the tray alone.
- [ ] Confirm unlock status. Ask the seller or original operator whether the phone can use another operator’s eSIM.
- [ ] Review the travel plan. Verify the destination, data allowance, validity, activation timing, installation rules and any hotspot limits.
For a broader device check, Check your device before choosing a plan. If there is no EID or add-eSIM option, ask Vivo or the seller to verify the exact handset. Do not buy on the assumption that an update will add the missing hardware. Avoid sharing an EID or IMEI in public; provide identifiers only through a support channel when requested.
How to install and activate an eSIM
Use a reliable Wi-Fi connection and keep the QR code or activation details on another screen or printed copy. A phone cannot normally scan a QR code displayed only on itself. Do not remove a profile as a troubleshooting shortcut: some plans do not allow reinstallation after deletion.
- Confirm eligibility and plan timing. Verify this exact Vivo X200 Pro 128GB unit is eSIM-capable and unlocked. Read whether validity begins at installation, first network connection or another event.
- Connect to Wi-Fi. Open Settings and go to mobile network or SIM management. Choose the option to add, download or set up an eSIM; the wording depends on the Funtouch OS version.
- Scan the provider’s QR code. Follow the plan’s installation instructions. Use manual activation details only when the provider supplies them. If the code has already been used, contact support before retrying.
- Wait for the profile to download. Keep the connection stable. Once it appears, give it a recognizable name such as “Travel data.”
- Choose the line settings. Keep your regular SIM for calls or verification messages if needed, and select the travel eSIM for mobile data when appropriate. Check which line is assigned to each service.
- Set data roaming if required. Some travel plans need roaming enabled on the eSIM to use a partner network. Follow the plan instructions and consider disabling roaming on your home SIM to avoid unexpected charges.
- Activate at the right time. If validity starts on first connection in the destination, leave the eSIM off until you are ready. If it starts on installation, account for that before scanning.
- Test after arrival. Turn off Wi-Fi briefly, check that the travel eSIM is the data line, and load a webpage or messaging app. Allow a few minutes for network registration.
For platform-specific steps, see the Android eSIM installation instructions or the iOS eSIM installation instructions. The Vivo X200 Pro 128GB uses Android-based Funtouch OS, so the Android guide is the relevant walkthrough; the iOS guide is for travelers setting up a separate Apple device. Menu names may differ after software updates.
Kaspersky eSIM Store is an app and website where you can choose, arrange and activate an eSIM with a mobile data plan for an overseas trip. After checking compatibility, compare the destination, allowance, validity and plan conditions. The phone still needs eligible hardware, an unlocked status and access to a supported local network.
Using the eSIM for mobile data on a trip
A common setup is to keep your home SIM available for calls or one-time verification messages and use the travel eSIM for data. Your home operator may still charge for calls, SMS, voicemail or roaming events according to its terms, even when mobile data uses the travel eSIM. Check those terms before departure and disable the home line if you do not need it.
After landing, turn on the travel profile, select it for mobile data and enable roaming for that eSIM if the plan requires it. Give the phone a few minutes to register. Available networks and speeds depend on the plan, local operator arrangements, coverage, device bands and location. eSIM compatibility does not guarantee reception everywhere.
Choose a plan around your route and expected use. Maps, browsing and messaging usually use less data than video streaming, large uploads or hotspot sessions. Confirm that all countries on a multi-country itinerary are included. Check the allowance and validity, and monitor usage in the phone’s data settings or plan account if available. Background backups and app updates can use data without an obvious prompt.
A travel data eSIM is not automatically a replacement for your usual phone number. Unless the plan terms state otherwise, it may provide mobile internet only, without ordinary calls or SMS. Internet calling and messaging apps may work over data, depending on the app, plan and local network.
Practical scenarios
Short city break: Install before departure if the terms allow it, but check when validity starts. At the destination, switch mobile data to the travel eSIM and enable roaming if requested. Keep maps or tickets available offline as a backup.
Multi-country or work trip: Confirm every destination is covered, check tethering and data limits, and monitor background syncing. If service drops at a border, check coverage and wait briefly before changing settings. Keep the QR code on a second device or paper in case you need to install after arrival.
Common problems and checks
No “Add eSIM” option: Restart and check for a software update, then inspect all SIM and mobile-network settings. Compare the model code with the official regional specification. If there is no EID and the exact model lists two nano-SIMs only, it may not support eSIM. A missing menu on a listed supported model could reflect firmware or carrier restrictions; ask Vivo or the original operator.
QR code will not scan: Increase brightness on the screen displaying it, clean the camera lens and hold the phone steady. Use another screen if the code is on the phone itself. Confirm it is for this plan and has not already been used. Do not post the QR publicly.
Profile will not download: Check Wi-Fi and any captive-portal sign-in, then retry once. Confirm the code is valid and the plan allows installation on this device. If the provider reports that it is invalid or used, contact support instead of repeatedly scanning.
Profile installed but no service: Confirm the profile is on, selected for mobile data and has roaming enabled if required. Turn off airplane mode, restart and wait a few minutes. Check the plan’s destination and start time. Return network selection to automatic unless the provider specifies a network.
Connected but no data: Make sure the eSIM, not the home SIM, is assigned to mobile data. Turn off Wi-Fi briefly to test. Check that the plan is active and has data remaining. Change APN settings only when the provider gives exact instructions. A network reset can erase saved Wi-Fi details, so try simpler checks first.
Home SIM still uses data: Check the default data line and turn off automatic data switching if available. Keep the travel eSIM selected for data. Calls on the home line may still incur charges even when data uses the eSIM.
Profile rejected despite an EID: Check carrier lock status, destination eligibility, installation limits and whether the profile was assigned to another device. EID confirms capability, not universal plan compatibility. Do not delete an installed profile until the provider confirms the next step.
Frequently asked questions
Is Vivo X200 Pro 128GB definitely eSIM-compatible?
No. Vivo lists eSIM for some regional X200 Pro versions and two nano-SIMs for others. The official pages checked do not list a 128GB configuration. Verify the model code, EID and add-eSIM setting on the actual phone.
Does 128GB storage change the SIM hardware?
Storage capacity does not identify SIM hardware. Confirm the model and original market with the seller; do not infer support from a product title.
If the phone has an EID, can it use any travel eSIM?
Not automatically. A carrier lock, plan rules, destination coverage, software or network compatibility may still prevent service. Check the phone is unlocked and that the plan covers the trip.
Final check before you choose a travel eSIM
For the Vivo X200 Pro 128GB, verify the individual handset: record its full model code and original market, look for the EID and add-eSIM control, and confirm it is unlocked. If the 128GB listing conflicts with the manufacturer’s regional specification, have the seller resolve the discrepancy before purchase.
Then choose a plan for the countries on your itinerary and compare data allowance, validity, activation timing and usage conditions. Kaspersky eSIM Store’s app and website let you choose, arrange and activate an eSIM with a mobile data plan for an overseas trip. Install it using the provider’s instructions, select it for mobile data when ready and check roaming settings if the connection does not start. A few checks before purchase help avoid last-minute problems and make your data setup clearer.


