Travel connectivity guide
Wellington eSIM: Mobile Internet & Travel Guide
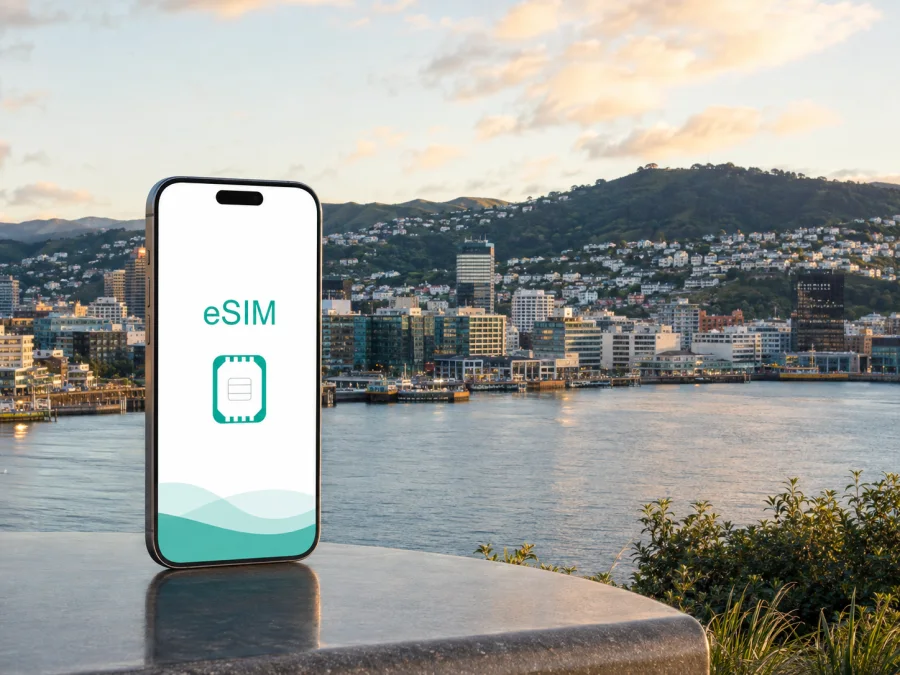
Wellington eSIM: Mobile Connection and Internet for Your Trip
Wellington is New Zealand’s capital and a compact harbour city where one day may combine an airport arrival, a meeting in the central business district, a waterfront walk, and a journey into the wider region. Mobile internet is useful for checking a booking, finding a bus stop, opening a map, or telling someone that your plans have changed.
An eSIM, or digital SIM, lets you prepare mobile internet for Wellington without removing the physical SIM in your phone. Kaspersky eSIM Store is an app and website where you can choose a destination, review a suitable prepaid eSIM plan for a foreign trip, and activate it on a compatible, unlocked device. The plan is for mobile data; a regular number, voice calls, and SMS are not included unless the individual plan says otherwise.
When an eSIM can be useful in Wellington
The first hour after landing
Wellington Airport is southeast of the central city, so an arrival may involve luggage, a transfer, an accommodation address, and a route towards the CBD. If mobile internet is ready, you can check those details as soon as the eSIM is usable instead of making connectivity your first task after landing.
Before leaving the airport, keep these details available:
- the exact accommodation name and address;
- booking information and your first transfer destination;
- contacts for your host, colleagues, or travel companions;
- a saved map area or written directions for the first leg.
Navigation between the harbour and the hills
Wellington’s routes are shaped by the harbour, hills, one-way streets, stairways, and changing weather. A short route on a map may include a steep section or a transport change. Mobile internet helps you compare walking and public transport, check a stop, and adjust the plan when conditions change.
Maps, transport information, booking apps, and messaging are usually the main data uses. Map requests and messages are lighter than photo uploads, video meetings, streaming, or hotspot use.
Meetings, work, and a short stopover
During a business trip, you may need to locate an office, receive a room change, open a document, order a ride, or share a message from a hotel or café. On a compatible dual-SIM phone, the travel eSIM can handle mobile data while your primary SIM remains available for its normal functions, subject to your settings and home operator conditions. Test a map, a page, and a message before the first meeting; if you need a laptop hotspot, check whether the plan permits that use.
A short stopover creates the same practical data moments: airport transfer, check-in, a route to the waterfront, a reservation, and a return journey. Before choosing a plan, note the length of the full New Zealand stay, whether you will upload media or work online, and whether Wellington is only one stop. Those answers guide the destination scope, validity, and data volume.
Wellington areas and the connection habits they encourage
Use this table to match mobile-data preparation to the places and activities in your itinerary.
| Wellington setting | Typical online tasks | Practical preparation |
|---|---|---|
| CBD, Lambton Quay, and waterfront | Maps, meetings, bookings, messages | Save the venue and hotel; check the data line before leaving |
| Te Aro and Cuba Street | Walking routes, restaurants, reservations, photos | Save the next address and a reservation screenshot |
| Thorndon and Wellington Station | Rail information, transfers, office directions | Keep the departure point and an alternative route in your notes |
| Oriental Bay and Mount Victoria | Walking routes, weather, return transport | Charge the phone and keep the return address visible |
| Newtown, Miramar, and the airport side | Buses, appointments, airport transfers | Check the final stop before leaving central Wellington |
| Trips beyond the city | Routes, tickets, messages, accommodation changes | Confirm that the plan covers the complete New Zealand route |
Central city and waterfront
The CBD brings together offices, hotels, shops, restaurants, cultural venues, and the waterfront. Pin the accommodation, meeting venue, Wellington Station, and airport transfer point before setting out. A live map helps when a building entrance is on a different street from the address.
Te Aro and Cuba Street
Te Aro and the Cuba Street precinct are central areas for dining, culture, and evening plans. Visitors often walk there, but slopes and weather can slow a short journey. Enter the full venue name and street address in the map, then agree on a recognisable meeting point before the group separates.
Thorndon and Wellington Station
Thorndon is beside the northern edge of the central city and near Wellington Station, which matters for business visitors, commuters, and travellers leaving the city. Metlink is the Wellington region’s public transport network of buses, trains, and harbour ferries. Check current journey information before travelling because departures, routes, and temporary changes can vary, then save the next leg before boarding.
Oriental Bay, Mount Victoria, and eastern suburbs
The eastern side combines waterfront walks, residential streets, viewpoints, and routes towards the airport. Here, the phone may be needed less for a major landmark than for the return journey, weather, walking conditions, and meeting points. Newtown, Miramar, and Lyall Bay call for the same habit: enter the suburb and street carefully, pin the destination, and check the final stop before setting out.
How to choose a Wellington eSIM plan
1. Match the destination to the whole trip
If Wellington is one stop on a New Zealand itinerary, choose the country scope that covers the places you will visit after the city. A city plan is useful for local planning, but the selected plan’s stated destination is what matters for a route by bus, train, ferry, road, or domestic flight. Check it before payment.
2. Estimate usage by activity
- Light: messages, occasional maps, email, tickets, and short searches.
- Regular: frequent navigation, social media, photo uploads, documents, and bookings.
- Heavy: video meetings, hotspot use, large uploads, streaming, and frequent video.
Allow extra data for arrival and departure days, which often involve more navigation. Check when validity begins and compare the plan’s allowance, duration, price, and activation conditions before purchase. For the New Zealand part of your route, you can choose an eSIM plan for your trip to Wellington.
3. Separate travel data from ordinary phone functions
An eSIM plan for mobile internet is not automatically a second phone number. If you need conventional calls or SMS, check the selected plan and your primary operator’s conditions. Messengers can handle text, voice, and video over the internet when the data connection is active.
On a dual-SIM phone, label the lines clearly. Many travellers keep the home line for important account or call functions and select the travel eSIM for mobile data. Menu names differ between Android and iOS, so confirm the setting on your own device.
4. Include regional travel
Some itineraries continue from Wellington to the Hutt Valley, Porirua, the Kāpiti Coast, or the Wairarapa. Choose validity that lasts through the final leg and save essential departure details.
Install an eSIM before travelling or after arrival
Installation is easiest with stable internet, enough battery, and access to the profile or QR code. Installing before departure gives you time to complete the technical steps; you can select the travel line for mobile data when you are ready. After landing, keep the profile details accessible and allow a few minutes for activation.
1. Check the prerequisites
Confirm eSIM support and that the phone is not operator-locked. Connect to the internet, charge the device, and open the profile or QR code supplied after the plan is arranged.
2. Open mobile-network settings
Go to mobile-network or cellular settings and choose the option to add an eSIM or mobile plan. The wording varies by device.
3. Scan the QR code or follow the profile flow
Scan the QR code from the profile or email, or follow the on-screen installation flow. Keep the QR code private.
4. Name the line clearly
Use a label such as “New Zealand travel” to distinguish the eSIM from your home line.
5. Select mobile data
Choose the travel eSIM for mobile data when you are ready. Review whether automatic data switching is enabled, because the result depends on your device and home plan.
6. Test a small task
Open a map, refresh a page, and send a message. If the eSIM does not connect immediately, wait a few minutes and recheck the selected data line and plan conditions. Some devices may require data roaming for the travel eSIM. Follow the Android installation instructions or iOS installation instructions for your platform.
What to check before buying and using it
Device compatibility and operator lock
First, check whether your device is compatible with eSIM. Models can differ by region of sale, and eSIM support does not guarantee that a locked phone can use another mobile plan.
Destination, duration, and data allowance
Confirm that the plan applies to New Zealand, covers the Wellington dates, and suits your activity level. Review the traffic amount, validity rule, price, and activation or expiry conditions. If the itinerary includes other places, verify the plan’s geographic scope.
Dual-SIM settings
Before relying on the line, check which SIM is selected for mobile data, whether data switching is active, and whether data roaming is enabled for the eSIM when required. Keep your home line’s roaming choice under control so the phone does not use it unexpectedly.
Battery and offline backup
Navigation and camera use can drain a phone. Carry a charger or power bank, and save key hotel, meeting, transfer, and contact details offline. An eSIM reduces dependence on public Wi-Fi, but a backup remains useful.
Support
If activation raises a question, check compatibility, the internet connection, the selected data line, and the plan conditions first. Keep the order details ready for support.
Practical Wellington scenarios
Arrival late in the evening
Prepare the eSIM and save the accommodation address before departure. At the airport, check the transfer route and send an arrival message. At the hotel, leave the travel line clearly labelled.
One day of meetings
Save the route from the hotel to the first venue and note the nearest stop. Keep a data reserve for changes, documents, and messages.
Waterfront and Te Aro afternoon
Use mobile data for the next address, reservation, and coordination. Larger photo uploads can wait for Wi-Fi if the allowance is limited.
Wellington as the first stop
Choose the plan around the complete New Zealand leg, not only the first hotel. Before leaving Wellington, check the next transport connection and remaining data.
Frequently asked questions
Is an eSIM useful for a trip to Wellington?
Yes, if you want mobile internet for maps, messages, bookings, transport information, or work without obtaining a physical SIM after arrival. Choose the New Zealand destination and use a compatible unlocked device.
Can I keep my regular SIM in the phone?
Often, a compatible dual-SIM device can keep a physical SIM and eSIM profile together, but combinations depend on the model. Check the mobile-data line and your home operator’s roaming settings.
Does the eSIM include a phone number?
Not necessarily. This travel eSIM use case is for mobile internet; ordinary calls and SMS are not included unless the selected plan says so. Internet messaging and calling apps can work when data is active.
Should I install it before flying?
Installing before the trip can be convenient because you have stable internet, time, and battery. You can select the travel line for mobile data later. After landing, allow time for the profile to become active.
How much data do I need?
There is no universal amount. Messages and occasional maps use less than photo uploads, video meetings, or hotspot use. Estimate by activity, add a margin for arrival and departure, and include the full New Zealand itinerary.
Will it work in every location around Wellington?
No travel plan should be treated as a guarantee for every building, hill, road, or remote area. Availability can vary by location, device, and plan. Check the conditions and keep offline directions for regional trips.
What if the eSIM does not connect?
Check that the profile is installed, the travel eSIM is selected for data, the device is compatible and unlocked, and the plan applies to New Zealand. Recheck data roaming if required and wait a few minutes. If the issue remains, contact support with the plan and device details.
Prepare your Wellington connection before departure
Complete this checklist before the suitcase is closed:
- confirm the Wellington dates and full New Zealand route;
- choose a plan with a suitable destination, validity, and data allowance;
- check eSIM compatibility and operator-lock status;
- install the profile with stable internet and battery power;
- label the travel line and test a map or message;
- save accommodation, meeting, transfer, and key contact details offline;
- keep installation instructions and support information available.
Prepare the eSIM before the trip. When you are ready, choose a New Zealand eSIM plan for your Wellington journey and review its conditions before activation.


