Travel connectivity guide
Yokohama eSIM: Mobile Internet for Your Trip
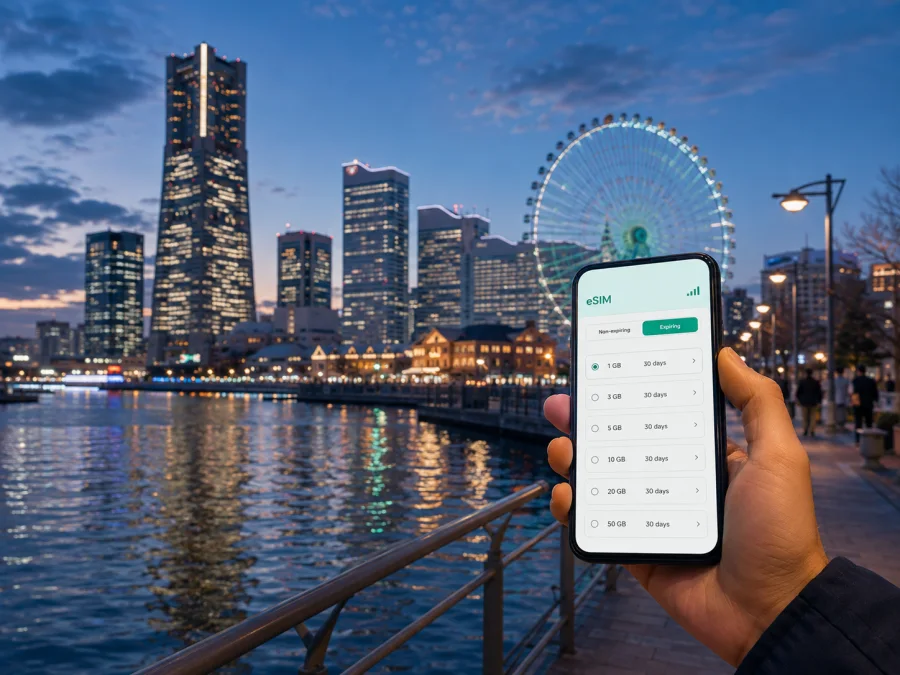
Yokohama eSIM: mobile connection and internet for your trip
If you are travelling to Yokohama, reliable mobile internet can make the first hours in Japan easier. You may need directions from the airport, a rail route to your hotel, a translation tool at a ticket machine, or a message to a colleague before you settle in. An eSIM, or digital SIM, lets you prepare a mobile-data profile without removing the physical SIM card from your phone. Kaspersky eSIM Store is an app and website where you can choose, arrange and activate an eSIM with a suitable plan for mobile internet during an international trip. For Yokohama, consider how long you will stay, whether you will travel beyond the city, how much navigation you expect, and when the plan should start.
Why an eSIM can be useful in Yokohama
Yokohama is a large port city close to Tokyo, with waterfront attractions, business districts, residential neighbourhoods and major railway hubs. A visitor may move from Minato Mirai to Kannai, Chinatown, Yokohama Station or Shin-Yokohama in one day, checking platforms, maps, bookings and hotel entrances along the way.
An eSIM can help in these situations because your phone can use a digital travel profile for mobile data while your regular SIM remains available for its normal settings. You can keep the physical SIM in the device, choose which line handles mobile data, and use internet-based services without looking for a shop immediately after arrival. The exact experience depends on your device, tariff conditions and the local network used by the selected plan.
For a Yokohama trip, the most common uses are:
- checking routes between railway stations, hotels and waterfront areas;
- using maps while walking around Minato Mirai, Yamashita Park or Kannai;
- receiving hotel, airline and rail updates;
- translating menus and signs;
- keeping in touch with family or colleagues;
- booking or changing a restaurant, attraction or transfer.
An eSIM does not automatically include a Japanese telephone number. Voice calls and SMS are not part of a plan unless its conditions explicitly say so. Messaging through the internet may be sufficient, but keep your usual line available for calls or SMS verification when needed.
Yokohama arrival: prepare the first connection before the first transfer
Yokohama does not have to be the first Japanese location on your itinerary. You may arrive through Tokyo-area airports, continue by train from another city, or reach Yokohama after a short stop elsewhere. In all of these cases, a country-level plan for Japan is usually more useful than treating one neighbourhood as an isolated destination.
Before leaving for the airport, save the hotel name, address and reservation details offline. A screenshot of the first route is useful if the battery is low, a station is crowded, or the eSIM has not connected yet.
After arrival, use mobile data for the tasks that are hardest to do without a connection:
- Confirm the arrival terminal or station and the next part of the route.
- Check the current rail or bus information shown in your chosen travel app.
- Open the hotel or meeting location in a map.
- Send a short message when you are on the way.
- Keep the activation details accessible until the profile is working.
Do not remove your usual SIM to install an eSIM. On a compatible unlocked phone, both profiles may be stored together, and settings let you choose the line for calls, messages and data.
Moving around Yokohama: where mobile data saves time
The waterfront is pleasant to explore on foot, while longer jumps are better handled by rail or local transport. A working map helps you switch between these modes without returning to the hotel for Wi-Fi.
Minato Mirai and the waterfront
Minato Mirai combines open waterfront spaces, hotels, museums and observation points. The area is spread out, so send the exact building or landmark when meeting someone. Keep your phone charged and download tickets or reservations before an evening walk.
Kannai, Bashamichi and Yamashita Park
Kannai and the streets toward Yamashita Park connect offices, historic buildings, restaurants and harbour views. Plans can change when you continue toward Chinatown, so mobile data is useful for the next point, a menu translation or a shared location.
Yokohama Station
Yokohama Station is a major interchange and a practical base near the city centre. Check the exit number and street-side destination before walking away. Compare a hotel map pin with its written address to avoid a detour.
Shin-Yokohama
Shin-Yokohama matters for travellers using the Shinkansen or meeting near the station. Treat it as a separate arrival point from central Yokohama, and save the next address before boarding. A data connection helps when a meeting or onward train leaves little time.
How to choose an eSIM plan for Yokohama
The plan should match the whole Japan itinerary, not just the number of nights in one Yokohama hotel. Start with four questions:
| Question | What to consider |
|---|---|
| How long will the trip last? | Choose a validity period that covers the days when you need mobile data, including arrival and departure days if required. |
| Will you leave Yokohama? | A Japan plan may suit a route that also includes Tokyo, Kyoto, Osaka, Kamakura or other destinations; confirm the plan’s stated coverage before payment. |
| What will use data? | Maps, translation, messaging and tickets usually need less data than video calls, cloud backups or frequent video streaming. |
| When should the plan begin? | Read the activation and validity conditions. Installation and first data use may be treated differently by the selected plan. |
For a short stopover, a modest allowance may be enough if large downloads use hotel Wi-Fi. A longer stay or multi-city route may need more data for work, navigation or photo uploads. Compare duration, destination, activation rules and top-up conditions, not gigabytes alone.
You can choose an eSIM plan for your trip to Japan after you have estimated your route and usage. Kaspersky eSIM Store helps you review the available direction and plan conditions so that you can decide before travelling. The right choice remains dependent on the selected offer and your device.
Yokohama scenarios: match the plan to your route
- Short stopover: prioritise arrival directions, the hotel map, messages and reservations. Install before departure when appropriate, but check when validity begins.
- City break: allow for maps, translation, restaurant searches and messaging. Keep the regular SIM for calls and SMS if needed, and limit background uploads.
- Business trip: check email, documents and meetings over mobile data; confirm hotspot conditions before relying on a laptop connection.
- Wider Japan itinerary: choose a destination and validity period that cover the complete route, not only the nights spent in Yokohama.
Check compatibility before you buy
Your phone must support eSIM and should not be locked to an operator that prevents adding another profile. Models and regional versions can differ, so do not rely only on the family name of a device. Check the eSIM option in your settings or use the device compatibility check before choosing a plan.
Also check these points:
- the operating system is up to date enough for the installation method;
- the phone has a stable internet connection during installation;
- there is space for another eSIM profile if your device limits stored profiles;
- you know which line will be used for mobile data after activation;
- data roaming is enabled for the eSIM if the plan’s instructions require it;
- automatic switching of mobile data is configured deliberately, not accidentally;
- the device is not carrier-locked;
- the plan allows the type of use you need, such as hotspot access.
The eSIM profile may not be transferable after activation if the plan or profile conditions do not allow it. Treat the phone you use for installation as the intended device. If a QR code is provided, keep it private and do not scan the same activation code repeatedly unless the instructions explicitly allow that.
How to install and activate an eSIM for Yokohama
Install the profile before the trip when possible, while you still have a stable connection. You can also install after arrival if Wi-Fi or another working connection is available.
1. Check the conditions
Confirm that the phone supports eSIM, is not operator-locked, and can connect to the internet during setup. Read when the validity period starts and whether data roaming is required.
2. Prepare the profile
Open the purchase confirmation or profile in Kaspersky eSIM Store and locate the QR code or installation option. A second screen can make scanning easier.
3. Add the eSIM
Open mobile-network settings and choose the option for adding a mobile plan or eSIM. Scan the QR code or follow the on-screen flow. For device-specific steps, use the Android installation instructions or the iOS installation instructions.
4. Name the line clearly
Name the profile “Japan travel data” or another clear label. Avoid changing the default line for calls unless you intend to do so.
5. Select mobile data
Choose the travel eSIM as the line for mobile data. Keep your primary line available for calls or SMS only if that matches your roaming preferences. Disable automatic data switching if you want to prevent the phone from moving data use back to your regular line.
6. Activate at the right time
Follow the selected plan’s conditions. If the eSIM does not connect immediately, wait a few minutes, check the data line and review the required roaming setting before changing anything else.
Settings and data use after landing
In a calm place, check that the Japan travel eSIM is selected for mobile data, your usual line’s roaming behaviour is intentional, and data roaming is enabled for the travel profile only when required. Turn off automatic updates and photo backup over mobile data until you understand the allowance. If there is no connection, confirm that the profile is enabled, the correct line is selected, airplane mode is off and the phone has a signal before restarting or contacting support. Save offline maps and the hotel address as a fallback.
FAQ about eSIM in Yokohama
Is a Yokohama eSIM different from a Japan eSIM?
Usually, the relevant destination is Japan rather than a separate city network. Choose a plan whose stated destination and coverage match Japan and any other cities on your route.
Can I keep my normal number?
Yes, a compatible dual-SIM phone can often keep the regular SIM installed while the eSIM handles data. Calls and SMS on the regular line may create roaming charges, so review your operator’s conditions.
Does the eSIM include calls and SMS?
Not necessarily. Travel eSIM plans are commonly intended for mobile data; a phone number, voice calls or SMS are included only when the selected plan says so. Internet messengers cover many needs when both people are online.
Can I install the eSIM after arriving?
Yes, if reliable Wi-Fi or another internet connection is available and the plan remains installable. Before departure is often easier because your regular connection is working.
Why is data roaming mentioned?
Some travel eSIM profiles need it enabled so the phone can use the network associated with the plan. Enable it for the travel eSIM only when the instructions require it.
Can I use the same eSIM on another phone?
Do not assume that you can. A profile may be tied to the installation device or may not be transferable after activation. Check the conditions before moving or deleting it.
What if the QR code does not scan?
Check the brightness, the complete code and the add-eSIM menu. Display the code on another screen or use the alternative installation method. Avoid deleting a partially installed profile until you know whether it can be restored.
How much data do I need for Yokohama?
There is no single correct amount. Maps, translation and messaging use less data than video meetings, streaming and continuous photo backup. Estimate the days and activities, then compare the allowance and validity period.
A simple checklist before leaving
- Confirm that your phone supports eSIM and is not operator-locked.
- Check the Japan destination, validity period and activation conditions.
- Save your hotel address, first route and important reservations offline.
- Install the profile while you have a stable connection, if appropriate.
- Label the eSIM clearly and select it for mobile data after activation.
- Decide whether data roaming is required for that profile.
- Keep your regular line’s roaming settings under control.
- Limit automatic updates and photo backup if data use matters.
- Keep the installation details and support route available.
Stay connected in Yokohama with a prepared plan
Yokohama rewards a flexible itinerary: you can move between the waterfront, central stations, historic streets, business districts and nearby destinations without rebuilding your entire day around connectivity. A well-chosen eSIM plan supports the practical parts of that trip—arrival directions, rail changes, navigation, reservations and communication—while the important decisions remain visible to you: destination, validity, data allowance, device compatibility and activation timing.
When you are ready, review the available eSIM option for Japan and choose a plan that matches your Yokohama stay or wider route. Install it on a compatible device, select it for mobile data, and keep the plan conditions close at hand throughout the journey.


